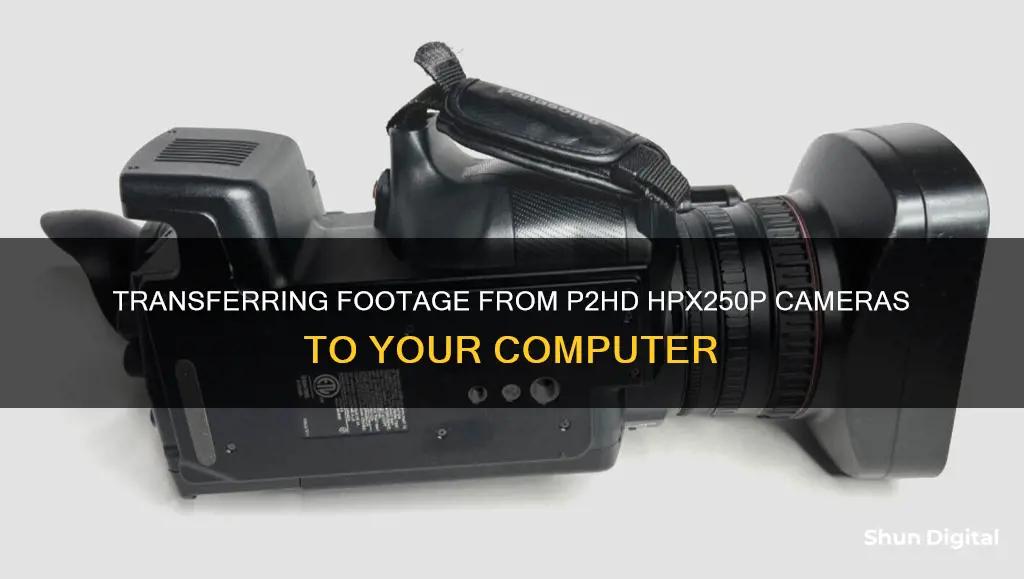
The Panasonic AG-HPX250 P2 HD handheld camcorder is a powerful device for both broadcasting and professional use. Its high-quality recording capabilities and versatile lens make it a popular choice for those seeking crisp visuals. However, transferring footage from the camera to a computer can be a challenge for some users. This guide will provide a comprehensive overview of the process, ensuring that users can efficiently move their content from the AG-HPX250 P2 HD to their computers for editing and storage.
| Characteristics | Values |
|---|---|
| Camera model | AG-HPX250 |
| Camera type | Handheld |
| Image sensor | 1/3-type 2.2-megapixel 3MOS sensor |
| Zoom | 22x |
| Codec | AVC-Intra 100 Mb/s (10-bit 4:2:2) |
| Recording formats | DVCPRO HD, DV, and several flavors of DVCPRO |
| Connection type | USB |
| File transfer | Drag and drop |
What You'll Learn
![]()
Connect camera to computer with USB cable
To connect your camera to your computer using a USB cable, first ensure that your camera uses a USB cable to transfer data. Not all cameras do, so check this before attempting to connect your camera to your computer.
Once you've confirmed that your camera uses a USB cable, gather the correct USB cable, your camera, and a computer with an open USB slot. The USB cable should have come with your camera, but if you cannot find it, you may need to purchase a new one.
Next, turn on your computer. Then, connect one end of the USB cable to your camera, and the other end to your computer. Ensure that the connectors are aligned correctly and plugged in fully.
Now, turn on your camera. Depending on your camera model, you may need to switch it to Review mode or press the photo playback button for it to connect to your computer.
If everything is connected correctly, your camera may display a "connecting" message on its LCD screen. On your computer, a pop-up window with photo-downloading instructions should appear. Follow the prompts to download and save your photos.
If your computer does not recognize your camera, you may need to install the necessary software. Insert the CD that came with your camera and follow the on-screen instructions to install the software. Alternatively, you can usually find the required software on the camera manufacturer's website.
Once your camera is connected and recognized by your computer, you can transfer your photos by following the standard process for your operating system.
Charging Your GE Camera: A Quick Guide
You may want to see also
![]()
Turn on camera and computer
To transfer files from your P2HD HPX250P camera to your computer, you will first need to turn on both devices.
The HPX250P camera is a handheld model for Panasonic's broadcasting and professional P2HD series. It is equipped with a USB terminal that can be used for file transfer between computers.
- Power on your computer: Ensure that your computer is turned on and ready for use. This method will work on various operating systems, including Windows (11, 10, 8, or earlier) and macOS Ventura, Monterey, or earlier.
- Prepare folders: Before initiating the transfer, it is recommended to create folders on your computer to receive the images or videos from your camera.
- Connect the camera and computer: Use the USB cable that came with your Panasonic camera. Connect it to an open USB port on your computer. The USB terminal on the camera is typically located behind a panel that can be flipped open.
- Turn on your camera: Power on your HPX250P camera. Your computer should recognize the camera immediately. If not, ensure that you have selected the correct connection mode and installed the necessary drivers.
- Switch to Review mode: Depending on your camera's settings, you may need to switch it to "Review" or "Playback" mode for it to connect fully to your computer.
- Follow the on-screen prompts: Once the camera is connected, your computer may display an AutoPlay window or similar prompts. Follow the on-screen instructions to proceed with the file transfer.
By following these steps, you will be able to establish a connection between your P2HD HPX250P camera and your computer, allowing you to transfer files and access your camera's content.
Adjusting Focus on Your GW Camera: Tips and Tricks
You may want to see also
![]()
Open compatible software on computer
To transfer files from your P2HD HPX250P camera to your computer, you will need to use a USB cable. Once you have connected the camera to your computer, you will need to open compatible software on your computer to transfer the files.
If you are using a Windows computer, you can use the File Explorer to locate the DCIM folder on your camera. From there, you can select the photos you want to transfer and drag them to a new location on your computer.
If you are using a Mac, you can use the Photos app to select and import the photos from your camera. Alternatively, you can use the Finder to locate the DCIM folder on your camera and drag the photos to a new location on your computer.
In addition to these methods, you can also use an SD card reader to transfer files from your camera to your computer. Simply insert the SD card into your computer's card reader or an external SD card reader connected via USB. Then, use the File Explorer (for Windows) or Finder (for Mac) to locate the DCIM folder on your SD card and drag the photos to a new location on your computer.
It is important to note that you should not disconnect your camera or remove your SD card while files are still being transferred, as this may result in data loss. Always safely eject your camera or SD card before unplugging or removing them.
Surveillance Camera Operators: Monitoring Security, Ensuring Safety
You may want to see also
![]()
Select photos/videos to transfer
To transfer photos or videos from your camera to your computer, you will first need to connect your camera to your computer using a USB cable. Make sure your camera is turned on and in "Review" mode. You may also need to change the connection mode to "USB DEVICE" in the camera's settings.
Once your camera is connected, open the relevant folder on your computer to view the files on your camera. On a Windows computer, this will usually be the "DCIM" folder, which you can find by opening "My Computer" or "File Explorer" and looking for the "Removable Disk" icon. On a Mac, open the "Finder" window and locate your camera in the left sidebar.
Now, select the photos or videos you want to transfer. To select multiple files, hold down the Ctrl key (Windows) or Cmd key (Mac) and click on each file. If you want to select all the files in the folder, press Ctrl+A (Windows) or Cmd+A (Mac).
Finally, drag the selected files to the desired location on your computer, such as the "Pictures" folder. You can also create a new folder to store the transferred files.
If you are using an SD card reader instead of a USB cable, the process is similar. Insert the SD card into your computer's card reader, open the "DCIM" folder, and select the files you want to transfer. Then, drag the files to the desired location on your computer.
Creating a Solar Eclipse Camera as a Kid
You may want to see also
![]()
Drag and drop files into new folder
To drag and drop files into a new folder, first, open the file location folder and the destination folder side-by-side. If you want to drag files from a folder to your desktop, open the file folder while leaving part of your desktop visible. If you can't see both locations, resize the windows by dragging any corner of the window towards its centre.
Next, select the files you want to drag and drop. To do this, click the file once to highlight it. To select all files in a folder, click inside the folder to make sure it's active, then use the keyboard shortcut CTRL + A (Windows) or CMD + A (Mac). To select multiple individual files, hold down CTRL (Windows) or CMD (Mac) and click each file.
Now, left-click and hold the file selection. Drag the cursor into the new location, and release the left-click to drop the files into the new location.
If you are using a Mac, you can also open the settings in the File Explorer. In the View tab, scroll down the Advanced Settings and uncheck "Expand to open folder". This will make the folder auto-expand when you drag and hover a file or group of files on the target folder.
Understanding Camera Raw Measurements: Unlocking Photography's Power
You may want to see also
Frequently asked questions
You can transfer files from your camera to your computer by connecting the two devices using a USB cable. Once connected, open the File Explorer on your computer and select your camera device. From there, you can select the files you want to transfer and drag them to a new location on your computer.
First, check if your camera shows up as a drive in your File Explorer. If it doesn't, try replacing the camera cable. If you're using a USB hub or multi-adapter, disconnect the hub and plug the camera directly into your computer. Ensure that your camera is in "Playback" mode and set to USB mode, not PictBridge.
Connect your camera to your Mac using the supplied USB cable. Open the Photos app on your Mac and select the photos you want to transfer. Click "Import Selected" or "Import All New Photos" to transfer the files to your Mac.
Yes, you can remove the SD card from your camera and insert it into your computer's SD card reader. If your computer doesn't have a built-in card reader, you can purchase an external SD card reader that connects via USB. Once your computer recognizes the SD card, open the File Explorer (Windows) or Finder (Mac) and drag the files to your desired location on your computer.