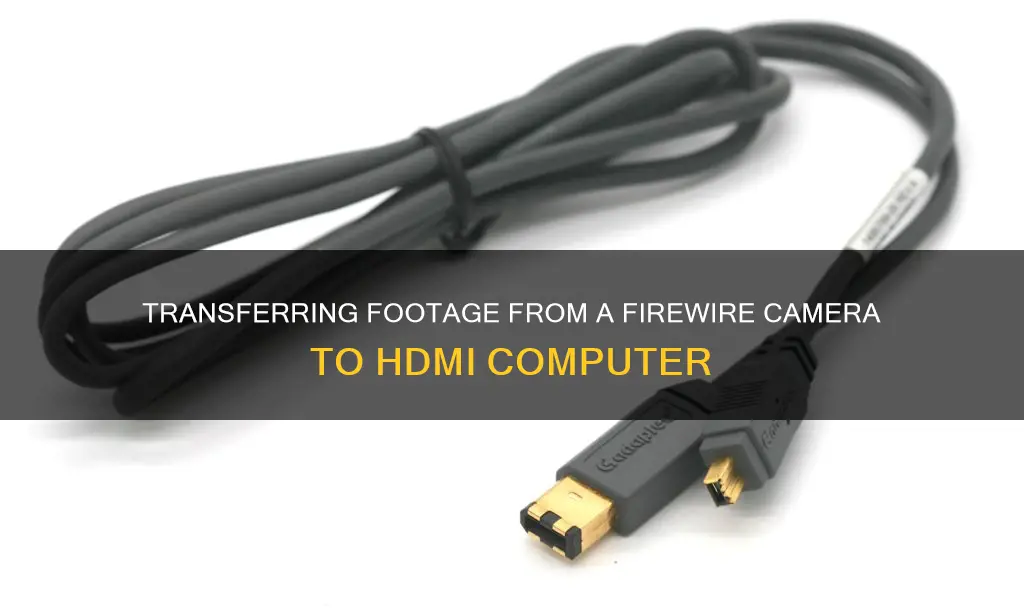
Transferring videos from a FireWire camera to a computer with HDMI can be done in several ways. One way is to use an Audio Video (A/V) cable to connect the camera to the computer. Another way is to use a FireWire cable, such as an i.LINK or Apple FireWire cable, to connect the camera to the computer. If your computer has an i.LINK port, you can follow the steps in the article Transfer Video to a Windows Computer Using an i.Link (IEEE 1394) Connection. If your computer has a FireWire or Thunderbolt port, you can follow the steps in the article Transfer video to a Macintosh Computer Using an i.Link (IEEE 1394) Connection. Additionally, you can use a video capture device and the corresponding software to transfer the videos.
| Characteristics | Values |
|---|---|
| Connection type | Firewire (IEEE 1394) to HDMI |
| Transfer type | Video |
| Devices | Firewire camera to computer |
| Cable | Firewire (IEEE 1394) |
| Computer OS | Microsoft Windows, Apple Mac OS X or macOS |
| Computer ports | i.LINK port (Firewire or IEEE 1394), Thunderbolt port, A/V input ports, or a video capture device |
| Software | PlayMemories Home, Windows Live Photo Gallery, Apple iMovie, Scenalyzer Live, Windows Movie Maker |
| Other equipment | AC adapter, video capture device |
What You'll Learn
![]()
Connect FireWire camera to computer using an A/V cable
To connect a FireWire camera to a computer using an A/V cable, you will need a FireWire-to-USB adapter, which can be purchased at most electronics stores.
First, connect the FireWire cable to your camera. Then, connect the other end of the FireWire cable to the adapter. Finally, connect the adapter to a USB port on your computer.
Most computers will automatically recognize the adapter and camera and install the necessary drivers. However, you will also need software that can detect and import FireWire footage.
It is worth noting that FireWire and USB use different protocols, so you will not be able to connect a FireWire audio interface to a computer via a USB port using an adapter.
Traffic Camera Tickets: Out-of-State License Impact?
You may want to see also
![]()
Use a video capture device
If your computer does not have a Firewire port, you can use a video capture device to transfer video from your Firewire camera to your computer. This is an affordable option, with some devices available for around $20.
A video capture device connects your camera to your computer via USB. You will need to install the device driver and sometimes a basic video editing program to help you transfer the video.
There are two types of analog connection you can use with a USB video capture device: RCA connection (yellow for video, red and white for audio) and S-Video. S-Video offers superior image capture but only captures video, so you will still need to connect audio out from your camera using RCA cables.
Some video capture devices only accept an analog video signal as input and do not have a Firewire input. This means you will need to connect your camera's Composite Video output or S-Video output socket to the conversion box using an analog cable. These devices work by converting the analog video signal to uncompressed digital video frames and then digitally encoding the frames, usually to MPEG-2 format. This results in some degree of image quality loss.
However, some video capture devices, such as the Pinnacle MovieBox, have a Firewire input socket, allowing you to connect your camera to the device using a Firewire cable. The device then acts as a bridge between the Firewire interface on the camera and the USB interface on the computer. This method allows you to capture an identical copy of the video data on the tape without any conversion or encoding.
The Pinnacle MovieBox is no longer in production but you may be able to find one on online auction sites. There are several models available, including the 510-USB and 710-USB, which have a Firewire input socket. These models are easy to identify by their oval shape (the 510 is white and the 710 is black). They draw power from the computer over the USB cable, so no power socket is required.
To install the Pinnacle MovieBox, simply plug it into the USB socket of your computer using the supplied USB cable. Then, install the Pinnacle drivers from the software CD that comes with the package or download the latest version from the Pinnacle support website.
Once the drivers are installed, connect your camera to the MovieBox using a Firewire cable and switch the camera to "Camera" mode. Launch your video capture software and you should now be able to capture video directly from your camera as if it were connected directly to your computer via Firewire.
Understanding Panasonic's RAW File Extension for Lumix Cameras
You may want to see also
![]()
Use a FireWire cable
If you want to transfer video from your camera to your computer using a FireWire cable, you will need to ensure you have the correct equipment. This includes a FireWire cable (IEEE 1394 cable), a camcorder with a FireWire output, and a computer with a FireWire input.
Once you have the necessary equipment, follow these steps:
- Connect the AC adapter to your camcorder's in-jack and plug it into a wall outlet.
- Turn on your camcorder.
- Connect the FireWire jack of your camcorder to your computer using the FireWire cable.
- Your camcorder should now be automatically detected and will appear as a hard disk drive on your computer. If it is not recognised, install the driver using the supplied CD-ROM.
- Transfer the video from your camcorder to your computer by simply copying files from one disk drive to another.
You can also install and run software such as Picture Motion Browser for Sony Camcorders or PixelaMixer for Canon camcorders to import and edit videos from your camcorder.
It is important to note that transferring video from a camcorder to a PC can take up a lot of hard drive space. If you are concerned about this, consider using an external flash drive or burning the video to a DVD. Additionally, closing other running programs before transferring video will help ensure that your system has the necessary resources to complete the task efficiently.
Computer Cameras: Privacy Risks and Security Threats
You may want to see also
![]()
Use a video capture software
If you're looking to transfer video from a FireWire camera to a computer with HDMI, you'll need to use a video capture software. Here's a step-by-step guide on how to do it:
Step 1: Check Your Camera's Manual
Before you begin, it's important to consult your camera's manual to determine if it supports video transfer via FireWire. Look for information on the camera's video output capabilities and the required cables or adapters. Some cameras may have specific instructions or settings that need to be configured for video transfer.
Step 2: Connect Your Camera to the Computer
Use a FireWire cable (IEEE 1394 cable) to connect your camera to the computer. If your computer does not have a FireWire port, you may need to purchase a FireWire PCI/PCIe card and install it in your computer. Ensure that you have the correct type of FireWire cable for your camera. Some cameras use a 4-pin FireWire connection, while others use a 6-pin connector.
Step 3: Install Necessary Drivers
If your camera is not automatically detected by the computer, you may need to install the appropriate drivers. Check the camera's manual or the manufacturer's website for instructions on how to download and install the necessary drivers. In some cases, you may need to use legacy drivers or compatibility mode to get the camera recognised on newer operating systems.
Step 4: Choose a Video Capture Software
There are several video capture software options available, both free and paid. Here are some popular choices:
- WinDV (for DV and Digital8)
- HDVSplit (for HDV)
- IMovie (for DV, Digital8, and HDV on macOS)
- Final Cut Pro (for any tape format on macOS)
- QuickTime (for any tape format on macOS)
- Adobe Premiere (for any tape format, requires older versions)
- FFmpeg (for any tape format, command-line tool)
- VideoRedo (for editing and trimming MP4s)
- Pinnacle Studio (for DV and HDV)
- Wondershare Filmora
Step 5: Start the Video Transfer
Once you have your camera connected and the software installed, open the video capture software. Follow the instructions provided by the software to initiate the video transfer. Depending on the software, you may need to specify the input source as FireWire or IEEE 1394. Start the capture process and ensure that your camera is powered on and in the correct mode (usually "Camera" or "VCR" mode).
Step 6: Edit and Save Your Videos
After the video transfer is complete, you can use the video capture software or a separate video editing program to edit your footage. Trim unwanted parts, add effects, and make any other desired changes. Finally, save your edited video in a format compatible with your playback devices or video sharing platforms.
Remember to consult your camera's manual and the software documentation for detailed instructions specific to your equipment and chosen software.
Lithium-Ion Camera Batteries: Powering Your Photography
You may want to see also
![]()
Use a card reader
If your camcorder is set to record video to Flash Memory, such as a Memory Stick or SD Card, you will need a card reader to transfer the video files to your computer. Card readers are compatible with both Memory Sticks and SD Cards, and usually have a USB jack. This means you can simply connect the card reader to your computer's USB port and transfer the video files to your computer, just like you would with local disk files.
There are many brands of card readers available on the market that are compatible with both Memory Sticks and SD Cards. These card readers usually have a USB jack, allowing you to easily transfer recorded video to your computer by connecting the USB jack to the computer's USB port.
When choosing a card reader, it is important to ensure that it is compatible with your specific memory card format (Memory Stick or SD Card) and that it has the correct slots for your card type. Additionally, if your computer only has USB Type-C sockets, you may need to purchase a USB Type-A to USB Type-C adapter or a new replacement cable with a USB Type-C plug.
It is worth noting that transferring video from a camcorder to a computer can consume a lot of hard drive space. Therefore, it is recommended to use an external flash drive or burn the camcorder video to a DVD to save space on your computer's hard drive. Additionally, closing other running programs before initiating the transfer can help ensure a smooth process without overloading your system resources.
Fight Speeding Camera Tickets: Your Legal Rights and Strategies
You may want to see also
Frequently asked questions
You will need to connect your camera to the computer using a FireWire cable (IEEE 1394 cable). If your computer does not have a FireWire port, you will need to purchase a FireWire PCI/PCIe card and install it in your computer.
You will need to install the driver using the supplied CD-ROM if your camera is not recognised by the computer.
You can now transfer videos from your camera to your computer, just like copying files from one disk drive to another.
You can use the software provided with your camera, such as Picture Motion Browser for Sony Camcorders or PixelaMixer for Canon camcorders. You can also use video editing software such as Wondershare Filmora or Sony Vegas.
Yes, you can transfer videos to external devices to save hard drive space.