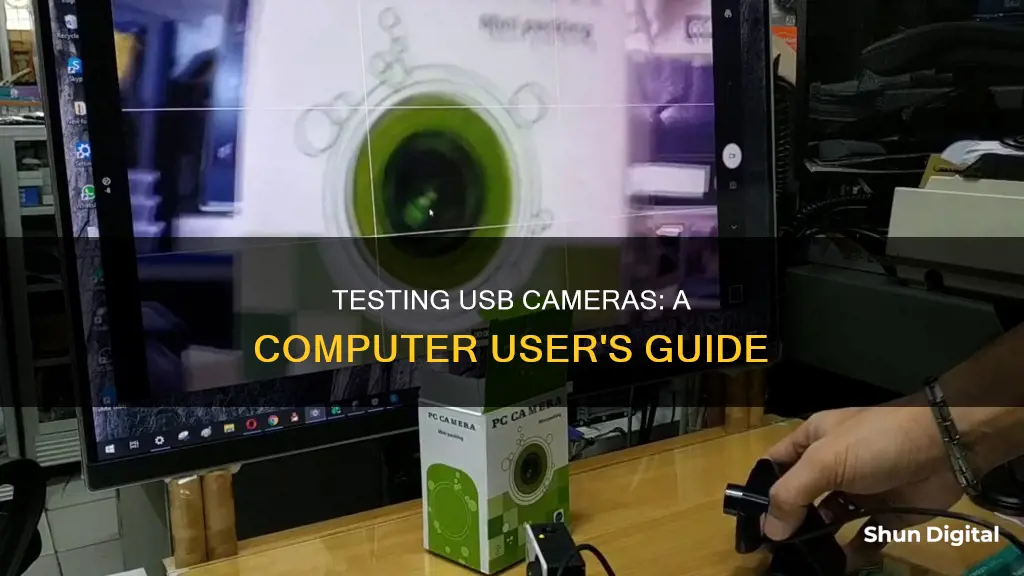
Testing a USB camera on your computer is a simple process and can be done in a few different ways. This can be done online, offline, or through a computer application. Online, you can use a webcam test site such as WebCamMicTest or WebcamTests. Offline, Windows 10 users can type Camera in the search box, whereas on a Mac, you can open the Photo Booth app. You can also test your camera through applications such as Skype, Microsoft Teams, or Discord.
| Characteristics | Values |
|---|---|
| Online test | Visit sites like WebCamMicTest, WebcamTests, webcamtests.com, webcammictest.com, or vidyard.com/cam-test |
| Offline test for Windows | Type "Camera" in the search box |
| Offline test for Mac | Go to Applications > Photo Booth |
| Online test steps | Visit site > Click "Test Webcam" > Allow access > Check camera feed |
| Windows 10 test | Open Camera app > Check camera feed |
| Mac test | Open Photo Booth app > Check camera feed |
| Troubleshooting | Check USB connection, download drivers, adjust privacy settings, check browser settings |
What You'll Learn
![]()
Check your camera feed on Windows
To check your camera feed on Windows, follow these steps:
- Open the Start menu by clicking the Windows icon in the bottom-left corner of your screen.
- In the Start menu, search for "Camera".
- Select the Camera app from the list of apps. This will open your webcam or camera.
- If you have multiple cameras connected, you can switch between them by selecting "Change Camera" at the top right of the Camera app window.
- Adjust camera settings such as photo aspect ratio, video quality, location info, grid lines, video stabilization, and microphone settings by swiping in from the right edge of the screen and selecting "Settings".
- To take a photo or video, simply select "Photo" or "Video" and then select it again to start recording.
If you are having trouble with your camera, try these troubleshooting steps:
- Disconnect the camera from your PC and then reconnect it.
- Close the Camera app by dragging it to the bottom of the screen and holding it there until the app flips over.
- Update your camera drivers. Go to the Start menu, search for "Device Manager", expand "Imaging devices", right-click on your camera, and select "Update Driver Software".
- Ensure that your camera is enabled. Go to the Start menu, search for "Device Manager", expand "Imaging devices", right-click on your camera, and select "Enable Device" if it is disabled.
Unraveling Time-Lapse Photography: Capturing the World in Motion
You may want to see also
![]()
Check your camera feed on Mac
If you want to check your camera feed on a Mac, you can do so by opening an app that uses the camera. There is no manual, hardware way to turn on the camera, known as iSight. Photo Booth and FaceTime are two apps that use iSight and are installed on your Mac by default. When you open either of these apps, you should see a green LED light turn on next to the camera, which is located above your device's screen. If the camera is working, you should see yourself in the app.
If you don't see yourself, there are a few things you can try. First, check that no other apps are using the camera, as iSight can only run on one application at a time. If another app is running, close it and try again. If the camera still isn't working, close all apps and then run the app you want to use. If you're still having issues, try each app that uses iSight to see if the problem is specific to one app. If the camera works in other apps but not the one you want to use, try reinstalling that app.
If you're still having issues, there might be a communication problem between your iSight and your Mac. To check this, go to the Finder feature on the Dock, followed by Utilities. Then, select the System Profiler icon and click on USB under Hardware. You should see the "Built-in iSight" entry appear in the USB High-Speed Bus section. If it's not there, restart your device, and this should solve the problem.
If you still can't get your camera to work, you may need to reset the SMC (System Management Controller). First, perform a system reboot, then press Shift + Control + Option + Power at the same time. Wait a few seconds, then release. This will shut down your Mac and reset the SMC. Once your Mac turns back on, check if your camera is working.
If none of these methods work, you can try contacting Apple support or your retailer for further assistance.
LG X Camera Specs: X Charge Edition
You may want to see also
![]()
Test your USB camera on Windows using Skype
To test your USB camera on Windows using Skype, follow these steps:
Firstly, launch the Skype application. If you don't already have Skype, you can download it for free from the Microsoft Store or Skype's website. Once you have opened the Skype app, click on the three dots near the upper-left corner of the main page and select 'Settings'. This will open up the settings menu, where you can adjust various preferences and options.
Next, click on 'Audio & Video' in the settings menu. This will bring up the video settings page, where you can configure your camera and microphone. On the video settings page, you should see a video stream from your webcam appear on the right side. If you see yourself in the video stream, then your USB camera is working correctly.
If you don't see a video stream, try adjusting the camera settings within Skype. Make sure that the correct webcam is selected in the 'Camera' drop-down menu. You can also adjust the settings to ensure they match your camera's capabilities. If you're still not seeing a video stream, try checking your Windows privacy settings. Click the Start button and search for "Camera privacy settings." Ensure that "Camera access" and "Let desktop apps access your camera" are turned on. Also, verify that Skype is listed as an app that can access your camera.
If you're still encountering issues, try unplugging and replugging your USB camera into a different port. Sometimes, the problem could be a loose connection or a faulty USB port. If you have another computer, you can also try plugging your camera into that to see if it works. If it doesn't work on another computer, your camera may be defective and in need of replacement.
Charging Exilim Cameras: A Quick Guide
You may want to see also
![]()
Test your USB camera on Mac using Skype
If you want to test your USB camera on a Mac using Skype, you can follow these steps:
- Open the Skype application and sign in with your Skype username and password if you haven't already.
- From the menu bar, click on "Skype" (or the Skype button) in the app's menu bar at the top of the screen.
- Select "Preferences" from the dropdown menu.
- Click on "Audio/Video" (or "Audio & Video Settings") to adjust your settings.
- Check the box next to "Enable Skype Video."
- A preview of your camera feed will appear. If you can see your webcam's image, it is working properly.
If you are experiencing issues with your camera, you can try some troubleshooting methods. First, make sure that no other programs are using your webcam. Close any other applications that could be accessing your camera and restart Skype. You can also try restarting your Mac if that doesn't work. Additionally, make sure that your camera isn't obstructed and that there is no debris blocking the lens.
Shipping a Camera With Battery: The Safe Way
You may want to see also
![]()
Test your USB camera on Windows using Microsoft Teams
There are two ways to test your USB camera on Windows using Microsoft Teams.
Method 1: Using Camera Preview
- Open the Microsoft Teams desktop client on your Windows PC.
- Click on your profile picture at the top right corner of the Teams window.
- Select the ‘Settings’ option from the dropdown menu.
- When the Settings popup appears, click on the ‘Devices’ section in the left sidebar.
- Scroll down to the bottom of the Devices screen to see a preview of your camera.
Method 2: Using a Test Call
- Open the Microsoft Teams desktop client and click on your profile picture in the top right corner.
- Select ‘Settings’ from the dropdown menu.
- Click on the ‘Devices’ section in the left sidebar.
- Click on the ‘Make a test call’ option under the ‘Audio devices’ section.
- Follow the instructions given by the Test Call Bot and record a short message to test your camera and audio.
- The test call will end automatically within a few seconds, and the recording will be deleted immediately after.
Troubleshooting
If your camera is not working, try the following:
- Check if your camera is in use by another app, such as Skype or FaceTime. Close any other apps that might be using your camera.
- If you are using an external camera, try unplugging and replugging it into your USB port.
- Restart your device.
- Ensure you have the latest Windows update and Teams app version installed. Go to your profile picture in the upper-right of the Teams app, select Settings and more > Check for updates.
- Check your app permissions. You might need to change permissions on your Windows device: open the Settings app, select Privacy & Security > Camera, and turn on the “Let apps access your camera” toggle. Ensure the Microsoft Teams toggle is also turned on.
ADT Doorbell Camera: Battery-Powered or Not?
You may want to see also