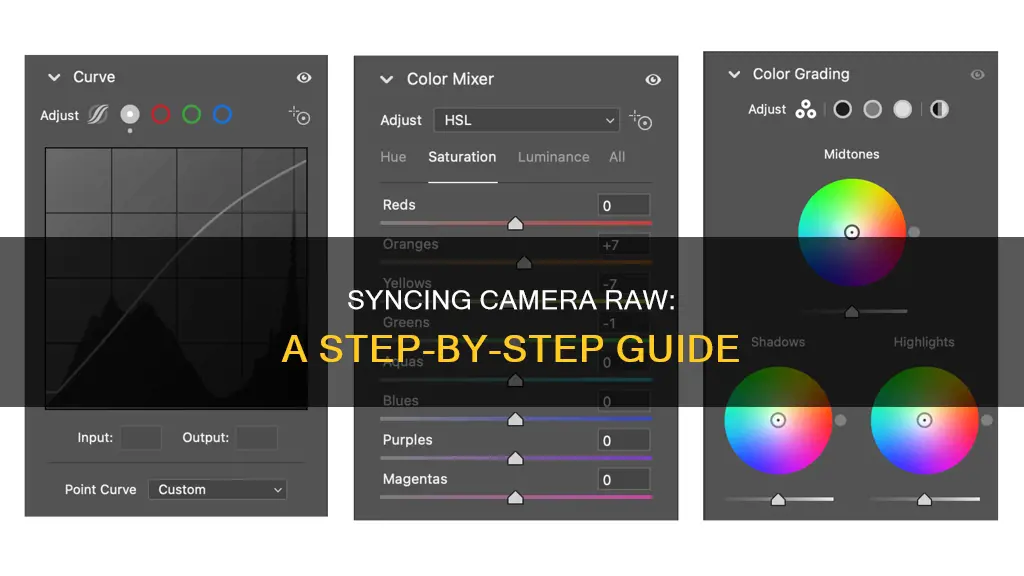
Synchronizing Camera Raw settings can be a huge timesaver when working on multiple images with similar conditions. In Adobe Camera Raw, you can sync adjustments on multiple images automatically by selecting all the photos on the filmstrip and then applying adjustments. You can also sync adjustments from one photo to other selected photos by clicking the sync button at the bottom of the toolbar that appears when you hover over an image thumbnail. This allows you to apply adjustments to multiple images without having to edit each one individually.
What You'll Learn
![]()
Selecting thumbnails in Bridge
When you open multiple photos into Camera Raw, they are represented by thumbnails in a panel on the left side of the dialog box. You can adjust one photo and then click "Synchronize" to apply those settings to the other photos. However, it is unlikely that every single adjustment needed for one photo will be perfectly suited to all the others, so it is more practical to adjust subsets of the grouping. For instance, you could apply a settings preset or some Basic tab adjustments to one photo and then apply those settings to the other photos.
To select thumbnails in Bridge, follow these steps:
- In Bridge, select two or more photo thumbnails, preferably those shot under similar lighting conditions and that require the same type of correction. To achieve the most accurate and consistent corrections, select all raw files or all JPEG files.
- Double-click one of the selected thumbnails.
- In the filmstrip panel on the left side of the Camera Raw dialog box, click one of the thumbnails.
- Make the necessary adjustments to the selected image, including cropping if desired. You can apply adjustments via the tabs or tools or by clicking a preset in the Presets tab.
- Click "Select All" at the top of the filmstrip panel, or Ctrl-click/Cmd-click the thumbnails to which you want to apply corrections, then click "Synchronize".
- The Synchronize dialog box will open. Here, you can choose to apply all adjustments or only select specific adjustments to sync by checking the relevant boxes. Click "OK" to apply the adjustments to the selected thumbnails.
By selecting thumbnails in Bridge and synchronizing adjustments, you can efficiently apply the same changes to multiple images, saving time and ensuring consistency in your photo editing workflow.
Lithium Batteries in Cameras: Safe Storage?
You may want to see also
![]()
Using the Tone Curve tab
The Tone Curve tab in Camera Raw allows you to make refined adjustments to the upper and lower midtones of your image. This can be done individually via the Parametric sliders.
To apply tonal adjustments using the Parametric sliders, first open your photo in Camera Raw. Click the Tone Curve tab, then the nested Parametric tab. You will see a static display of the current histogram behind the curve.
If you have already made adjustments to the Highlights and Shadows sliders in the Basic tab, leave these alone and tweak the upper and lower midtones using the Lights and Darks sliders. If you haven't adjusted the Highlights and Shadows sliders, you can use the sliders in the Parametric tab to lighten or darken any individual tonal range.
As you move a slider, the corresponding portion of the curve will be raised or lowered. To boost the contrast in your photo, move the Lights slider to the right and the Darks slider to the left.
To control the range of tonal values affected by your slider adjustments, move the region controls located below the graph. The left region control affects the Shadows slider, the right region control affects the Highlights slider, and the middle region control affects both the Lights and Darks sliders. Move a control to the left to raise the curve and lighten adjacent tonal ranges, or move it to the right to lower the curve and darken adjacent tonal ranges.
You can also use the Targeted Adjustment tool (T) to drag within a tonal range of the photo that needs adjustment. As you do this, the slider and curve that correspond to the tonal range under the pointer will move accordingly.
To use a shortcut to get to the nested Parametric tab in the Tone Curve tab and select the Targeted Adjustment tool, press Ctrl-Alt-Shift-T/Cmd-Option-Shift-T.
Viewing Raw Images: Overcoming Camera Crop Issues
You may want to see also
![]()
Applying the same cropping to multiple images
To apply the same cropping to multiple images in Camera Raw, you can follow these steps:
- First, select all the RAW images you want to crop by Command-clicking (for Mac) or Control-clicking (for PC) on each image in Adobe Bridge.
- Next, open the selected images in Camera Raw by pressing Command-R (Mac) or Control-R (PC).
- In the Camera Raw dialog box, click the "Select All" button in the top-left corner to ensure that any adjustments you make will be applied to all the images.
- Press "C" to access the Crop tool.
- Now, drag out your desired cropping border within the image in the preview area. As you adjust the cropping for the current photo, all the other selected photos will automatically receive the same cropping treatment. You will see these changes reflected immediately in the list of images on the left side of Camera Raw.
By following these steps, you can quickly and easily apply the same cropping to multiple images, saving time and ensuring consistency in your photo editing workflow.
Camera Battery Maintenance: How Often to Replace?
You may want to see also
![]()
Using the Adjustment Brush tool
The Adjustment Brush tool in Adobe Camera Raw (ACR) is used to make local adjustments to your photo. This means that you can selectively apply adjustments to specific areas of your photo. The Adjustment Brush tool can be used to apply Exposure, Texture, Clarity, and other adjustments by "painting" them onto the photo.
To use the Adjustment Brush tool, first select it from the toolbar or press K on your keyboard. This will open the Adjustment Brush tool options under the Histogram and set the mask mode to New. You can then choose the type of adjustment you want to make by dragging the effects slider. The effects available will depend on the Process Version you are using.
Once you have selected the type of adjustment you want to make, you can specify the brush options. These include the diameter of the brush tip, the hardness of the brush stroke, the rate of application of the adjustment, and the amount of transparency in the stroke.
Move the Adjustment Brush tool over the image and a crosshair will indicate the application point. The solid circle indicates the brush size, and the black-and-white dashed circle indicates the feather amount. If the Feather is set to 0, the black-and-white circle will indicate the brush size.
Paint with the Adjustment Brush tool in the area of the image you want to adjust. When you release the mouse, a pin icon will appear at the application point, and the mask mode will change to Add. You can then refine the adjustment by dragging the effect sliders or pressing V to hide or show the pin icon.
You can also create an eraser brush with different characteristics from the Adjustment Brush tool by clicking the Local Adjustment Settings menu button and choosing Separate Eraser Size. Specify the size, feather, flow, and density you want for the eraser and then use this brush to remove parts of the adjustment.
When working with multiple Adjustment Brush adjustments, make sure you are in Add mode to switch between them. Click a pin icon to select and refine that adjustment.
The Adjustment Brush tool can be a bit cumbersome to use, but with practice, it can speed up your editing workflow. It is a great tool for making local adjustments to your photo and can be used in conjunction with the Graduated Filter tool for even more refined adjustments.
ADT Doorbell Camera: Battery-Powered or Not?
You may want to see also
![]()
Copying settings from one photo to another
To copy and paste Camera Raw adjustments, first, edit the photo inside of Camera Raw. Once you're happy with your edits, you can copy the settings. To do this, right-click on the image and select "Copy Edit Settings". Alternatively, you can use the keyboard shortcut Control + C (Win) or Command + C (Mac).
Now, select the image or images you want to paste the settings onto. To do this, simply right-click or Command + click on the image thumbnail. You can also hold Control (Win) or Command (Mac) to select multiple images at once. Once you've made your selection, right-click and choose "Paste Edit Settings", or use the keyboard shortcut Control + V (Win) or Command + V (Mac).
If you are working with files from Adobe Bridge, or if you are opening multiple RAW files directly into Photoshop, you can use the filmstrip to copy and paste settings. In Adobe Bridge, select a file and choose Edit > Develop Settings > Copy Camera Raw Settings. Then, select one or more files and choose Edit > Develop Settings > Paste Camera Raw Settings.
If you are working with individual images or layers in Photoshop without using the filmstrip in Camera Raw, you can still copy and paste settings. First, convert the image layer to a Smart Object by going to Layer > Smart Objects > Convert to Smart Object. Then, open Camera Raw by going to Filter > Camera Raw Filter. Make your edits, then click OK. Finally, hold Alt/Option and drag the Camera Raw Filter to the new layer.
Calibrating Your Lith Battery: A Step-by-Step Guide
You may want to see also
Frequently asked questions
Using Bridge or the Open dialog, select multiple raw files and open them with Camera Raw. Select one image and make any desired adjustments. Select multiple images in the Filmstrip area. You can use the Select All button or Shift-click to select a range of images. Click the Synchronize button. Choose the settings you want to sync and click OK.
Yes, in Adobe Camera Raw, you can sync adjustments on multiple images automatically by selecting all the photos on the filmstrip and then applying adjustments.
In Lightroom, you can simply choose SHIFT+CTRL+C and select the settings you want to copy. On the destination photo, select SHIFT-CTRL+V.