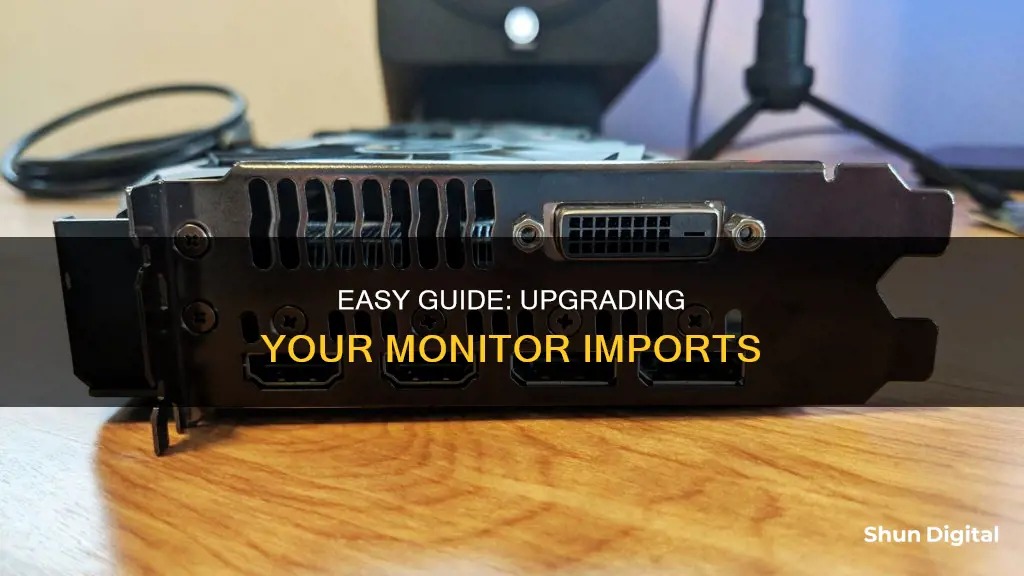
If you're using a dual-monitor setup, you may need to switch your monitor input at some point. This could be because you want to use a different device with one of the monitors or because you want to change the primary display.
On Windows, you can change the primary display by going to your Display Settings, selecting the monitor you want to set as the primary display, and checking the box next to Make this my main display.
If you want to switch the input source for a monitor, you can usually do this using the monitor's OSD (on-screen display) or by pressing a physical button on the monitor. If your monitor is set to Auto, it will automatically switch to a new input source when it detects a signal.
If you want to switch between input sources on Windows 7, you can use third-party software such as an HDMI Switcher or AutoHotkey.
What You'll Learn

Use a software solution like HP Display Center or Twinkle Tray
If you're looking to switch your monitor input, a software solution like HP Display Center or Twinkle Tray can be a great option. Here's how you can use these tools to easily manage your monitor setup:
HP Display Center
HP Display Center is a software solution provided by HP that allows users to manage their monitor settings, including input sources. While I wasn't able to find specific steps for using HP Display Center to switch inputs, it's likely that the software provides an intuitive interface for doing so. You can download and install HP Display Center from the HP website or through the Microsoft Store.
Twinkle Tray
Twinkle Tray is a free, open-source application that enables you to easily manage the brightness and settings of multiple monitors. While it primarily focuses on brightness control, it can also be used to switch your monitor input. Here's how you can use Twinkle Tray:
- Installation: You can download Twinkle Tray from the official website (twinkletray.com), the Microsoft Store, or GitHub. It supports Windows 10 and 11 and works with most laptops and DDC/CI-enabled monitors.
- Accessing the App: Once installed, Twinkle Tray adds a new icon to your system tray. Clicking on this icon gives you instant access to the brightness levels of all compatible monitors.
- Adjusting Brightness: Twinkle Tray adds brightness sliders for each monitor, similar to the built-in Windows volume flyout. You can adjust the brightness of individual monitors or all displays at once. It also allows you to normalize the backlight across different monitors.
- Hotkeys: You can bind hotkeys to adjust the brightness of specific monitors or all displays simultaneously. This feature can be particularly useful if you want to quickly switch inputs and adjust the brightness accordingly.
- DDC/CI Control: Twinkle Tray lets you control various DDC/CI features, such as contrast, volume, and power state. This includes the ability to switch input sources for your monitor.
- Automatic Brightness: The app can automatically adjust monitor brightness based on the time of day or when your system is idle.
- Customization: Twinkle Tray automatically adjusts its look and feel to match your Windows version and color preferences. You can also select specific themes and styles to personalize the app's appearance.
By following these steps and utilizing the features of Twinkle Tray, you can effectively manage your monitor setup, including switching inputs, adjusting brightness, and controlling various monitor settings.
Mounting Large Studio Monitors: A Step-by-Step Guide
You may want to see also

Use a hardware solution like an HDMI switcher or a KVM switch
If you want to switch your monitor input, a hardware solution like an HDMI switcher or a KVM switch is a great option. These devices allow you to connect multiple computers or devices to a single monitor and easily switch between them. Here's everything you need to know about using a hardware solution for monitor input switching:
HDMI Switcher
An HDMI switcher is a small device that allows you to connect multiple HDMI sources, such as a PC, gaming console, or laptop, to a single HDMI port on your monitor. This is useful if your monitor has a limited number of HDMI inputs. To switch between devices, you can either use a button on the switcher or, in some cases, a remote control. When shopping for an HDMI switcher, consider the number of devices you need to connect and the specific type of HDMI ports (e.g., HDMI 2.0, HDMI 2.1) you require. Additionally, make sure the switcher supports the resolution and refresh rate of your monitor to ensure optimal video quality.
KVM Switch
A KVM switch (Keyboard, Video, Mouse switch) is a hardware device that enables you to control multiple computers from a single set of peripherals, including a monitor, keyboard, and mouse. This is particularly useful if you have multiple computers and want to save space and reduce cable clutter. With a KVM switch, you can easily switch between computers with the press of a button or by using a remote.
When choosing a KVM switch, consider the number of computers and peripherals you need to connect. Most KVM switches support between two to four computers and one to three monitors. Additionally, check the ports on your computers and peripherals to ensure compatibility with the KVM switch. Common ports supported by KVM switches include HDMI, VGA, DisplayPort, USB-A, and USB-C. It's important to match the KVM's video output with the native input on your monitor to avoid using adapters. Also, ensure that the KVM switch supports your monitor's native resolution and refresh rate for the best video quality.
Some KVM switches offer additional features, such as audio and microphone input cabling, hotkey-based switching, and support for extended or duplicate display modes. You can also find KVM switches with built-in remote control functionality, allowing you to keep the switch out of sight.
KVM switches are widely available from various brands and price points, making it easy to find one that suits your specific needs and budget.
Adjusting Monitor Edges: Calibration Tips for Perfect Screen Alignment
You may want to see also

Use a remote control to switch inputs
If you want to switch your monitor input without using physical buttons, you can use a remote control. Some monitors have remotes with input buttons, which allow you to switch between inputs. Alternatively, you can purchase an HDMI switch box with a remote.
If you don't have a remote, you can use third-party apps such as NirSoft ControlMyMonitor (for Windows) or BetterDisplay (for macOS) to switch inputs. These apps allow you to send Display Data Channel (DDC) messages to your monitor to change inputs.
- Install the application and move it to a tools folder.
- Create two batch files to run the input select command, one for each input source.
- Create icons with an online ICO converter.
- Create shortcuts to the batch files with the appropriate icons.
Now you can double-click on the shortcuts to switch between input sources without using a remote control.
Asus 28-inch Monitor: Surprisingly Light and Portable
You may want to see also

Use a monitor with a dedicated input cycle button
If your monitor has a dedicated input cycle button, switching inputs is as simple as pressing that button until you reach your desired input. This is much quicker and more convenient than having to navigate through your monitor settings every time.
However, not all monitors have this feature. Many PC monitors require you to navigate through several menus to switch inputs, which can be frustrating if you frequently switch between different devices.
If you're looking for a quick and easy way to switch inputs on your monitor, it's worth checking if your monitor has a dedicated input cycle button. This feature can save you time and hassle, especially if you have multiple devices connected to your monitor.
Additionally, there are software solutions available that can make switching inputs more convenient. For example, if you're using a Windows PC and your monitor has DDC/CI capabilities, you can download the HP Display Center from the Windows store to change inputs without using the buttons or menus on your monitor. Alternatively, you can try third-party apps like Twinkle Tray or use a display port/HDMI switch box for a more seamless experience.
Monitoring Internet Usage: A Guide to Tracking Your Data
You may want to see also

Use a monitor with a physical KVM button
A KVM switch is a hardware device that lets users control multiple computers with one or more sets of peripherals, keyboards, monitors, and mice. This technology offers different methods of connecting to computers and reduces the need for multiple keyboards and mice on a desk.
A KVM switch on a monitor directly integrates the KVM switch into the monitor itself for convenience. This means you can connect several computers to a single monitor and switch between them using the monitor's built-in KVM features.
To use a monitor with a physical KVM button, you will need to prepare the following:
- Two source devices (desktops, laptops, or consoles)
- One keyboard and mouse set
- Video cable (HDMI/DisplayPort/USB-C/Thunderbolt)
- Upstream USB cable (if you are using USB-C/Thunderbolt, you won't need this)
- Turn on your devices and monitor.
- Connect your monitor to two source devices using either USB-C/Thunderbolt 3 or 4, or HDMI/DisplayPort cable + USB upstream cable. Plug the ports in order, following the instructions on the label. The cables and ports will go into pairing mode automatically.
- Go to the OSD menu and select the KVM switch option.
- Switch the keyboard and mouse control over different inputs. If you select "Auto" or "Auto Switch," the USB ports will switch automatically when the input signals switch. Alternatively, click on the HotKey Puck G2 if you are using a DesignVue Monitor.
By following these steps, you can easily control multiple computers using a single monitor with a physical KVM button, streamlining your workflow and boosting productivity.
Choosing the Right Monitor Size for Security Cameras
You may want to see also


