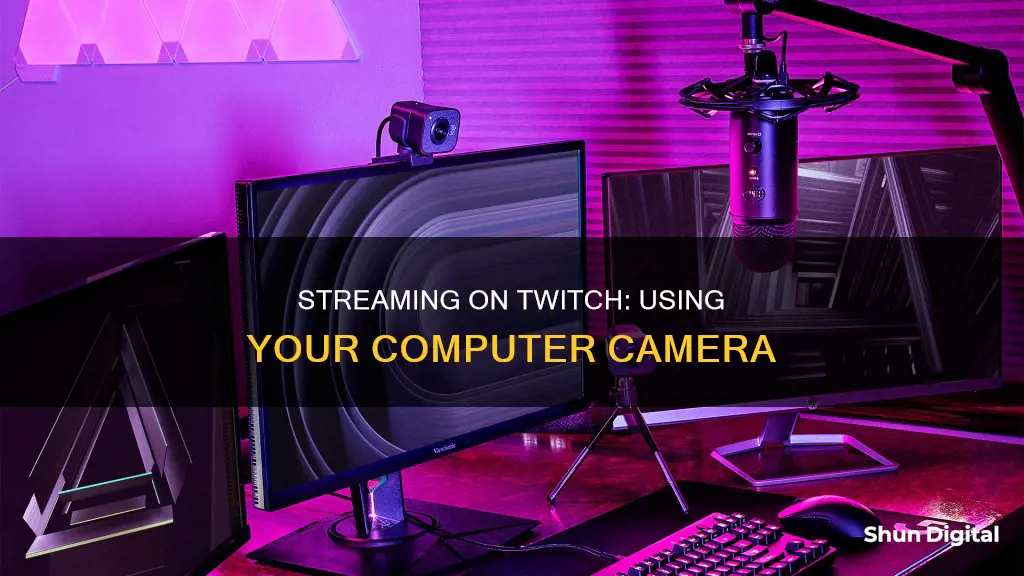
Streaming from your computer camera to Twitch is a straightforward process. To begin, you'll need to ensure you have the necessary equipment, including a computer, webcam, microphone, and stable internet connection. It is also recommended to have a second monitor and a capture card if you plan to stream console games.
Once you have the required equipment, follow these steps:
1. Create a Twitch account by visiting the Twitch homepage and signing up with your details.
2. Download and install streaming software such as OBS Studio or Streamlabs OBS. These programs offer custom layouts, alerts, and other features to enhance your stream.
3. Configure your stream settings by connecting your Twitch account to the streaming software. This will involve providing your Twitch credentials and authorizing access.
4. Set up your stream sources, such as audio from your microphone, video from your webcam, and any additional feeds like images or text.
5. Customize your stream layout to your liking, such as featuring your gameplay stream with a small box showing your webcam feed.
6. Test your stream and make any necessary adjustments to audio and video levels.
7. Start streaming by selecting the Go Live or Start Streaming button on your streaming software.
By following these steps, you'll be able to stream from your computer camera to Twitch, allowing you to share your content with your audience in real-time.
| Characteristics | Values |
|---|---|
| Streaming Software | OBS Studio, Streamlabs, StreamElements OBS.Live, Twitch Studio, XSplit |
| Streaming Hardware | Computer, Webcam, Microphone, Stable Internet, Capture Card |
| Stream Resolution | 720p or 1080p |
| Frames Per Second | 30 or 60 |
| Bitrate | 3000-6000 kbps |
What You'll Learn
![]()
Choose a streaming software
There are a variety of streaming software options available for Twitch, each with its own unique features and capabilities. Here are four to six paragraphs detailing some of the best options to help you choose the right one for your needs:
OBS Studio is a popular choice for new and experienced streamers as it is free, open-source, and highly customizable. It is compatible with Windows, Mac, and Linux, and integrates with Restream, allowing you to broadcast to multiple platforms simultaneously. However, it may have a learning curve for those new to live streaming software.
Streamlabs is based on OBS but is designed to be more user-friendly, especially for gamers. It offers additional features such as a Twitch and YouTube chatbot, integrated donation options, and customizable stream alerts. While Streamlabs is free, it can slow down your computer due to the number of add-ons.
XSplit Broadcaster is another widely used streaming software that is easy to set up and use. It offers both basic and premium versions and provides good technical support. XSplit is Windows-only and requires some knowledge of encoding, as it does not come with presets.
VMix is a powerful option for professional streamers, offering a range of advanced features. It supports various inputs, including webcams, cameras, capture cards, and more. vMix can be resource-intensive, but it has multiple price points, making it accessible for streamers with different needs.
Restream is a cloud-based streaming software that allows you to broadcast to multiple social platforms simultaneously. With Restream, you can add your logo, graphics, and overlays, invite guests, and schedule pre-recorded videos. It offers both a free plan and paid plans starting at $16 per month.
When choosing a streaming software, consider your budget, compatibility with your device and other platforms, the features you require, and whether you prefer a desktop program or a browser-based solution.
Transferring Camera Photos to Your Computer: A Step-by-Step Guide
You may want to see also
![]()
Set up your streaming software with Twitch
To set up your streaming software with Twitch, you can use Open Broadcaster Software (OBS) Studio, a free, open-source streaming software with cross-platform compatibility. It supports Windows, Mac, and Linux operating systems. OBS Studio offers high-performance real-time video and audio capturing and mixing, allowing you to create scenes with multiple sources, including window captures, images, text, browser windows, and webcams. It also provides an intuitive audio mixer with per-source filters and powerful configuration options to customise your stream.
Another option is Streamlabs, which is considered more user-friendly than OBS and offers features to help monetise your channel. However, it is only available on Windows.
If you're looking for a quick start on Twitch, you can try Twitch Studio, which is Twitch's proprietary streaming software. It is still in beta, so the features are limited, and it offers fewer customisation options.
For a browser-based solution, Restream Studio is a free streaming platform that allows you to go live on multiple platforms simultaneously, including Twitch, YouTube, and Facebook. It offers features such as picture-in-picture streaming, displaying chat as an overlay, and providing copyright-free background music.
To connect your streaming software to Twitch, follow these general steps:
- Download and install your chosen streaming software, such as OBS Studio or Twitch Studio, or opt for a browser-based solution like Restream Studio.
- Log in to your streaming software account, if applicable.
- Connect your Twitch account by authorising access or entering your Twitch credentials.
- Add your sources, such as your microphone audio, webcam video, and any games or applications you want to stream.
- Adjust your streaming settings, such as resolution, frame rate, and bitrate, to match your hardware capabilities and desired stream quality.
- Customise your Twitch stream with additional features, such as overlays, alerts, and extensions, to enhance the viewer experience and make your stream unique.
Mastering Manual Focus Photography in Low-Light Conditions
You may want to see also
![]()
Configure your stream
Configuring Your Stream
To configure your stream, you'll need to download streaming software such as Open Broadcaster Software (OBS) or XSplit. OBS is free and available on Mac, Linux, and Windows, while XSplit is Windows-centric and requires payment.
Using OBS
- Download and install OBS.
- Open the settings by clicking the "Settings" button in the lower right corner.
- Under "General", set your language and create a "Setting Profile" if desired.
- Under "Encoding", in the "Video Encoding" section, ensure that both "Use CBR" and "Enable CBR padding" are checked. Set your Max Bitrate as per Twitch's recommendations.
- In the "Audio Encoding" section, use an AAC codec with a bitrate of 64 to 128 kbps as per Twitch's recommendations.
- Under "Video", set your "Video Adapter" to your default graphics card. If you have multiple graphics cards, choose the one you'll be playing your game on. Set the "Base Resolution" to the native resolution of your monitor. You can also set the "Resolution Downscale" to downscale your monitor's resolution to output a lower-resolution feed, which will use less bandwidth.
- For "Audio" and "Broadcast" settings, refer to the guides mentioned earlier.
- Create a "Scene" by right-clicking in the "Scenes" box and clicking "Add Scene" from the dropdown menu. Name your new scene and click "OK". You can build multiple scenes, which is useful if you stream different video games.
- Add your gaming source by right-clicking inside the "Sources" box and clicking "Add". Choose the type of source you want to add from the three options: "Game Capture", "Window Capture", or "Monitor Capture".
- Add your webcam source by right-clicking inside the "Sources" box and clicking "Add" > "Video Capture Device". Name your source and choose your device and settings.
- Edit your scene by clicking "Edit Scene". You can now drag elements around the screen and resize them with your mouse.
Using XSplit
- Download and install XSplit.
- Select "Broadcast", then "Add Channel", then "Twitch".
- Select "Authorize" and enter your Twitch username and password.
- Select "Finish". XSplit will automatically set an optimal resolution.
- Edit your stream properties and click "OK".
- On the "Screen Sources" section on the bottom left of the XSplit interface, select "Add".
- Hover over "Game Capture" and select your game of choice.
- Select "Add" again to bring in any additional sources, such as images or your webcam feed.
- Drag and resize each source as needed.
Setting the Scene and Going Live
Using OBS
- On the main OBS interface, right-click the "Sources" box and select "Add", then "Game Capture".
- Select your game of choice from the dropdown menu and click "OK".
- Right-click the "Sources" box again to add any additional feeds, such as images or text to customize your layout, or use "Monitor Capture" to show anything on your display.
- Select "Preview Stream" and "Edit Scene" to tweak your stream layout.
- Select "Start Streaming" on the OBS dashboard.
Using XSplit
Select "Broadcast", then "Twitch". You're now live!
Diorama Mode: Creative Camera Setting for Miniature Effect
You may want to see also
![]()
Set up your scenes and go live
Setting up your scenes and going live is the final step before you start streaming on Twitch. Here is a step-by-step guide:
Using OBS Studio:
- On the main OBS interface, right-click the "Sources" box, select "Add", and then "Game Capture".
- Select your game of choice from the drop-down menu and click "OK".
- Right-click the "Sources" box again to add any additional feeds. You can add images and text to customize your layout, use "Monitor Capture" to show anything on your display, or select "Video Capture" to use your webcam.
- Select "Preview Stream" and "Edit Scene" to tweak your stream layout to your liking. For example, you might want to feature your gameplay stream prominently, with a small box in the corner that shows your webcam feed.
- Select "Start Streaming" on the OBS dashboard. You are now live!
Using XSplit:
- On the "Screen Sources" section on the bottom left of the XSplit interface, select "Add".
- Hover over "Game Capture" and select your game of choice.
- Select "Add" again to bring in any additional sources, such as images or your webcam feed.
- Drag and resize each source to your liking. For example, you may want to feature your "Game Capture" feed prominently, with a small box in the corner that shows your webcam feed.
- Select "Broadcast", then "Twitch". You're now live!
Using Twitch Studio:
- Once you have installed Twitch Studio, log in to your Twitch account.
- Twitch Studio will prompt you to choose a microphone to use for streaming. You can choose whatever you prefer or leave the default setting if it looks correct. You will then be set up with three different video scenes.
- During the setup process, a test will determine the quality you should be able to stream at, based on your computer's performance and your internet speed.
- After clicking through the setup process, you will arrive at your streaming studio interface. Here are the key things to pay attention to:
- Scenes: On the left side of the interface, you will see a list of three scenes. These are different views that you can opt to show your audience while streaming. The default gameplay scene will show a large background with your webcam in a small window in the lower-left corner. You can customize how the existing scenes look or add new ones, and during a stream, you can switch between them on the fly.
- Stream preview: In the centre of the screen, you will see a preview of what your stream looks like with the current scene. This is what your audience will see.
- Activity feed: This shows you any activity related to your Twitch followers or subscribers.
- My chat: This shows you the chat for your live stream, so you can see what your viewers are saying in real time.
- Stream settings: Across the bottom, you will see a small bar with a series of buttons and indicators. This allows you to turn off your webcam, see your volume levels, mute your microphone and speakers, and more. Most importantly, you have the buttons to start streaming, edit your scene, or mute your microphone or output audio.
- Stream info: If you've streamed before, you'll also see information about your current stream in the top-right corner.
- Once you have customized your scenes, click "Start Stream" at the bottom of the window.
- You will then be prompted to choose your stream settings. You can change the primary video source and scene, as well as the stream info and the "go live" notification.
- Enter a title for your stream and select a category. If you're playing a game, the category should be the name of the game so it's easier for people to find. Certain categories also automatically add tags to your stream. Finally, you can change the language you're streaming in so you can target the right audience.
- Finally, you can change the notification that's sent to your followers when you go live. Once that's done, click "Go Live" and your stream will begin.
Night Vision Photography: How to Capture the Dark
You may want to see also
![]()
Promote your Twitch channel
Identify your target audience
Firstly, you need to identify your target audience. Get to know them well. Where do they hang out? What streams do they watch? What social media platforms do they use? What times are they active? Knowing your audience will help you create an effective strategy to reach them.
Stream consistently
Stream at regular times and on a consistent schedule so that your fans know when to find you. Communicate your streaming schedule clearly and professionally.
Find the best time to stream
Stream when your established audience is active, but not at the times when they are most active, as you will have too much competition then. If you are trying to gain new followers, stream when there is less competition, i.e., when other streamers are asleep.
Be selective about your content
Stream content that has less competition. For example, instead of streaming live gaming on League of Legends, try streaming a new indie game. That way, you have a greater chance of going viral on Twitch and being discovered.
Create a professional-looking Twitch channel
The Twitch algorithm will reward you for a profile that looks professional. You can use graphics to achieve this. Use VistaCreate to make professional-looking graphics in seconds.
Promote your stream on social media
Promote your stream on other platforms such as YouTube, TikTok, Instagram, and Twitter. Create highlights of your streams and post them on YouTube. Share funny clips and behind-the-scenes footage on TikTok and Instagram. Post a tweet when you are about to stream.
Engage with your audience
Start conversations with your viewers and connect with them. Answer their questions and have fun with them. They might refer you to their friends. The Twitch algorithm will boost you if you have high levels of engagement by recommending you to other users.
Giveaways and prizes
Set up giveaways and contests with prizes for your audience. You can create some conditions of entry for the competition, such as subscribing to your channel or watching a stream. This will help increase your number of followers and viewers.
Partner with other streamers
Support other streamers and connect with them. They can recommend you, and their followers might join your channel. Use the raid feature on Twitch, which sends all your viewers to another channel, to boost another streamer's number of viewers. They might do the same for you.
High-Res Mode: Unlocking the Power of Pen F Camera
You may want to see also
Frequently asked questions
A computer, webcam, microphone, and stable internet connection are the basics. You will also need to set up an account with Twitch and enable two-factor authentication.
OBS Studio is a popular, free, open-source streaming software that is compatible with Twitch. Other options include Streamlabs, Restream Studio, and XSplit.
In OBS Studio, go to "Settings" > "Stream" and set the service to "Twitch". Log in to your Twitch account and you're set.
In OBS Studio, right-click on "Sources" and select "Add" followed by "Video Capture Device". Select your camera and adjust the size and position as needed.
Once you have your scene set up, click "Start Streaming" on the OBS dashboard. You will then need to choose a title and category for your stream.