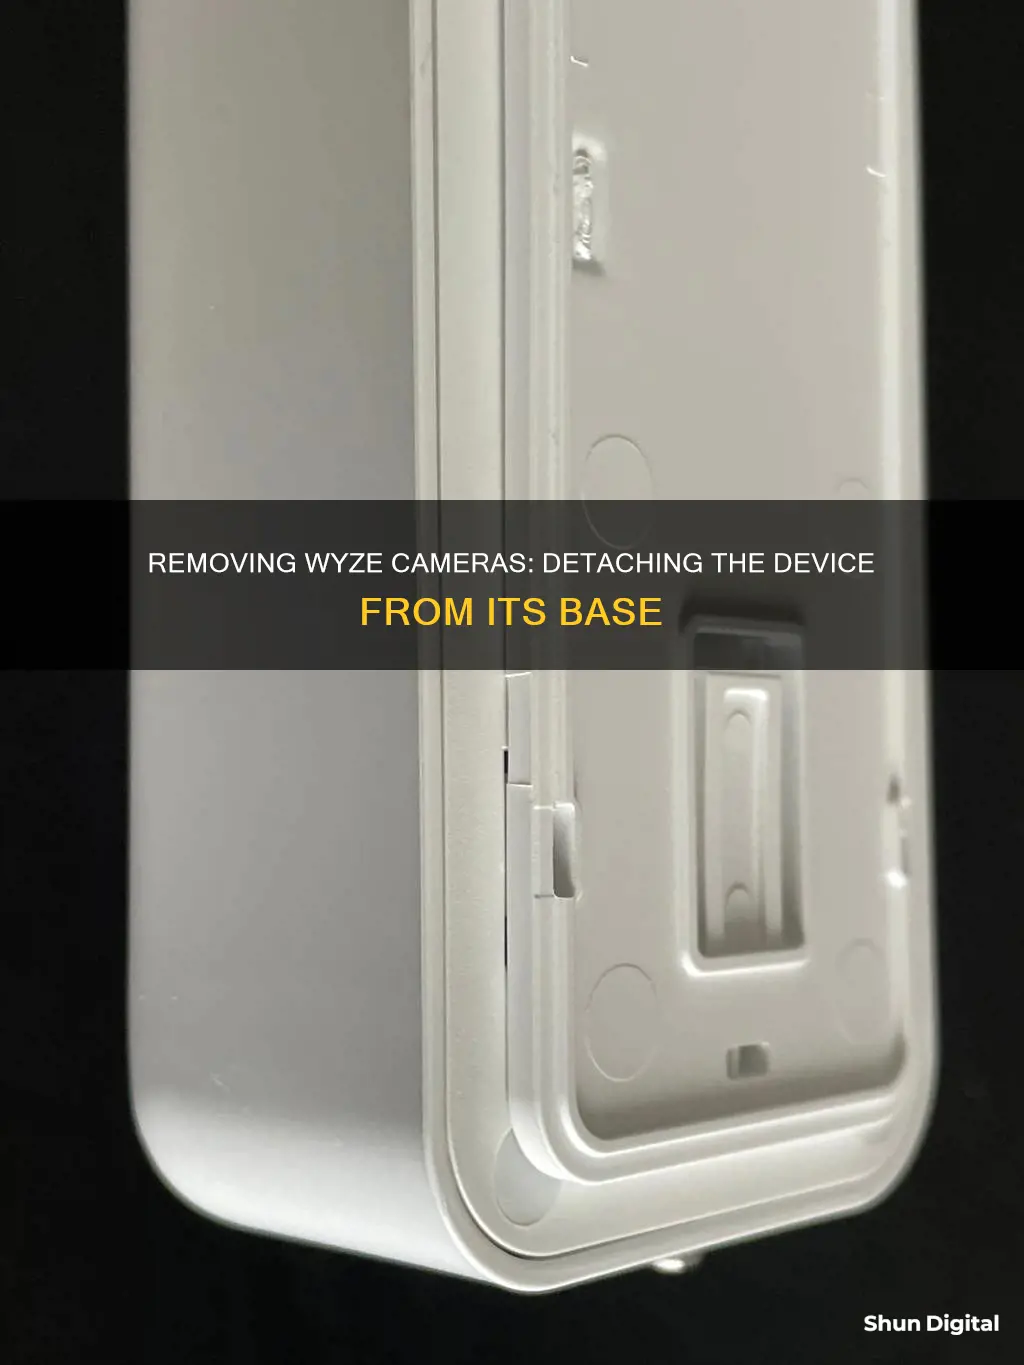
The Wyze Cam and Wyze Cam Pan are designed to be versatile, giving users a lot of options for placement. The camera can be placed on a shelf or mounted on a wall or ceiling using a variety of methods, including magnetic bases, adhesive tape, and screw mounting. While the flexibility in mounting options is convenient, the process of removing the camera from its base or mount can be challenging, especially if adhesive tape was used. This article will provide a comprehensive guide on how to safely remove a Wyze camera from its base or mounting surface, covering various scenarios and offering practical tips to make the process more accessible.
| Characteristics | Values |
|---|---|
| Ease of Removal | Depends on the mounting method |
| Mounting Methods | Screw, Adhesive, Magnetic Base, Tripod |
| Screw Removal | Use the right-sized screwdriver or hand-drill |
| Adhesive Removal | Heat with hair dryer, pry with a flat tool, use dental floss or wire |
| Adhesive Residue | Use commercial adhesive removal products |
What You'll Learn
- Unscrewing the screw: Use the right-sized screwdriver or hand-drill to unscrew the camera from its mount
- Adhesive removal: Heat the adhesive with a hair dryer and use a flat tool to gently pry the camera off the wall
- Detaching wires: Before removing the camera, disconnect all wires to avoid snagging
- Wyze Cam Mounting Kit: Use the kit's metal plate and screw to attach the camera to the wall for an easier removal option
- Magnetic base: The camera's magnetic base attaches to steel surfaces and can be removed by simply pulling it off

Unscrewing the screw: Use the right-sized screwdriver or hand-drill to unscrew the camera from its mount
To remove a Wyze camera from its base, you'll need to detach it from its mount. If you've attached the camera to a wall or similar surface using a screw, you'll need the right tools to unscrew it safely. Here's a detailed guide to help you through the process:
Unscrewing the Screw:
Using the Right-Sized Screwdriver or Hand-Drill:
- Make sure you have the correctly sized screwdriver or hand-drill bit for the screw. Using the wrong size can strip the screw, making it harder to remove.
- If you don't have a screwdriver, you can try alternative tools like a butter knife, pliers, or even a coin. These methods may damage the screw head, so use them as a last resort.
Unplugging All Wires:
Before attempting to remove the camera, ensure you've unplugged all wires to avoid any snagging or damage.
Applying Downward Pressure:
When using a screwdriver, apply downward pressure while slowly trying to remove the screw. This technique works well with soft-metal screws.
Using Pliers:
If there's a slight gap between the surface and the screw head, you can use pliers to grip and rotate the screw counter-clockwise.
Drilling a Small Hole:
If the screw is stubborn, use an electric drill to carefully drill a small, shallow hole into the screw head. This will allow your screwdriver to gain more grip.
Using a Dremel:
Attach a metal-cutting disc to a Dremel or small electronic rotator. Cut a new notch in the screw head, then use a flat-head screwdriver to rotate and remove the screw.
Improving Grip with Rubber Bands or Steel Wool:
If the screw is still stuck, place a wide rubber band or some steel wool between the screwdriver and the screw head. This will enhance the screwdriver's grip and facilitate removal.
Applying Lubricant:
If all else fails, apply a lubricant like WD-40 to the screw head and let it sit for a while. This can help loosen the screw, making it easier to turn.
Remember to be patient and persistent when dealing with a stubborn screw. Don't force it, as this can damage the screw head or the surface it's attached to. Always exercise caution when using tools, and ensure you have a steady grip and good balance when drilling or unscrewing.
LG Smart TV's: Skype-Ready with Built-In Cameras?
You may want to see also

Adhesive removal: Heat the adhesive with a hair dryer and use a flat tool to gently pry the camera off the wall
To remove a Wyze Cam that has been attached to a wall with adhesive, you'll need a hair dryer and a flat tool like a paint or wallpaper scraper.
First, use the hair dryer to heat up the adhesive. Hold the dryer a few inches away from the adhesive and keep it moving in a circular motion to ensure the heat is distributed evenly. It should take around 45 seconds for the adhesive to soften. If it doesn't seem soft enough after this time, continue heating in 30-second intervals until it does.
Once the adhesive is soft, insert a flat tool between the camera and the wall. Gently pry the camera away from the wall, working your way around the edges until it comes free. If you're struggling to detach it, try using a piece of dental floss or thin wire to help separate the camera from the wall.
If there's still adhesive residue left on the wall, you can use a commercial adhesive removal product like Goo Gone or naphtha to get rid of it. Alternatively, you can use soapy water, lighter fluid, or isopropyl alcohol to remove the residue.
It's important to note that you should always detach the magnetic mounting plate and any wires from the camera before attempting to remove it from the wall. This will ensure that you don't damage the camera or any of its components during the removal process.
Skyworth TV: Camera-Equipped or Not?
You may want to see also

Detaching wires: Before removing the camera, disconnect all wires to avoid snagging
Detaching wires is an important step when removing a Wyze camera from its base or wall mount. This step ensures that you don't accidentally snag or damage the wires during the removal process. It also makes the process safer, especially if you're working with a ladder or in a high-up location.
Before you begin detaching the wires, make sure you have a clear understanding of the wiring setup. The Wyze camera typically has a power cord that needs to be unplugged. If your camera is hardwired, you may need to turn off the power at the breaker box before proceeding.
Locate the power source for the camera. This could be an outlet, a battery pack, or a direct wiring connection. Once you've identified the power source, carefully unplug or disconnect the power cord from the camera. If the camera is mounted high up, use a sturdy ladder or climbing structure to reach it safely.
If your Wyze camera is connected to other devices or peripherals, such as a monitor, recording device, or additional sensors, locate and detach those wires as well. Be sure to label or make note of the connections to make reinstallation easier.
After detaching all the wires, you can proceed to remove the camera from its base or mounting plate. This process will depend on how the camera was initially mounted. For example, if it was attached with a screw, you'll need the appropriate screwdriver or hand drill to remove it. If it was mounted with adhesive, you may need to use a hairdryer to heat up the adhesive and a flat tool to gently pry the camera off.
Remember to handle the wires carefully during the removal process. Coil or secure the wires neatly to avoid tripping hazards or accidental damage.
Sharp TV Camera Location: A Quick Guide
You may want to see also

Wyze Cam Mounting Kit: Use the kit's metal plate and screw to attach the camera to the wall for an easier removal option
The Wyze Cam Mounting Kit offers a straightforward method for attaching your Wyze Cam to a wall or other surface, providing an easier removal option compared to adhesive tape. This kit is compatible with Wyze Cam v2, v3, and v3 Pro.
The kit includes a metal plate with a central hole, allowing you to screw the plate securely onto the desired surface. The magnetic base of the Wyze Cam will then attach firmly to this metal plate, enabling you to position your camera as needed. This method is ideal if you want a less permanent solution than adhesive tape, which can be challenging to remove without damaging the wall.
To use the Wyze Cam Mounting Kit, start by gathering the necessary components: the metal mounting plate, a screw, and, if needed, the included wall anchor. The kit also provides adhesive tape and a 5-foot USB extension cable, but these are optional.
When you're ready to install, simply screw the metal plate into the wall or the desired surface. If you're mounting on drywall, be sure to use the provided wall anchor for added support. Once the plate is securely in place, you can attach your Wyze Cam to it thanks to the camera's magnetic base.
With this mounting kit, you can easily adjust the placement of your Wyze Cam without worrying about damaging your walls or leaving adhesive residue. It's a convenient and flexible option for anyone looking to get the most out of their Wyze Cam.
Troubleshooting Dahua Cameras: Remote Viewing Issues
You may want to see also

Magnetic base: The camera's magnetic base attaches to steel surfaces and can be removed by simply pulling it off
The Wyze Cam and Wyze Cam Pan are designed to be versatile, giving you a lot of options when it comes to placement. The camera's magnetic base is one of the mounting options available to you. This base attaches to steel surfaces and can be easily removed by simply pulling the camera off.
The magnetic base is a convenient way to mount your Wyze camera without the need for tools or permanent alterations. It is perfect for temporary installations or if you plan to move your camera frequently. The magnet is strong enough to hold the camera securely in place, but also allows for easy removal when needed.
To use the magnetic base, simply find a suitable steel surface to attach your camera to. This could be a steel beam, shelf, or any other steel structure in your desired location. Once you've identified the ideal spot, just place the camera's magnetic base against the steel surface and adjust the camera to the desired angle.
Removing the camera from its magnetic base is just as straightforward. Grasp the camera firmly and pull it away from the steel surface. It's important to note that the magnetic base is designed to hold the camera securely, so you may need to use a moderate amount of force to detach it. However, be cautious and gentle to avoid accidentally damaging the camera or the surface during the removal process.
The magnetic base is a simple and efficient way to mount your Wyze camera, offering flexibility and ease of use. Whether you're moving the camera to a new location or adjusting your surveillance setup, the magnetic base provides a hassle-free option for temporary or frequently changing installations.
Shutterbug's Delight: Capturing Candid Camera-Shy Moments
You may want to see also
Frequently asked questions
The method to remove your Wyze camera from its base depends on how and where you mounted it. If you did not attach it to anything, simply detach the wires and lift it from its perch. If you used the mounting kit, you can simply unscrew the camera. If you used the adhesive tape, you will need to first detach the camera from the mount, then use a hairdryer to heat up the adhesive and a flat tool to gently pry the mount away from the wall.
Yes, you can use a hairdryer to heat up the adhesive and a flat tool, such as a paint scraper, to gently pry the mount away from the wall. If you are still struggling, try using dental floss or thin wire to separate the mount from the wall.
If you don't have access to a hairdryer, you can use a can of compressed air to heat up the adhesive.
You can use a commercial adhesive removal product, such as Goo Gone, to remove any leftover residue.
Before attempting to remove your Wyze camera, make sure you have detached all the wires and have the necessary tools, such as a screwdriver or hand drill, to avoid damaging the wall or the camera.


