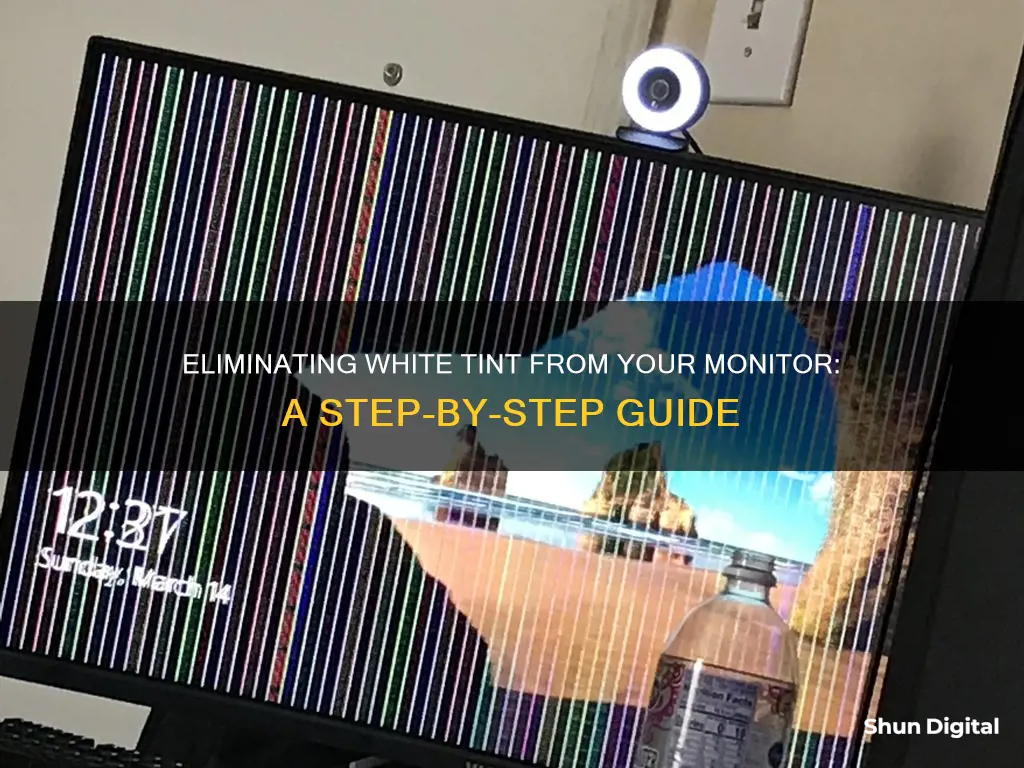
If your monitor has a white tint, there are several steps you can take to try and fix it. First, check your brightness and contrast settings on your screen and in Windows. If that doesn't work, try switching the HDMI or DP port inside your PC, or switch the cable. If you're using a VGA connection, try using a better cable as this may help. Make sure your power cord is snug in the wall and that whatever plugs into the monitor is tight. You should also check that you are running the latest drivers and that you are running a native resolution.
What You'll Learn

Check your brightness and contrast settings
If your monitor has a white tint, it is a good idea to check your brightness and contrast settings. This is because brightness and contrast settings can affect the colour and tint of your display.
To check your brightness and contrast settings on your Windows PC, go to your Settings. Then, select System, and Display. From there, you should be able to adjust your brightness and contrast settings. Play around with these settings to see if adjusting them removes the white tint from your monitor.
If you are using a Mac, you can try adjusting your brightness settings by going to System Preferences, then Displays, and finally, adjusting the Brightness slider. You can also try calibrating your display colour by going to the Colour tab in the Displays settings.
It is also worth checking the brightness and contrast settings on your monitor itself. You can do this by accessing your monitor's settings through its built-in menu. Every monitor is different, but you can usually access these settings by pressing the Menu or Settings button on your monitor. Once you are in the menu, look for the Brightness and Contrast settings and adjust them as needed.
In addition to checking your brightness and contrast settings, you may also want to try other troubleshooting steps such as checking your cables, power cord, and drivers.
Best Places to Buy Monitor Heaters This Winter
You may want to see also

Try a different HDMI or DP port
If you're experiencing a white tint on your monitor, one possible solution is to try a different HDMI or DP port. This can be done by connecting your monitor to a different port on your PC or device. For example, if your monitor is currently connected to an HDMI port, try switching it to a DP port, or vice versa.
Additionally, you can try switching the cable itself. If you're using an HDMI cable, try using a different HDMI cable, as there may be an issue with the current cable. The same applies if you're using a DP cable.
It's also worth checking your brightness and contrast settings on both your screen and your device to ensure that they are correctly configured and haven't been accidentally adjusted.
By trying different ports and cables, you can potentially identify and resolve the issue causing the white tint on your monitor.
If you have multiple ports available, it's worth testing each one to see if the issue persists. This will help you narrow down the problem and determine if it's related to a specific port or cable. If you have access to another device with an HDMI or DP port, you can also try connecting your monitor to it to see if the issue is specific to your device or the monitor itself.
Finding a Co-founder: Monitor Your Success with These Tips
You may want to see also

Try a different cable
If you're experiencing a white tint on your monitor, one possible solution is to try using a different cable. This is especially relevant if you've recently moved your PC or made changes to your setup.
Start by checking if you have another HDMI or Display Port (DP) inside your PC. If so, try switching to a different DP or HDMI port and using a different cable. It's worth trying a different cable with your current setup too, as cables can sometimes be faulty.
When changing cables, ensure that the connections are secure. Check that your power cord is snug in the wall and that whatever plugs into the monitor is tight. Loose connections can cause issues with your display.
If you're using an adapter, such as VGA to DisplayPort, try adjusting the gamma curve on your computer to mute the blacks. This can help reduce the noise causing the white tint. You can also try turning on dithering in your graphics card driver, as this increases random noise so you're less likely to see the pattern noise causing the tint.
Finding the Right Screw Size for V248 Monitors
You may want to see also

Power cycle the monitor
Power cycling your monitor can be a great first step to take if you're experiencing issues with your monitor, such as a white tint, and you're unsure of the root cause. It's a simple process that can resolve a number of problems.
To power cycle your monitor, start by locating the power supply. The power is usually connected to the side of the monitor. Once you've found it, simply remove the power supply by disconnecting it from the monitor or from the wall outlet. It's important to wait for a period of time, at least 10 seconds, before reconnecting the power. This gives the monitor a chance to properly power cycle and reboot.
After the waiting period, plug the monitor back into a working outlet and, if applicable, reconnect it to your computer. If the outlet is controlled by a light switch, make sure it's turned on. Once everything is plugged in, both the green and blue LEDs on the monitor should light up, indicating that the power cycle was successful.
If you're still experiencing issues with your monitor after power cycling, there are a few other things you can try. Firstly, check your brightness and contrast settings on your screen as well as in your operating system settings. Additionally, if you have another HDMI or DP port inside your PC, try switching to a different port or cable.
Monitoring Devices: ASUS Router Security Settings Guide
You may want to see also

Update your drivers
If you're experiencing a white tint on your monitor, one possible solution is to update your graphics card driver. An outdated or corrupt graphics card driver can cause issues with your display, such as an unexpected white tint. Here's a step-by-step guide to updating your graphics card driver:
Step 1: Open the Device Manager
On your keyboard, press the Windows key + R to open the Run dialog box. Then, type "devmgmt.msc" into the box and hit Enter. This will open the Device Manager, which allows you to manage your computer's hardware devices and drivers.
Step 2: Locate and Update the Graphics Card Driver
In the Device Manager, expand the "Display adapters" category. This will show you all the display adapters installed on your system. Right-click on the graphics card driver that you want to update and select "Update Driver" from the menu.
Step 3: Search for Updated Driver Software
In the next window, select the option to search automatically for updated driver software. This will prompt Windows to search for and install any available updates for your graphics card driver. Follow any on-screen instructions that may appear during this process.
Step 4: Wait for the Update to Complete
The update process may take a few minutes, so be patient. Once it's finished, restart your computer and check if the white tint on your monitor has disappeared. If the issue persists, you can also try manually installing the updated driver from the official website of your graphics card manufacturer.
Additional Tips:
- Before updating your graphics card driver, ensure your operating system is up to date.
- If you're unsure about your graphics card model or driver version, you can use third-party software to scan your system and identify the necessary updates.
- If updating your graphics card driver doesn't resolve the white tint issue, there may be other factors at play, such as display settings or hardware issues.
Blind Spot Monitor: A First Year Essential?
You may want to see also
Frequently asked questions
Try adjusting the gamma curve on your computer to mute the blacks.
It could be due to a faulty cable or a driver/software issue. Try replacing the cable or updating your drivers.
Check your brightness and contrast settings on your screen and in Windows.
Ensure that your monitor is set to its native resolution and that your power cord is securely connected.
Yes, certain connections like VGA may be more prone to causing a white tint. Try using HDMI or Display Port instead.


