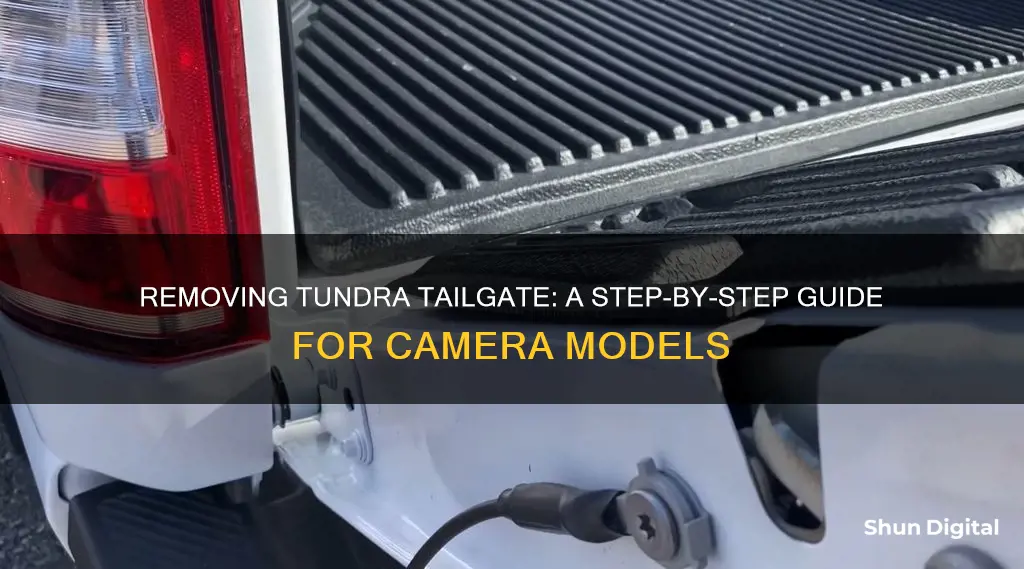
If you're looking to remove the tailgate from your Toyota Tundra, there are a few simple steps to follow. It's important to note that the process differs slightly depending on whether your truck has a rear-view or backup camera. For those without a camera, you can start by opening the tailgate halfway and unhooking the support cables on each side. From there, it's a matter of lifting the right side of the tailgate and sliding it off the pivot point, allowing you to fully remove it from the left post. If your Tundra has a camera, you'll need to first disconnect the wire harnesses between the camera and the vehicle. This involves pressing and holding the lock on the connector and pulling them apart, before covering the connectors and removing the tailgate using the same method as the non-camera version.
| Characteristics | Values |
|---|---|
| Vehicle model | Toyota Tundra |
| Vehicle type | Truck |
| Camera type | Rear-view camera |
| Wire harness connectors | White and gray connectors |
| Wire harness location | Vehicle body frame behind the bumper |
| Tailgate removal steps | 1. Disconnect wire harnesses between the rear-view camera and the vehicle. 2. Attach connector covers. 3. Lower the tailgate. 4. Remove the plastic wire protector. 5. Pull the camera wire harness through the hole. 6. Open the tailgate halfway. 7. Release the brackets on the support cables. 8. Tilt the tailgate to a 30-degree angle. 9. Pull up on the right side to unhook. 10. Slide the tailgate to the left to unlock the left side. |
What You'll Learn
- Unplug the rear-view camera cable before removing the tailgate
- Disconnect wire harnesses between the rear-view camera and the vehicle
- Remove the tailgate by releasing the brackets on the support cables
- Lift the tailgate to release the support cable bracket
- Tilt the tailgate to a 30-degree angle to unhook the right side

Unplug the rear-view camera cable before removing the tailgate
To unplug the rear-view camera cable before removing the tailgate, you'll need to locate the camera's wiring. This can be found by looking for the tail light and reverse light wiring running along the truck frame. The reverse light wire is typically a yellow wire with a red stripe across. Once you've located this wire, you can then proceed to unplug the rear-view camera cable.
It is important to ensure that you unplug the camera cable before removing the tailgate to avoid any damage to the camera or its wiring. This step is especially crucial if your Toyota Tundra has a backup camera. By unplugging the camera cable first, you can then safely remove the tailgate without causing any disruption to the camera's functionality.
To remove the tailgate, start by lowering it halfway and unhooking the support cables on each side. Then, lift up on the right side of the tailgate, and it should lift off the pivot point. From here, you'll be able to slide the tailgate off the left post. It's recommended to have two people for this process, but it is possible to do it alone.
When putting the tailgate back on, you'll need to lift it almost until it closes, and then it will slide more easily. Ensure that you line up the tailgate properly before lowering it halfway and sliding it into place. Don't forget to reattach the support cables once the tailgate is back in position.
Additionally, when working with the camera and its wiring, it's important to keep the wires organised and secured with electrical tape or zip ties. This will help prevent any damage to the wires and ensure that they don't interfere with other components.
Removing Cameras from Hikvision NVR: A Step-by-Step Guide
You may want to see also

Disconnect wire harnesses between the rear-view camera and the vehicle
Disconnecting the wire harnesses between the rear-view camera and the vehicle is a crucial step in removing the tailgate of a Tundra truck. Here is a detailed guide on how to do this:
- Access the Camera's Power and Video Cable: Start by locating the camera's power and video cable, which is typically connected to the rear-view camera and runs into the vehicle. This cable may be tucked away behind trim panels or other components, so carefully inspect the area to find it.
- Disconnect the Cable from the Camera: Once you've located the cable, carefully disconnect it from the rear-view camera. You may need to gently pull or wiggle the connector to detach it from the camera. Be gentle to avoid damaging the connector or the camera itself.
- Identify the Vehicle's Reverse Light Wires: The next step is to identify the vehicle's reverse light wires. These wires are connected to the tail lights and are usually located in the hatch or trunk area. Refer to your vehicle's repair manual if you're unsure where to find them.
- Strip and Separate the Reverse Light Wires: Using a wire stripper or a small screwdriver, carefully strip the insulation from the reverse light wires to expose the individual wire strands. Be careful not to damage the wires during this process.
- Disconnect the Reverse Light Wires: After exposing the wire strands, carefully disconnect the reverse light wires from the vehicle's wiring harness. Again, be gentle to avoid damaging the wires or their connectors.
- Separate the Camera's Power and Video Cable: The camera's power and video cable is typically split into two parts: the power cable and the video cable. Carefully separate these two components if they are connected.
- Disconnect the Power Cable: Locate the power cable connected to the vehicle's power source, which may be the fuse box or a similar power distribution centre. Disconnect the power cable from the power source, ensuring that you are only disconnecting the cable associated with the rear-view camera and not other vital vehicle systems.
- Disconnect the Video Cable: Identify the video cable that transmits the camera's feed to the vehicle's display unit or monitor. Carefully disconnect this cable, ensuring that you are only detaching the cable associated with the rear-view camera.
By following these steps, you will have successfully disconnected the wire harnesses between the rear-view camera and the Tundra vehicle. Remember to handle all electrical components with care and refer to the vehicle's repair manual if you need more detailed instructions or illustrations.
Uncover Your Camera's Potential: Remove Covert Status
You may want to see also

Remove the tailgate by releasing the brackets on the support cables
To remove the tailgate by releasing the brackets on the support cables, start by opening the tailgate to a halfway position. This will allow you to access the support cables on each side of the tailgate. Once the tailgate is in the correct position, you can begin to release the brackets.
To release the brackets, first, locate the support cables on both sides of the tailgate. Then, lift up the brackets and slide them off the lugs to release them. Make sure you do this on both sides.
After releasing the brackets, you can now tilt the tailgate to a 30-degree angle. At this angle, pull up on the right side of the tailgate to unhook it from the pivot point. Now, you can slide the tailgate a little to the right to unlock the left side.
With the brackets released and the tailgate tilted, you can now fully remove the tailgate by lifting it away from the truck. Be careful when handling the tailgate, as it can be heavy and awkward to manage alone. It is recommended to have an extra pair of hands to help with this process.
Removing Twitch Stream Camera Backgrounds: A Step-by-Step Guide
You may want to see also

Lift the tailgate to release the support cable bracket
To release the support cable bracket, you must first open the tailgate to a certain angle. This angle should allow you to access and lift the support cable bracket.
For a Toyota Tundra, open the tailgate to a 30-degree angle. This will enable you to release the brackets on the support cables from the lugs on both sides. Once you have lifted the tailgate to this angle, simply lift the support cable bracket up and slide it off to release it.
If you are removing the tailgate, you will also need to unhook the support cables. To do this, open the tailgate until it is flat or parallel with the ground. Then, you can remove the cables by prying the metal tab towards you with a flat-head screwdriver. You may need to lift the tailgate slightly to remove the cable from the tailgate cable bolt. Repeat this process on both sides of the tailgate.
The process of lifting the tailgate to release the support cable bracket is a simple task, but it is important to ensure that you have taken the necessary steps to prepare for removing the tailgate, especially if your Tundra model has a rear-view camera.
Eliminating Wisenet Camera Overlay: A Step-by-Step Guide
You may want to see also

Tilt the tailgate to a 30-degree angle to unhook the right side
To remove the tailgate on a Toyota Tundra, you'll need to first open the tailgate to a point where you can release the brackets on the support cables from the lugs on both sides. You can do this by lifting the support cable bracket and sliding it off.
Now, here's the key step: tilt the tailgate to a 30-degree angle. This is important for the next steps. At this angle, you'll want to pull up on the right side of the tailgate to unhook it. You may need to lift it slightly to unhook it from the pivot point.
The next step is to slide the tailgate a little to the right to unlock the left side. This will allow you to fully detach the tailgate.
If you're working with a Tundra that has a rear-view camera, there are a few additional steps. Before tilting the tailgate to the 30-degree angle, you must disconnect the wire harnesses between the camera and the vehicle. The connectors are located on the vehicle body frame behind the bumper. Press and hold the lock on the white connector and pull the connectors apart. Then, attach the white connector cover to the gray connector.
Now you can proceed with tilting the tailgate to the 30-degree angle and following the rest of the steps outlined above. Remember, always take caution when handling car parts to avoid any damage or injury.
Apple Watch Ultra: Camera Expectations and Realities
You may want to see also
Frequently asked questions
If your Tundra has a rear-view camera, you must first disconnect the wire harnesses between the camera and the vehicle. The connectors are located on the vehicle body frame behind the bumper. The white connector is for the rear-view camera system, and the gray connector is for the vehicle wire harness. Press and hold the lock on the white connector and pull the connectors apart. Then, attach the white connector cover to the gray connector.
Lower the tailgate and remove the plastic wire protector in the vehicle bed. Pull the rear-view camera wire harness through the hole and attach the gray connector cover to the white connector.
No, you are now ready to remove the tailgate. Lift the tailgate to an angle where you can release the brackets on the support cables from the lugs on both sides. Simply lift up and slide off the support cable bracket.
Tilt the tailgate to a 30-degree angle and pull up on the right side to unhook it. Slide the tailgate a little to the right to unlock the left side.
To reattach the tailgate, simply repeat the above steps in reverse and test the rear-view camera to ensure it is working properly.


