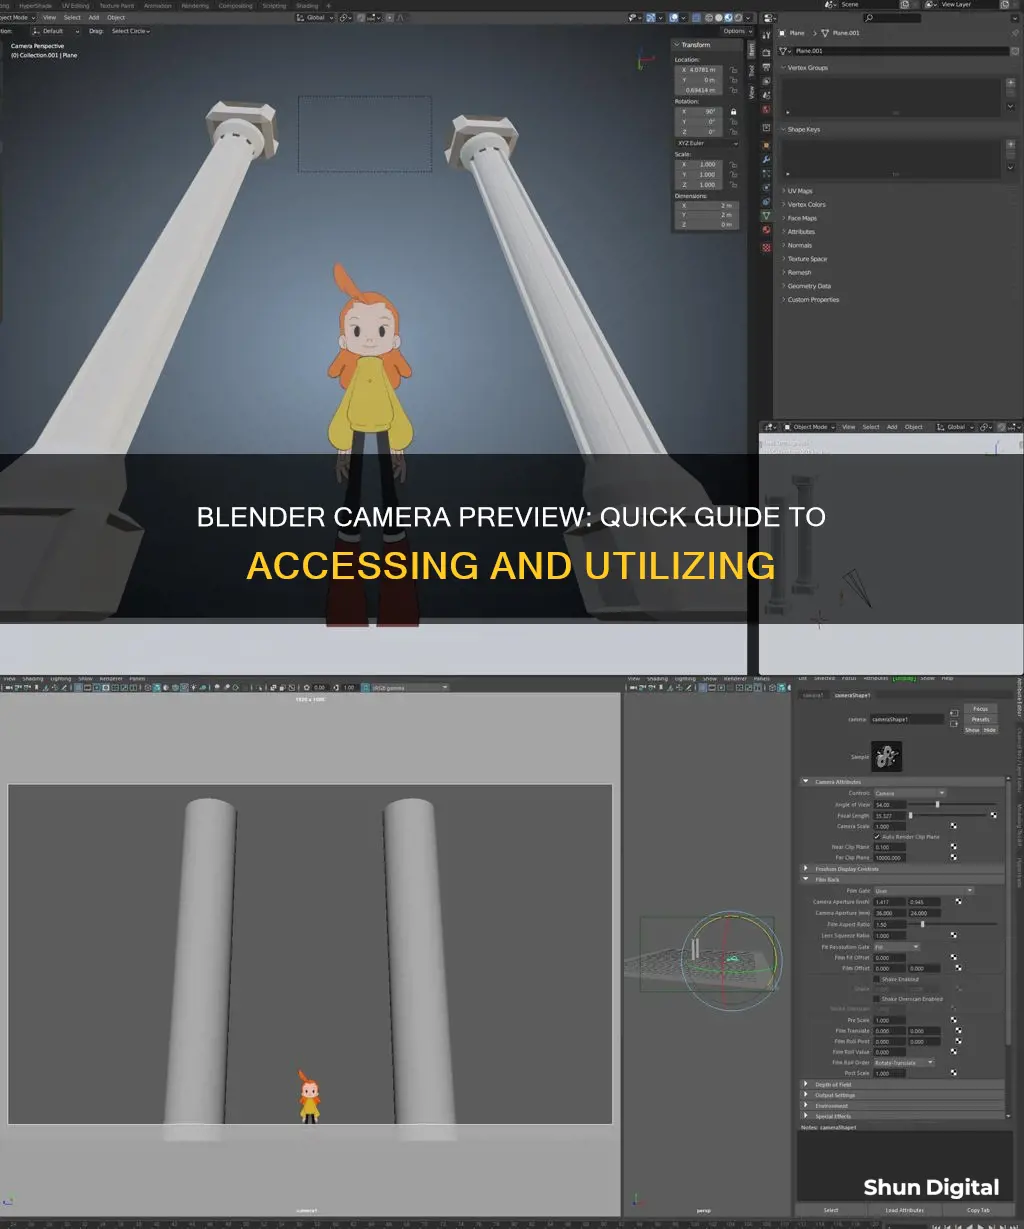
If you want to see a camera preview in Blender, you must first set an active camera in your scene. This can be done by pressing Ctrl + Numpad 0, although this shortcut may not always work. Alternatively, you can set the active camera by going into the Scene tab of the Properties panel. Once you have an active camera, you can view the scene from its perspective by pressing Numpad 0 or by selecting View > Viewpoint > Camera in the 3D Viewport menu. You can also select View > Cameras > Active Camera.
| Characteristics | Values |
|---|---|
| How to set the camera view to align with the current view in the 3D Viewport | Press Ctrl + Alt + NumPad 0 |
| How to align camera to viewport view without a number pad | Go to user preferences, navigate to the "Input" tab and check the box "Emulate NumPad" |
| How to lock camera to current view | Press "N" to open the sidebar in the 3D viewport, click on the "View" tab and check the box "Camera to View" |
| How to view from the active camera | Press Numpad 0 or choose View > Viewpoint > Camera |
| How to set the active camera | View > Cameras > Set Active Object as Camera |
| How to align active camera to view | View > Align View > Align Active Camera to View |
| How to perform camera moves | Press R to enter object rotation mode |
What You'll Learn

Using the Ctrl + Alt + NumPad 0 shortcut
This shortcut is particularly useful if you're working on a laptop without a dedicated number pad. By going into Blender's preferences (Edit > Preferences > Input), you can enable the "emulate numpad" setting, which makes the regular number keys function as the number pad keys. This way, you can still use the camera snap shortcut without a dedicated number pad.
It's important to note that Ctrl + Alt + NumPad 0 is intended to set the camera's position and doesn't change the point of view itself. To change the viewpoint to the active camera, you can simply press NumPad 0 or go to the 3D Viewport's menu and choose View > Viewpoint > Camera. Alternatively, you can use View > Cameras > Active Camera.
After snapping your camera to the desired position, you can make further adjustments. To do this, select the camera, which will be highlighted with a yellow border, and use G to move or R to rotate. Locking the camera view is another option to keep the camera position static. This can be done by opening the sidebar (N on the viewport) and navigating to View > Lock Camera to View.
Hooking up a Camera to TV: No DVR Needed
You may want to see also

Using the View menu
To view the active camera in Blender, you can use the View menu. Here's a step-by-step guide:
- Go to the View menu and select "Viewpoint" > "Camera". This will switch your perspective to view from the active camera.
- If you want to set a specific camera as the active one, you can do so by going to "View" > "Cameras" > "Set Active Object as Camera". This will make the selected camera the active one and switch your view to the camera perspective.
- Alternatively, you can also press "Ctrl + Alt + NumPad 0" to align the camera to the current view. This will set the active camera to match the current view in the 3D Viewport.
- To lock the camera to the current viewport view, press "N" to open the sidebar in the 3D Viewport. Then, under the "View" tab, check the "Camera to View" option. This will ensure that as you navigate the scene, the camera's view will follow your movements.
- To frame the camera bounds within the 3D Viewport's screen area, go to "View" > "Cameras" > "Frame Camera Bounds". This will centre the camera view and resize it to fit within the screen area.
- To zoom the camera view to match the output resolution exactly, use "View" > "Navigation" > "Zoom Camera 1:1". This will help you preview how large objects will appear in the rendered image or animation.
Remember that the active camera is typically defined at the scene level, so it remains consistent across all 3D Viewports. However, you can also set a camera as the active one within a specific Viewport by using the "Local Camera" option.
Roku TV: Camera-Equipped or Not?
You may want to see also

Locking the camera to the viewport view
To lock the camera to the viewport view in Blender, you can follow these steps:
- Open the side menu by pressing the 'N' key or clicking the menu button on the vertical menu on the right side of the 3D window.
- In the side menu, select the 'View' tab.
- Under 'View Lock', check the 'Lock Camera to View' option.
- Alternatively, you can use the shortcut Ctrl + Alt + Numpad 0 to align the active camera to the view.
- You can also lock the camera transformations by selecting the camera object.
- Additionally, you can use the 'Fly/Walk Navigation' feature for first-person navigation that moves the active camera.
- If you want to manipulate the camera position, you can use the same tools used to transform any object. Press 'R' to enter object rotation mode and use the default local Z-axis or switch to the X or Y-axis for vertical or horizontal panning respectively.
- To dolly the camera, press 'G', then MMB or 'Z' twice.
By following these steps, you can lock the camera to the viewport view in Blender and make adjustments to the camera position as needed.
Is Your TV Spying on You?
You may want to see also

Setting the active camera
To set the active camera in Blender, follow these steps:
- Using Key Bindings: Select the desired camera and press Ctrl + Numpad 0. This will set the selected camera as the active one and switch your view to the camera perspective.
- From the Menu: Go to the 3D Viewport Header and navigate to View > Cameras > Set Active Object as Camera. This will make the selected object the active camera and change your viewpoint.
- Using the Scene Property: Access the Properties Editor, go to the Scene tab, and pick a camera object from the list. Here, you can also identify the active camera by looking for the green camera icon beside its name in the outliner.
- Using Markers (for animation): If you want to change the active camera during an animation, you can use markers. Add a marker at the desired frame (M in the Timeline or Timeline header > Add marker) and select the object you want to set as the new active camera. Then, press Ctrl + B in the Timeline (or Timeline header > View > Bind camera to markers). Remember that you need at least two markers with cameras bound to them to achieve camera switching.
Additionally, if you want to view the scene through the active camera without changing the active camera itself, simply press Numpad 0, or go to View > Viewpoint > Camera in the 3D Viewport menu.
Infrared Cameras: Can They See Metal Under Rotting Wood?
You may want to see also

Aligning the active camera without a numpad
If you don't have a numpad, you can still align the active camera in Blender. Here's how:
First, go to your User Preferences by navigating to File > User Preferences or using the Ctrl+Alt+U shortcut. In the Input tab, check the "Emulate Numpad" box. This will allow you to use the number keys at the top of your keyboard to change camera views instead of the numpad.
Now, to align the active camera to your current view, go to View > Align View > Align Active Camera to View. This will move and rotate the camera to match your current viewport view.
Additionally, you can lock the camera to your view by enabling "Lock Camera to View" in the Sidebar > View. When you switch to camera view or toggle the lock navigation gizmo button, the camera will follow your view as you navigate.
If you're using Blender 2.8 or later, there is also a button in the interface that allows you to switch to the camera view without using the numpad.
ADT Surveillance Camera Range: How Far Can They See?
You may want to see also
Frequently asked questions
Ctrl + Numpad 0 sets an object as an active camera.
Press Numpad 0 or choose View > Viewpoint > Camera.
Press Ctrl + Alt + Numpad 0 to align the camera to the current view.
Press N to open the sidebar, check the "Camera to View" box under the "View" tab, and then press Numpad 0 to enter camera view.
First, select the camera so transform operations apply to it. Then, press R to enter object rotation mode and G to dolly the camera.


