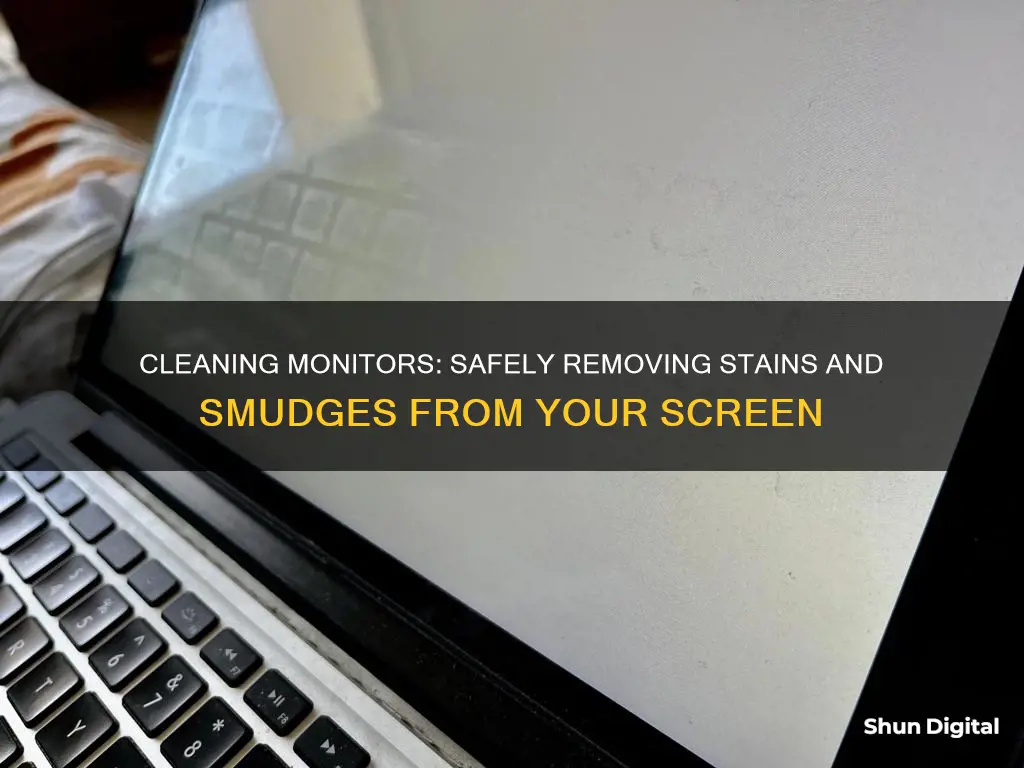
There are many reasons why you might want to remove something from your monitor. For example, you might want to remove a display from your desktop settings, or you might want to remove smudges from your screen. If you are experiencing issues with phantom or ghost monitors appearing in your Windows Display Settings, you can follow some general guidelines to resolve this issue. This includes right-clicking and removing any excess generic PnP monitors from Devices and Printers in the Control Panel, as well as uninstalling any Generic PnP monitors from the Device Manager.
What You'll Learn

How to remove smudges from a computer monitor
Before You Start
Before you begin cleaning your monitor, it's important to determine what type of screen you have. Glass-coated screens, found on older monitors, are less delicate than non-glass-coated screens, which are more common on modern Windows computers, touchscreens, and matte displays. If you're unsure, opt for gentler cleaning methods to avoid accidental damage. Additionally, always consult your user manual or the manufacturer's website for specific instructions.
General Precautions
- Turn off your monitor and computer, and disconnect the power cables.
- Allow the monitor to cool down before cleaning.
- Avoid spraying any liquid directly onto the screen.
- Never use abrasive pads, paper towels, or cloth towels, as these can scratch the screen.
- Always use a soft, lint-free microfiber cloth for cleaning.
- Avoid excess moisture, especially around ports and control buttons.
- Do not scrub in circles, as this can cause uneven pressure and potential damage.
Removing Smudges from a Glass-Coated Screen
- Use a dry microfiber cloth to wipe away dust from the screen. Fold the cloth into quarters, and start at the top of the monitor, wiping side to side.
- For stubborn smudges or stuck-on food, dampen a clean microfiber cloth with a small amount of distilled water or isopropyl alcohol. Ensure the cloth is slightly damp, not dripping.
- Gently wipe the screen with the dampened cloth, being careful not to press too hard.
- Use a clean, dry section of the microfiber cloth to dry the monitor screen.
Removing Smudges from a Non-Glass-Coated Screen
- Use a dry microfiber cloth to remove dust from the screen, starting at the top and moving towards the bottom.
- For smudges, slightly dampen a clean microfiber cloth with distilled water. Avoid using too much water, as you don't want it to drip.
- Gently wipe only the smudged areas with light pressure.
- Immediately dry the screen using a clean, dry microfiber cloth.
Cardiac Monitoring: Understanding Heart Health and Vital Signs
You may want to see also

How to remove a laptop screen and use an external monitor
Removing the Laptop Screen
First, ensure that your laptop is powered off and that you have a soft cloth or tissue paper to lay the screen on. You will also need a Phillips-head screwdriver and a hobby knife or box cutter.
Locate the rubber screw covers along the front bezel of the screen assembly and remove them carefully with your knife or cutter. The front bezel is the protective material around the edges of your laptop's screen. Underneath the screw covers, you will find the screws holding the bezel in place. Unscrew these with your Phillips-head screwdriver and place the screws and covers somewhere safe.
Next, gently pry out the front bezel by holding the edge of one side and applying pressure down onto the screen with your thumbs. Do this along all sides of the screen assembly until you can remove the bezel completely. This will reveal the laptop screen.
Now, locate the metal brackets on either side of the screen, which hold the screen in place. Unscrew these brackets and place the screws somewhere safe. Gently lift the screen out of the assembly and lay it facedown onto the soft cloth or tissue on your keyboard.
To fully remove the screen, you will need to disconnect the video connector and inverter. At the back of the screen, you will see a strip of cable—this is the video connector. Peel off the tape attaching the cable to the screen and gently pull it out. Some laptops may have a locking mechanism on the video connector, so be sure to flip this open before removing the cable.
The inverter provides power to the screen's backlight and is typically located at the bottom of the screen. Disconnect the screen cable and the video connector from the inverter by gently pulling them out. With these cables disconnected, you can now completely remove the laptop screen.
Using an External Monitor
Now that your laptop screen has been removed, you can set up an external monitor to use with your laptop. First, identify the ports on your laptop and ensure that you have the correct cable to connect it to your monitor. Common ports include HDMI, USB-C, DisplayPort, and Thunderbolt (for Apple devices). If your laptop and monitor have different ports, you may need to purchase an adapter.
Connect the external monitor to your laptop using the appropriate cable. Once plugged in, Windows should automatically detect the monitor. If it doesn't, go to Start > Settings > System > Display. Under the "Multiple displays" header, click the "Detect" button.
From the Display interface, select the secondary display, then select "Extend these displays" or "Duplicate these displays" from the menu at the bottom of the screen under "Multiple displays". Click "Apply" or "Keep Changes" to save your settings.
If you are using a Mac, the process is similar. Open System Preferences and select "Displays" to choose your display settings. To use your monitor as an extended desktop, click "Arrangement" to see your current display arrangement and drag the display boxes to adjust their locations. To mirror your desktop onto the second display, click "Arrangement" and select the "Mirror Displays" checkbox.
Troubleshooting
If your laptop isn't recognizing the external monitor, try these troubleshooting steps:
- Check that all cables are firmly connected and that the monitor is powered on.
- Ensure that the correct input source is selected on the monitor.
- Try disconnecting and reconnecting the cables.
- Try using a different cable or port.
- Restart your laptop and monitor.
- Check your laptop's display settings and ensure they are configured correctly.
Bigger Monitors: Better Experience or Just a Myth?
You may want to see also

How to remove a display from a desktop in Windows 10
If you are running the Windows 10 Enterprise or the Windows 10 Pro for Workstations editions, you can use the "Remove display from desktop" feature to prevent Windows 10 from using a connected display without having to disconnect the display. This allows you to easily allow Windows 10 to use the display again when you want.
There are two ways to remove a display from a desktop in Windows 10:
Option One: Remove Display from Desktop in Settings
- Open Settings by pressing the Windows key + I.
- Click/tap on the System icon.
- Click/tap on Display on the left side.
- On the right side, click/tap on the Advanced display settings link towards the bottom.
- Select the display you want to remove or restore in the Choose display drop-down menu.
- Turn off (restore) or on (remove) the "Remove display from desktop" toggle, depending on the current state of the display.
Option Two: Remove Display from Desktop in NVIDIA Control Panel
- Open the NVIDIA Control Panel.
- Click/tap on the Set up multiple displays link under Display in the left pane.
- Under "Select the displays you want to use" on the right side, uncheck (remove) the displays you want to remove.
- Click/tap on Apply.
- Click/tap on Yes in the Apply Changes dialog when prompted to confirm.
If you need to undo the "Remove display from desktop" feature, follow these instructions:
- Plug into another display.
- Right-click on the desktop and select Display settings.
- Next, select Advanced display settings.
- Select the display you turned off in the "Select a display to view or change the settings for it" drop-down menu.
- Now turn off the "Remove display from desktop" toggle.
If you are experiencing issues with "phantom" or "ghost" monitors appearing in your Windows Display Settings, even though these extra monitors are not connected to your computer, you can try the following:
- Right-click and remove any excess generic PnP monitors from Devices and Printers in Control Panel.
- Right-click and uninstall any Generic PnP monitor(s) appearing in Device Manager.
- Install the latest video drivers from Dell's Support Website / Drivers & Downloads.
- Reboot your computer after installing the video drivers.
The Standard 24-Inch Monitor: How Big Is It Really?
You may want to see also

How to remove ghost or non-attached monitors in Windows display settings
If you're experiencing issues with "phantom" or "ghost" monitors appearing in your Windows Display Settings, even though no extra monitors are connected to your computer, there are several steps you can take to resolve this issue:
Firstly, you can try right-clicking and removing any excess generic PnP monitors from "Devices and Printers" in the Control Panel. You can also right-click and uninstall any Generic PnP monitors that appear in Device Manager.
Next, ensure that you have the latest video drivers installed for your graphics card. If you're using an Intel graphics card, NVIDIA graphics, or an AMD graphics card, you can find the latest drivers on the Dell Support Website under the Drivers & Downloads section and the Video category for your specific computer model. After installing the latest video drivers, you may need to reboot your computer.
If you're using Windows 10 Enterprise or Windows 10 Pro for Workstations, you have the option to "Remove display from desktop" in your Settings. To do this, open Settings, click on the System icon, then click on Display on the left side. From there, click on the Advanced display settings link on the right side and select the display you want to remove from the "Choose display" drop-down menu.
For those with NVIDIA graphics and drivers installed, there is another option to remove displays. Open the NVIDIA Control Panel, click on the "Set up multiple displays" link under Display in the left pane, and then uncheck the displays you want to remove on the right side. Click "Apply" and then "Yes" in the Apply Changes dialog box to confirm the changes.
By following these steps, you should be able to remove any ghost or non-attached monitors from your Windows Display Settings.
Calibrating LCD Monitors: Syncing Printer Output for Perfect Results
You may want to see also

How to remove a display from a desktop in Windows 11
If you are running the Windows 11 Enterprise or the Windows 11 Pro for Workstations editions, you will have access to a "Remove display from desktop" feature. This feature allows you to use your monitor as a "Specialized Display", which is dedicated to a specific purpose. Examples of Specialized Displays include fixed-function arcade/gaming rigs, medical imaging devices, dedicated video monitoring scenarios, and monitor panel testing and validation.
- Press the Windows key + I to open the Settings app.
- Click/tap on the System icon.
- Click/tap on Display on the left pane.
- On the right pane, click/tap on the Advanced display settings link towards the bottom of the page.
- On the next page that opens, select a display you want to remove or restore in the "Choose display" section drop-down menu.
- Now, under the "Remove display from desktop" section, toggle the button to On (remove) or Off (restore) as per your requirement.
- Exit the Settings app when done.
Note that you must be signed in as an administrator to turn on or off the "Remove a display from desktop" feature.
If your Windows edition is not as mentioned above but you have NVIDIA graphics and drivers installed on your system, you can use the following method:
- Open the NVIDIA Control Panel.
- On the left navigation pane, under Display, click on the "Set up multiple displays" link.
- On the right pane, under "Select the displays you want to use", uncheck (remove) or check (restore) the displays as per your requirement.
- Finally, click on "Yes" on the prompt that appears to confirm and save changes.
- Exit the NVIDIA Control Panel when done.
To disconnect a monitor in a dual-monitor setup on Windows 11 without unplugging the cable, you can use the following steps:
- Use the Windows key + P keyboard shortcut.
- Using the "Project" flyout, select the "PC screen only" option.
- The second monitor will now be disconnected.
To disconnect a monitor in a triple-monitor setup, follow these steps:
- Click on the Display page on the right side.
- Select the monitor you want to disconnect.
- Select the "Show only on X" option to connect to only one display and disconnect the other(s).
If you want to reconnect the display(s), follow the same instructions, but on the last step, select the "Extend these displays" or any of the "duplicate" options.
Unlocking G-Sync on Your ASUS FreeSync Monitor
You may want to see also
Frequently asked questions
You can remove a "phantom" monitor from your Windows display settings by doing the following:
- Right-click and remove any excess generic PnP monitors from Devices and Printers in the Control Panel.
- Right-click and uninstall any Generic PnP monitor(s) appearing in Device Manager.
- Install the latest video drivers.
To safely remove smudges from your computer monitor, you can use a microfiber cloth.
To remove a display from your desktop in Windows 10, you can follow these steps:
- Open Settings and click on the System icon.
- Click on Display on the left side and then click on the Advanced display settings link on the right side.
- Select a display you want to remove or restore in the Choose display drop-down menu.
- Turn off (restore) Remove display from the desktop for what you want depending on the current state of the display.


