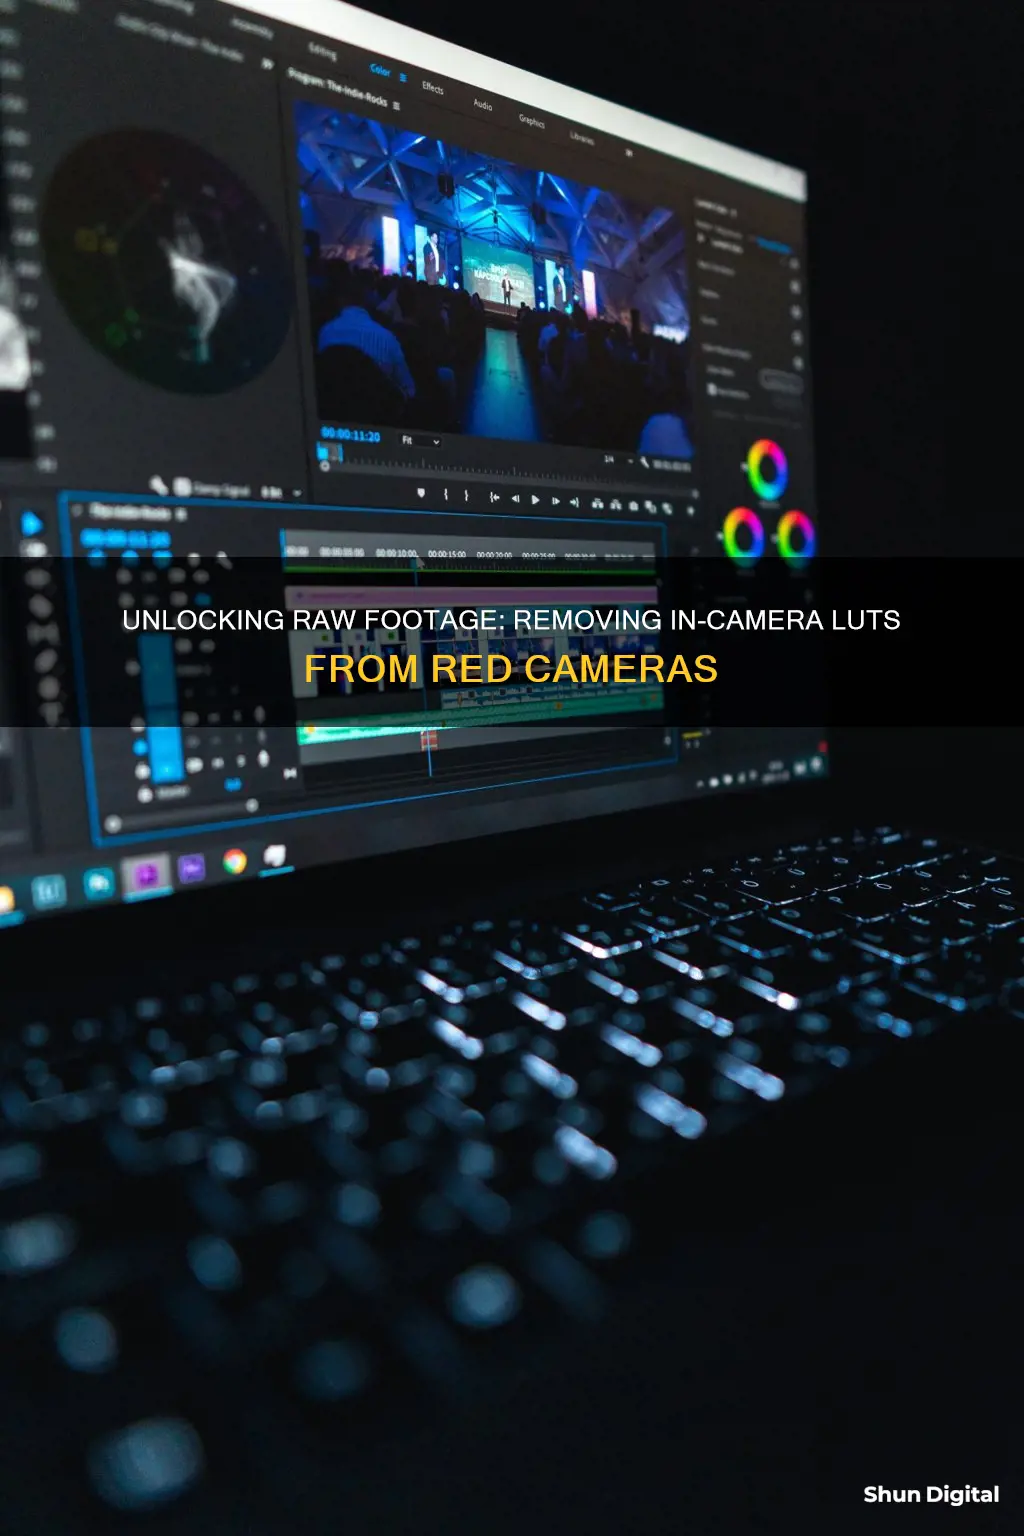
When it comes to removing in-camera applied LUTs from RED footage, there are a few methods that can be employed. One approach is to utilise DaVinci Resolve, an industry-standard tool for post-production tasks. In DaVinci Resolve, users can navigate to the camera raw tab and modify the settings to remove the LUT. Alternatively, some cameras allow users to access the 3D LUT menu and manage the camera's Look-Up Tables (LUTs). By selecting a different LUT or removing the active LUT, the in-camera applied LUT can be removed. Additionally, for certain software and camera combinations, altering the colour profile or raw settings can help remove the applied LUT. It is important to note that the specific steps may vary depending on the software and camera being used.
What You'll Learn

Using DaVinci Resolve
DaVinci Resolve is a powerful tool for video editing, visual effects, colour correction, and sound design. It is an industry-standard tool used by hobbyists and professionals alike.
When it comes to removing in-camera applied LUTs, the process can be quite taxing, especially if you are new to the software. There are a few methods you can try, depending on the specific camera and LUT used.
Firstly, it is important to identify the camera and LUT used. In the case of RED cameras, you can load custom 3D LUTs in .cube format into the camera for viewing. This can be done using tools like Pomfort LiveGrade, which allow you to create a look and then load it into the camera.
If you are working with footage that has already been recorded with an applied LUT, the process becomes more complex. One method suggested by users is to use a LUT calculator, such as LUTCalc, to generate an inverse LUT that reverses the effects of the applied LUT. This method may not restore the full dynamic range of the original footage, but it can help redistribute the data to get closer to the original image.
Another method is to use the Camera Raw tab in DaVinci Resolve to adjust the settings. However, this method may not be the proper way to remove in-camera LUTs.
Additionally, you can try adjusting the metadata of the clip in DaVinci Resolve. Remove the metadata, and if the image does not change, it indicates that the LUT is baked into the footage.
It is worth noting that different cameras handle LUTs differently. For example, the Sony FS7 allows you to apply LUTs selectively to different monitor outputs, but applying the LUT to the SDI-1 output will bake it into the footage.
Before starting a project, it is always recommended to conduct a workflow test to ensure that the footage looks good, the levels are correct, all metadata is present, and the audio stays in sync. This can help avoid issues with applied LUTs and ensure a smoother post-production process.
Hooking Up Your Camera: Displaying Photos on Your TV Screen
You may want to see also

Changing source settings
When it comes to changing source settings to remove in-camera applied LUTs, the specific steps may vary depending on the camera and software you are using. Here is a detailed guide on how to change the source settings to remove in-camera applied LUTs:
- Identifying the LUTs: The first step is to identify the LUTs that are currently applied to your footage. This can be done by examining the camera settings or the import settings in your editing software. In some cases, the LUTs may be automatically applied by the camera or during the import process.
- Disabling or Removing LUTs: Once you have identified the applied LUTs, you can proceed to disable or remove them. This can often be done through the camera's menu system or the editing software's settings. For example, in the case of RED cameras, you can manage LUTs by navigating to MENU > IMAGE / LUT > 3D LUT. Here, you will have the option to select, import, export, or delete LUTs.
- Selecting the Appropriate Colour Space: In some cases, you may need to manually select the appropriate colour space for your footage. This is because LUTs are often used to convert between different colour spaces. By selecting the correct colour space, you can ensure that your footage is displayed accurately without the need for any additional LUTs.
- Working with Multiple Clips: If you are working with multiple clips, you may need to apply your changes to all of them consistently. This can be done by grouping the clips and then applying the changes to the entire group. Alternatively, you may need to select each clip individually and make the necessary adjustments.
- Software-Specific Solutions: Different editing software may have unique methods for managing and removing LUTs. For example, in Adobe Premiere Pro, LUTs may be applied as a "Master Clip Effect" that needs to be disabled or deleted from the "Effects" tab in the "Project" menu. In DaVinci Resolve, LUTs can be managed through the "Color Settings" or the "Camera Raw" tab.
- Understanding LUTs: It is important to understand what LUTs are and how they work. LUT stands for "Look-Up Table," and it is a set of instructions that tells your computer or monitor how to convert and display footage. Technical LUTs provide a one-to-one conversion, while creative LUTs add a bit of flair to the converted footage.
Remember to refer to your specific camera and software documentation for detailed instructions on managing and removing LUTs. Each system may have unique processes and workflows, so adapting these general steps to your particular setup is crucial.
Removing Camera HUD: Simple Steps for a Clear View
You may want to see also

Using Lumetri effect
To remove in-camera applied LUTs to RED, you can use the Lumetri effect in Adobe Premiere Pro. Here's a step-by-step guide:
- Import your RED footage into Adobe Premiere Pro.
- Select a clip in the Timeline panel.
- Open the Lumetri panel or the Effects Control panel.
- Go to the Basic Correction tab.
- In the Input LUT dropdown menu, select "None" to remove any applied LUTs.
- Alternatively, you can browse and select a different LUT file to apply a different look.
- Adjust the white balance and tone of the clip to fine-tune the colors.
You can also remove in-camera applied LUTs by disabling Master Clip effects. Here's how:
- Select the clips in your bin or timeline.
- Right-click and choose "Disable Master Clip Effects" or "Disable Source Clip Effects."
- This will remove any applied LUTs or effects from the selected clips.
By following these steps, you can remove the in-camera applied LUTs and have more control over the color grading of your RED footage in Adobe Premiere Pro.
Removing the 2006 Murano's Camera: A Step-by-Step Guide
You may want to see also

Disabling master clip effects
- Highlight all the clips in the project window that have the master clip effect you want to disable.
- Choose "disable master clip effects". This will remove the effect from all the selected clips.
However, this method stopped working in the 2015 update of Premiere Pro. As a workaround, you can start a new empty project, import all your footage, and save the project. Then, export an XML of the project, go back to your original project, and import that XML. This will remove any LUTs applied to your footage and reduce your project file size.
If you are using DaVinci Resolve, you can remove in-camera LUTs by going to the camera raw tab and changing the settings there. However, you will have to apply these changes to all clips by grouping them.
What My Camera Sees: True Reflection?
You may want to see also

Using raw settings
When using raw settings, it is important to ensure that the white balance and exposure are correct when working with LUTs. Incorrect white balance and exposure will dramatically change the look of the LUT. You can use a histogram in-camera or in editing software to help with this.
Footage may also need small adjustments to get optimal results, such as exposure, saturation, and contrast, depending on your preference. Shooting conditions such as lighting, weather, and location can also vary and affect a LUT's look. It is a good idea to experiment with different LUTs to see which work best for your style and scenes.
If you are using a RED camera, it is recommended to always shoot in RED RAW. You can then change the Gamma Curve in the RAW settings in post-production. If you want to shoot Log, use RedLogFilm, and then use the true RedLogFilm to Rec.709 LUT provided as a base correction. After this, you can use any of the creative LUTs.
If you are using Adobe Camera Raw, you can add LUTs by opening your PC's file explorer and opening your C drive. Click on 'Users', then your username, and then click the checkbox to show hidden files. Now click on the 'App Data' folder, then 'Roaming', 'Adobe', 'Camera Raw', and finally 'Settings'. Copy your LUTs into this folder.
Open a raw photo in Camera Raw, then go to 'Profile' and 'Browse'. You will see your new LUTs at the bottom of the screen, organised into folders determined by the XMP file information. Expand the folder and apply any of the LUTs you've added.
A Guide to Operating Spy Watch Cameras
You may want to see also
Frequently asked questions
To remove in-camera applied LUTs from your RED footage in Premiere, you can try altering the colour profile in the camera's raw settings. Ensure you have the RED software package installed on your machine. Then, open the raw settings in Premiere and change it to another RED setting.
To remove in-camera applied LUTs from your RED footage in DaVinci Resolve, go to the camera raw tab and change the settings there.
When recording in the R3D format, the LUT will be saved with each clip it is activated on. However, this LUT is non-destructive and reversible. To prevent LUTs from being applied to your RED footage, you can record in the ProRes format and choose to irreversibly encode (bake) the 3D LUT into the recorded file.
There are other tools available for removing in-camera applied LUTs from your RED footage. One option is to use the official tutorial by RED.


