Glare is a common issue in photography, and it can ruin a great photo. Luckily, there are several ways to remove it. This article will discuss how to identify the source of glare, techniques to prevent it, and tools to remove it during post-production.
What You'll Learn

Change your camera position
Changing your camera position is one of the most effective ways to remove glare from your photos. Glare is often caused by a light source shining directly into your lens, resulting in haziness and lens flare. By altering the angle of your camera, you can prevent the light from entering your lens and causing these issues.
When dealing with direct light sources, move your camera so that it is no longer pointed directly at the light source. This can be achieved by adjusting your position slightly to the left, right, up, or down. Pay close attention to the light as you move, as you may want to retain some of the glare effects. You can also try positioning your camera so that an object in your composition blocks the unwanted light source.
Reflected glare can be addressed in a similar way. Light reflects off flat surfaces at the same angle that it strikes the surface. Therefore, by changing your camera angle, you can ensure that the reflection no longer causes glare in your photo.
In addition to changing your camera position, you can also use other techniques to minimise glare. This includes using a lens hood, a polarising filter, or adjusting your exposure settings. However, changing your camera position is often the simplest and most effective solution, allowing you to capture clear and glare-free images.
Troubleshooting Nightowl Cameras Not Showing on TV
You may want to see also

Use a polarizing filter
A polarizing filter is a valuable tool for reducing reflections, glare, and haze in your images. It is especially useful if you frequently shoot in natural light or deal with reflections from glass surfaces. The filter fits on top of your lens and can be attached by screwing it into the lens's filter thread or using a filter holder.
When light bounces off certain surfaces like water, glass, or atmospheric particulates, it becomes polarized, reflecting at the same angle. This results in glare or haze. A polarizing filter can separate this polarized light from non-polarized light, reducing unwanted reflections and enhancing your image.
There are two types of polarizing filters: linear and circular. Linear polarizing filters have one polarizing layer, while circular polarizing filters (CPLs) have two, making them more effective at reducing glare without interfering with autofocusing and metering technology. CPLs are more expensive but provide better performance.
When using a polarizing filter, be aware that it will reduce the light entering your lens, so you may need to adjust your camera settings to compensate. Additionally, they are most effective when used at an angle to the light source, so they may not be as useful when shooting with the sun directly behind you or during sunrise or sunset.
To use a polarizing filter effectively, follow these steps:
- Attach the filter to your lens.
- Rotate the filter while looking through the viewfinder or at your LCD screen. You will see the reflections in the glass diminish or disappear.
- Adjust your camera settings to compensate for the reduced light. You may need to use a tripod to avoid camera shake in low-light conditions.
- If you are too close to the subject or using a wide zoom setting, move further away and use a longer zoom setting to reduce reflections.
Using a polarizing filter is a great way to enhance your images by reducing glare and reflections from glass, water, or other surfaces. With the right techniques and adjustments, you can capture clearer and more vibrant photos.
The Evolution of Multi-Camera Sitcoms: A Historical Perspective
You may want to see also

Use a lens hood
A lens hood is an essential accessory for any photographer, and it can make a significant difference in the quality of your images.
Lens hoods are designed to block or reduce lens flare and glare, which can be caused by strong light sources, such as the sun, or reflections off objects like water, glasses, or metal. These flares and glares can be distracting and wash out your images, reducing contrast and overall image quality.
Lens hoods act as visors for your lens, shielding it from stray light and ensuring clear and vibrant photos. They are especially useful when shooting outdoors or in situations with strong light sources. Additionally, they provide an extra layer of protection for your lens, safeguarding it from accidental impacts, scratches, and debris.
Lens hoods come in two shapes: cylindrical and petal (or tulip). Cylindrical lens hoods are typically longer and are effective at blocking stray light while also protecting your lens. Petal lens hoods, on the other hand, are shorter and feature curved notches that block light while maximising the frame size offered by wide-angle lenses and full-frame camera sensors.
When using a lens hood, it's important to attach it directly to the front of your lens, and ensure it is mounted securely. Most lens hoods can be removed or mounted in reverse when not in use to save space.
However, there are a few instances when you may need to remove the lens hood, such as when you intentionally want a flare effect, when the hood shows up in your photos, or when using certain filters or accessories that are not compatible with the hood.
By understanding how to use a lens hood effectively, you can enhance your photography and capture clear, high-quality images, even in challenging lighting conditions.
Wiring Zmodo Cameras Directly to Your TV
You may want to see also

Diffuse the light
Diffused light is light that has been filtered or scattered, resulting in a softer, more flattering look that minimises blemishes and relaxes your subject without squinting. This can be achieved by placing a translucent screen, sheet, or filter between a light source and the subject.
Using Professional Diffusers
On-camera flash diffusers are great for location shoots, as they attach to your camera and cover the flash with a material that softens the light. Softboxes, or lightbanks, are rectangular enclosures that go over the light source to soften it. They come in various sizes, with larger softboxes creating softer, more diffused light. Umbrellas are another affordable and effective option, as they can either bounce light off their surface or diffuse light through the material.
Other Techniques
Diffusion paper is clamped onto the light and creates a soft, even field of light. It is best used to slightly soften the overall look of a shot. Chinese paper lanterns, or China balls, are another affordable option that can create even, soft lighting in multiple directions.
Improvising to Diffuse Light
You can also use everyday items to diffuse light. For example, bubble wrap can be wrapped around your camera flash, providing a very soft lighting effect when using two layers. Any semi-reflective white surface, such as a poster board or wall, can be used to bounce light and create a secondary source of diffused light. Light-coloured sheer fabrics, like a white bed sheet or clear shower curtain, can also be hung between the light source and your subject to soften the light.
Last Glimpse: Camera's Final Moments Before Death
You may want to see also

Choose the appropriate time and weather
Choosing the right time and weather conditions for your photoshoot can help you avoid camera glare. Here are some tips to consider:
- Time of Day: Glare from the sun is more common in the mornings and late afternoons when the sun is low in the sky. Therefore, you may want to opt for an early morning or sunset photoshoot to take advantage of the softer light at these times.
- Cloudy Weather: If you like a particular location but find that direct sunlight is causing glare issues, consider returning to the same spot on a cloudy day. Overcast weather can provide more even lighting and reduce the chances of glare.
- Golden Hour: Shooting during the golden hour, just after sunrise or before sunset, can give you beautiful, soft light that is less likely to cause glare.
- Avoid Direct Sunlight: If possible, plan your photoshoot to avoid times when the sun is at its highest point in the sky, as this is when direct sunlight is most intense and likely to cause glare issues.
- Be Flexible: Keep an eye on the weather and be prepared to adjust your schedule. An overcast day or a slight change in timing can make a big difference in reducing glare.
Remember, while avoiding glare is ideal, don't be afraid to embrace it creatively. Sometimes, a bit of glare can add intrigue and character to your photographs.
Removing Eufy Cameras: Dismounting Your Devices Safely
You may want to see also
Frequently asked questions
The best way to prevent glare is to avoid it while taking photos. Change your position so that the light doesn't fall directly on your camera lens. Try using a polarizing filter, which can significantly reduce glare and make colours more saturated. You can also use a lens hood to block direct sunlight, or get creative by using your hand or hat to shield your camera from the sun.
You can use photo editing software such as Adobe Camera Raw, PhotoWorks, or Fotor. These tools allow you to adjust the highlights, whites, and dehaze settings to reduce the appearance of glare.
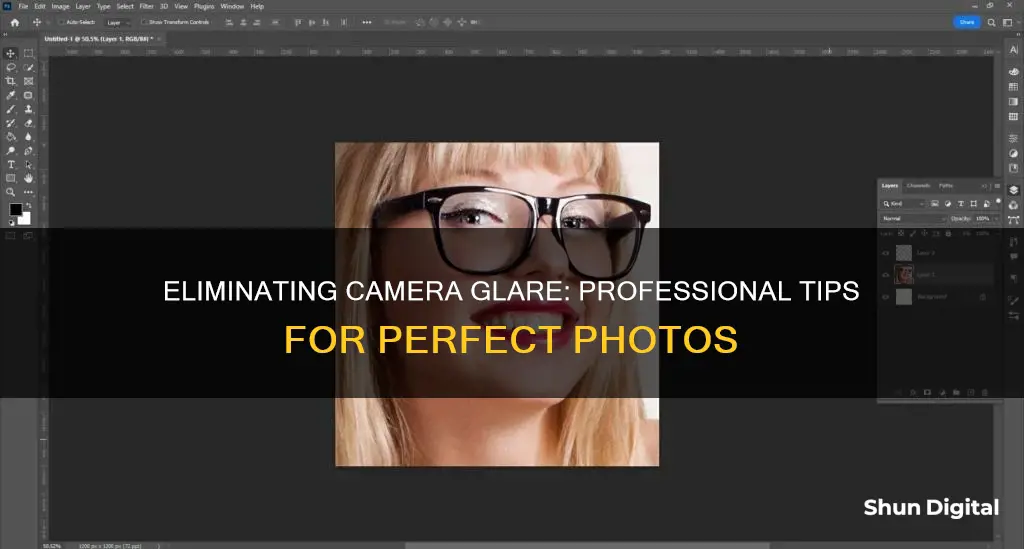
You can use photo editing software such as Photoshop or Fotor. In Photoshop, you can use the Spot Healing Brush Tool, Healing Brush Tool, and Hue/Saturation Adjustment Layer to remove small reflections and flares and adjust the colour to match the skin tone. In Fotor, you can use the "Clone" tool to remove halos and reflections from glasses.


