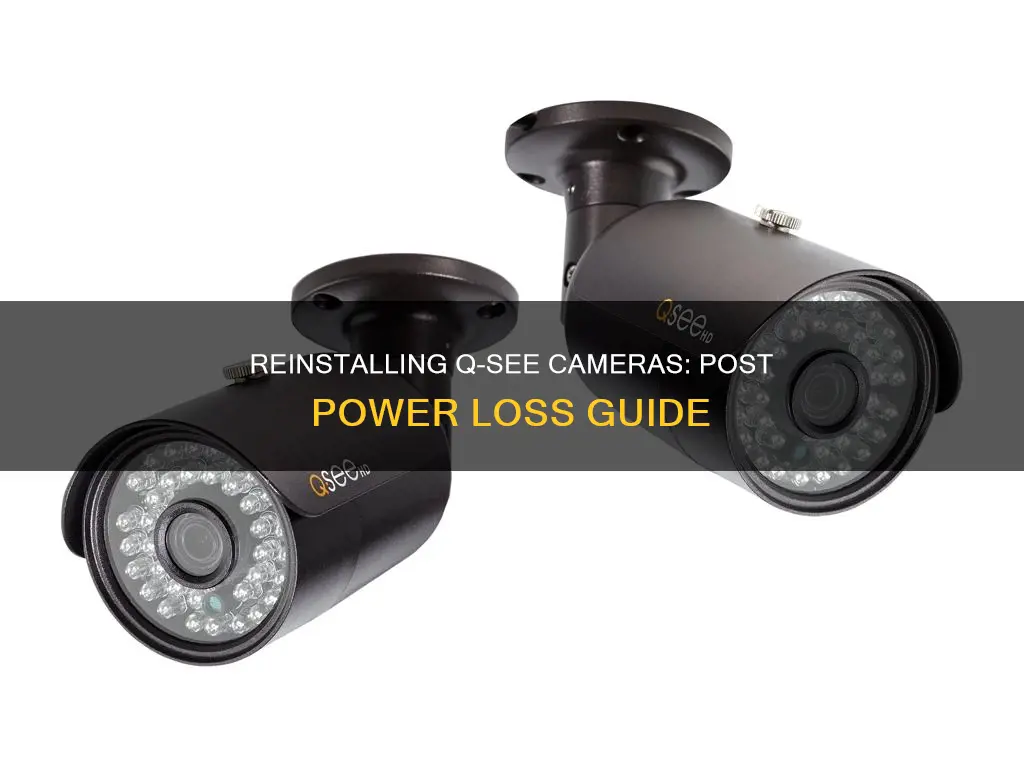
Q-See is a premium CCTV brand that has developed its own state-of-the-art tools for NVR and DVR to ensure your peace of mind as a business or homeowner. However, Q-See cameras, like any other brand, can suffer from bugs, glitches, and malfunctions. If you experience a power loss, you may need to reset your Q-See camera to restore its functionality. In this guide, we will discuss the steps to reinstall and troubleshoot Q-See cameras after a power loss. We will cover topics such as checking power sources, resetting passwords, and restoring factory settings to get your Q-See cameras up and running again.
What You'll Learn

Check the power supply
Q-See cameras may not work due to a dead battery, loose wiring, or a faulty power supply. To check the power supply, follow these steps:
- Check the power cable: Ensure that the power cable is securely plugged into both the camera and the power outlet. Check for any visible signs of damage, such as frayed wires or exposed cables.
- Inspect the power adapter: Verify that the power adapter is functioning correctly. Try plugging the adapter into a different outlet to ensure it's working. If the adapter feels hot to the touch, it may be faulty and need replacing.
- Examine the power splitter: If you're using a power splitter to connect multiple cameras, ensure it is functioning correctly. Try using a different power splitter or connect the camera directly to the power source to test.
- Verify the power requirements: Check the power requirements for your specific Q-See camera model. Ensure that the power adapter and splitter you are using can provide sufficient power to the cameras.
- Test a different power source: If your Q-See camera has a removable battery, try replacing the battery with a charged one to see if that resolves the issue. Alternatively, try plugging the camera into a different power outlet to rule out any outlet-related issues.
- Check for power supply compatibility: Ensure that the power adapter and splitter are compatible with your Q-See camera model. Using incompatible power supplies can damage your equipment.
- Contact customer support: If you're unable to identify the issue, reach out to Q-See customer support for further assistance. They may provide additional troubleshooting steps or recommend a replacement power supply if needed.
By following these steps, you can effectively check the power supply for your Q-See cameras and identify any potential issues causing the cameras to malfunction after a power loss.
Building a Spy Camera: Transforming Your Smart TV
You may want to see also

Check for a reset button
If your Q-See camera is not working after a power outage, it's a good idea to check for a reset button. This is often the quickest way to get your camera working again.
Q-See cameras typically have a reset button, which can be used to restore the camera to its original factory settings. This button is usually found on the underside of the camera, but its location can vary between models, so it's worth checking your user manual for more specific details.
To reset your Q-See camera, press and hold the reset button for around 15 seconds. The light on the camera should change, indicating that the camera has been reset.
In some cases, the reset button may be inside the housing of the camera. If this is the case, you may need to break the waterproof seal and pry apart the glue to access it. Therefore, it's recommended to try other troubleshooting methods first, such as checking your power supply, internet connection, and wiring, before attempting to reset your camera in this way.
If you're unable to locate the reset button, or if pressing it doesn't seem to reset your camera, there are a few other things you can try. First, ensure that your camera is receiving power and that the wiring is secure. You can also try re-initialising the camera, as sometimes a simple reset isn't enough to get it working with your NVR again.
Whole Foods Camera Surveillance: Who's Watching?
You may want to see also

Check your internet connection
If your Q-See camera is offline, the first thing you should do is check your internet connection. Your camera and mobile device should be sharing the same home Wi-Fi connection. If you're using different connections, try switching both devices to the same connection and see if this resolves the issue.
If you're still unable to connect, try checking your Wi-Fi password. Ensure that the password you're using to connect your camera to your Wi-Fi is correct. If you've recently changed your Wi-Fi password, you will need to update it on your camera as well.
If your camera is still offline, it's possible that your camera's connection to your router has been disrupted. Try power cycling your router and camera, and then reconnect your camera to your Wi-Fi network.
If you're using a wired connection, check that the Ethernet cable is securely connected to your camera and router. If the cable is damaged, try using a different cable.
If you're still experiencing issues, it's possible that your router is blocking the necessary ports for your camera to connect. Try adjusting the port forwarding settings on your router. Consult your router's technical support for specific instructions on how to do this.
Lane Watch Camera: Standard Feature on Honda CR-V?
You may want to see also

Check your hardware drivers
If you're using an external camera, try using it with a different USB port on your device first. If that doesn't work, or your camera is built into your device, follow these steps:
- Select Start, type "device manager", then select it from the search results.
- Find your camera under "Cameras", "Imaging devices", or "Sound, video and game controllers". If you can't find your camera, select the Action menu, then select "Scan for hardware changes".
- Wait for it to scan and reinstall updated drivers, restart your device, then open the Camera app again to test it.
If these steps don't fix the issue, try the following:
- In Device Manager, right-click (or press and hold) on your camera, then select "Properties".
- Select the "Driver" tab, select "Roll Back Driver", and then choose "Yes". Some drivers don't provide this option. If your driver doesn't have "Roll Back Driver" available, move on to the next fix.
- After the rollback is complete, restart your device, and then try opening the Camera app again.
If rolling back didn't work or isn't available, try this:
- In Device Manager, right-click (or press and hold) on your camera, and then select "Properties".
- Select the "Driver" tab, then select "Uninstall Device". Select the check box for "Attempt to remove the driver for this device", then select "OK".
- In Device Manager, on the Action menu, select "Scan for hardware changes".
- Wait for it to scan and reinstall updated drivers, restart your PC, and then try opening the Camera app again.
Note: If your camera still doesn't work, look for help on the camera manufacturer's website.
Attaching PS Camera to Your TV: Easy Steps
You may want to see also

Check your antivirus software
Q-See cameras are susceptible to bugs, glitches, and malfunctions, and may stop working after a power loss. To reinstall your Q-See cameras after a power loss, you should first check the battery and wiring to ensure that the battery is not dead and that the wiring is not loose.
If you are experiencing issues with your antivirus software, there are several tests you can perform to check that it is working correctly.
The EICAR test file is a virus simulator developed by the European Institute for Computer Antivirus Research and Computer Antivirus Research Organization. It is a non-viral string of code that most antivirus software has included in its signature definition files for testing purposes. Antivirus applications will respond to this file as if it were a virus.
To create an EICAR test file, copy and paste the following line into a blank file using a text editor such as Notepad:
X5O!P%@AP [4\PZX54(P^)7CC)7}$EICAR-STANDARD-ANTIVIRUS-TEST-FILE!$H+H*
Save the file as EICAR.COM. If your active protection is working properly, your antivirus software should immediately quarantine the file or trigger an alert when you save the file.
Another way to check your antivirus software is to test your download protection using the EICAR file. The EICAR file is a non-malicious file that contains a particular string of text that antivirus software is trained to detect and report as a severe infection.
You can download the EICAR file from the EICAR website or create one yourself using any text editor. The EICAR file, by itself, is not a virus, so it cannot damage your computer. You can download, copy, and pass it around your network without risk. If your antivirus software fails to stop the EICAR file, the worst that will happen is that you will have a junk text document on your desktop.
You can also test your antivirus software using the SpyShelter Test Tool. This tool is a data logger that can monitor your keyboard inputs, webcam feed, and computer clipboard. It does not do anything with the data it collects other than showing you what it is capturing. This is a good way to check how your security handles an actual malicious program rather than a dummy file.
LG Smart TVs: Built-In Cameras or Not?
You may want to see also
Frequently asked questions
If your Q-See cameras are not working after a power outage, first check the power supply, battery, and wiring to make sure everything is connected and the battery is not dead. If the problem persists, reset your cameras to their original factory settings by holding down the reset button for 15 seconds. The reset button is typically found on the underside of the camera but varies from model to model, so check your user manual for more details.
If your Q-See cameras are still not working after resetting, you may need to update your firmware. First, check that you have the latest version of the Q-See app installed. If you do and the problem persists, reset everything or have a technician install the correct firmware update.
If you have lost your password, you can reset your password by entering "admin" as the username and "6036huanyuan" as the password. This will make the system reboot, after which the password will be reset to the system default: "admin" as the username and "123456" as the password.


