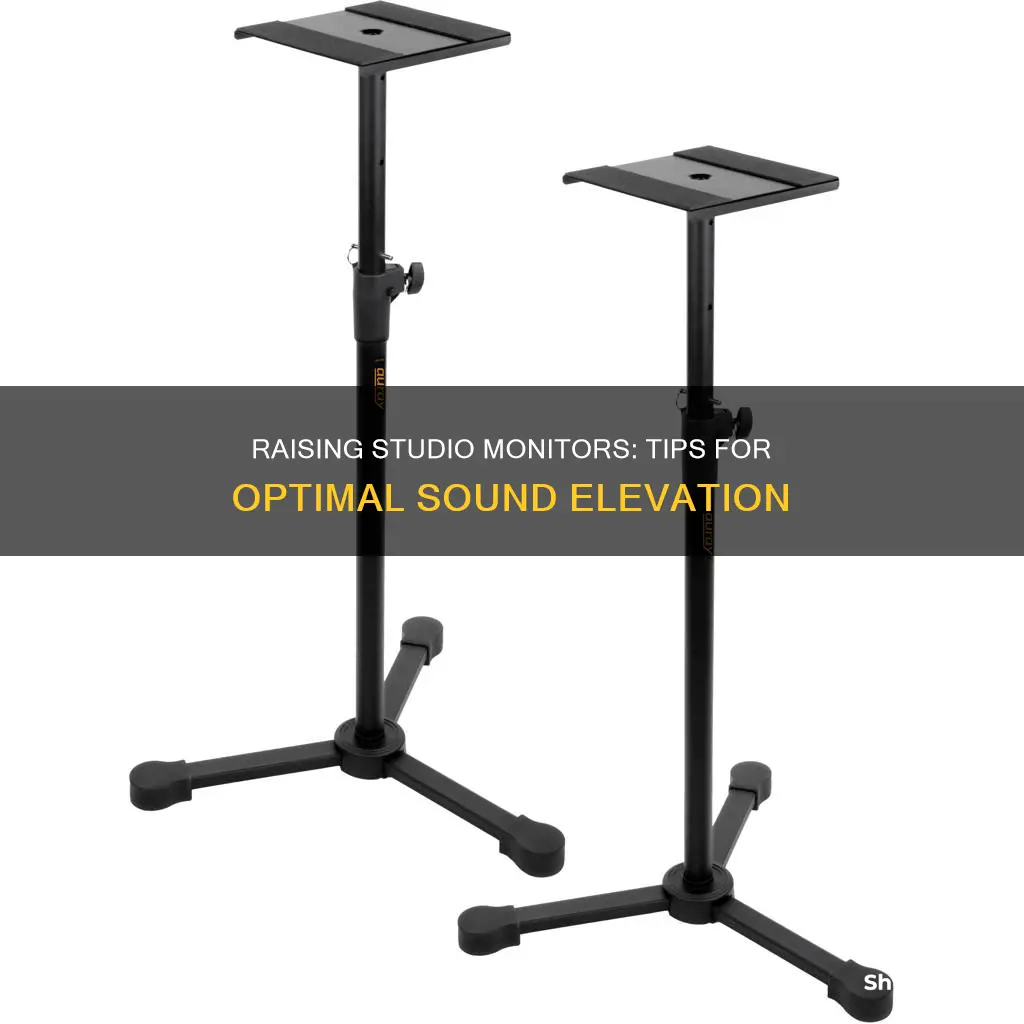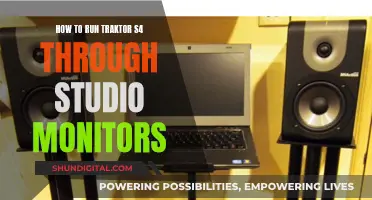
Raising studio monitors is an important aspect of optimising the sound of your mixes. Studio monitor stands are a great way to elevate your studio monitors, providing an enhanced listening experience. They offer flexibility in speaker positioning, allowing you to adjust the height and angle of your speakers to find the perfect balance for your studio setup. Additionally, monitor stands help reduce acoustic coupling, minimising unwanted vibrations and ensuring you hear the true sound of your mix. While there are various options available, from adjustable desktop stands to free-standing options, it's crucial to consider the sturdiness, isolation, and height adjustability to ensure your monitors are secure and positioned correctly for your ears.
What You'll Learn

Using speaker stands
- They help achieve the optimal 60x60x60-degree equilateral triangle setup between you and the speakers, which is crucial for accurate stereo imaging and a balanced soundstage.
- Stands allow for easier adjustment of the speaker height and angle, ensuring the high-frequency driver of the speakers is at ear level and angled towards your listening position.
- Speaker stands can decouple the speakers from the desk, reducing vibrations and rumbling that can interfere with the sound quality.
- Stands provide more flexibility in monitor placement, especially in smaller studios where desk space may be limited.
- Some stands also offer internal cable routing, helping to keep your studio neat and organised.
When choosing speaker stands, consider the weight and size of your monitors to ensure the stands can safely support and elevate them. Also, think about the material of the stands—metal stands are durable but heavier, while plastic stands are more affordable, lighter, and easier to transport. Additionally, consider the adjustability and tilt options of the stands to ensure they meet your specific needs.
By using speaker stands and positioning your studio monitors correctly, you can significantly improve your listening experience and enhance the accuracy of your mixes.
Cleaning an LCD Monitor: Tips and Tricks
You may want to see also

The 38% guideline
To calculate the optimal listening position, measure the room's full length from front to back and multiply it by 0.38. This position helps to reduce standing waves and bass buildup, which is common in rectangular rooms, and improves overall acoustic performance.
The speakers should be positioned to form an equilateral triangle with your listening spot, ensuring even sound distribution and minimising acoustic anomalies. This setup improves clarity and better stereo imaging is achieved when each speaker system is an equal distance apart.
However, the 38% rule is not a strict rule and may need adjustments according to room characteristics and personal preferences. For example, the nature of your monitors can affect the placement. Front-ported monitors can sit closer to walls as they project air and sound forward. Additionally, the room's frequency response, furniture placement, and acoustics can all impact the sound and may require adjustments to the speaker placement.
In summary, the 38% rule is a useful guideline for optimising your listening position with studio monitors. It provides a theoretical starting point to establish an optimal listening position in a room, reducing acoustic issues and improving sound quality. However, it should be applied flexibly, taking into account various factors such as room acoustics, monitor orientation, and distance between speakers for an accurate sound representation.
Monitoring GPU: Detecting Programs Spying on Your Hardware
You may want to see also

The equilateral triangle
One of the most important aspects of studio monitor placement is forming an equilateral triangle with your listening position. This means that the distance between you and your left speaker, your left speaker and your right speaker, and your right speaker and you should all be the same.
If your speakers are not set up this way, you will hear one side of your mix louder than the other, making it difficult to make correct balance decisions and stereo image judgements.
To ensure you have the correct placement, measure the distances using a tape measure or yardstick.
The sweet spot for monitoring in front of your speakers refers to listening to your speakers from the middle of the axis, so you hear sound from left and right equally. As you sit down, your ears should be at the same level as the speaker tweeters, giving you an optimal listening position where you can hear your mixes accurately. When placed too low, you will hear too much bass.
Speaker stands can be used to raise your speakers to the correct height. They also isolate your speakers from the table or desk surface. An inexpensive option is the Samson MS200 speaker stands.
Removing HP Soundbar: A Step-by-Step Guide from Your Monitor
You may want to see also

Isolation pads
Firstly, isolation pads are designed to reduce unwanted vibrations and audio resonance. By decoupling the supporting surface's energy, these pads significantly improve audio clarity and definition, particularly in the bass and low-mid frequencies. This results in tighter and more controlled bass and improved stereo imaging. Additionally, the pads help to isolate the monitors from their environment, providing sonic isolation between the monitors and the surface they rest on. This isolation ensures an accurate translation of recordings and mixes, minimising the impact of the room's acoustics on the sound.
When purchasing isolation pads, it is essential to consider the size and weight of your studio monitors. Pads are designed to fit specific speaker sizes, so ensure you select pads that match your monitor dimensions. Additionally, check the weight capacity of the pads to ensure they can support your monitors without compressing or distorting.
Cables' Impact on Studio Monitors: Fact or Fiction?
You may want to see also

DIY sound-absorbing panels
Sound-absorbing panels are an effective way to improve your studio's acoustics and reduce unwanted noise. Here's a guide on how to make your own:
Materials
- Wood for the frame (e.g., furring strips or 1"x4" boards)
- Tools for cutting wood (e.g., saw)
- Glue
- Nails or screws
- L brackets (optional)
- Batting or foam bedding toppers
- Fabric of your choice
- Stapler and staples
- Plastic straps or spray adhesive
- D-ring hangers or picture wire for hanging (optional)
Steps:
- Build the Frame: Cut the wood to your desired size and assemble it into a rectangular frame using glue and nails or screws. For added strength, you can use butt joints and L brackets on the inside of the joints.
- Add Batting or Foam: Cover the wood frame with batting or use foam bedding toppers to fill the space. Secure it in place with plastic straps or spray adhesive.
- Cover with Fabric: Choose a fabric that matches your room and your personal style. Lay your panel on the fabric, trim the fabric to size, and staple it to the frame. Make sure to pull the fabric taut to avoid puckering.
- Finish and Hang: You can add an external frame, such as cedar boards, to give your panels a more polished look. Finally, hang your panels on the wall using D-ring hangers or picture wire.
Tips:
- Rockwool is a good option for filling the panels as it is effective at absorbing sound and can be covered with fabric to match your room's decor.
- To improve low-frequency absorption, space your panels a few inches away from the wall. You can use small pieces of foam or wood frames to create the desired distance.
- Consider the size and number of panels you need based on the surface area and the purpose of your studio. For example, you may need more panels in a recording studio compared to a home gym.
Ankle Monitor Removal: Felony or Misdemeanor?
You may want to see also
Frequently asked questions
The height of your studio monitor stands should be adjusted so that the tweeters are at ear level when you are sitting in your usual listening position.
Cinder blocks, sand-filled MDF pillars, and wooden shelves are all inexpensive options for raising your studio monitors.
Studio monitor stands improve the sound of your mixes by providing flexibility in speaker positioning and reducing acoustic coupling. They also free up valuable space on your studio desk.
While there is no definitive answer, it is generally recommended to place your studio monitors at least 10-15 cm away from the wall to minimise reverberations.
The 38% guideline suggests that the optimal listening position in a room is located 38% of the way from the front wall. This position typically provides the most balanced sound in the room.


