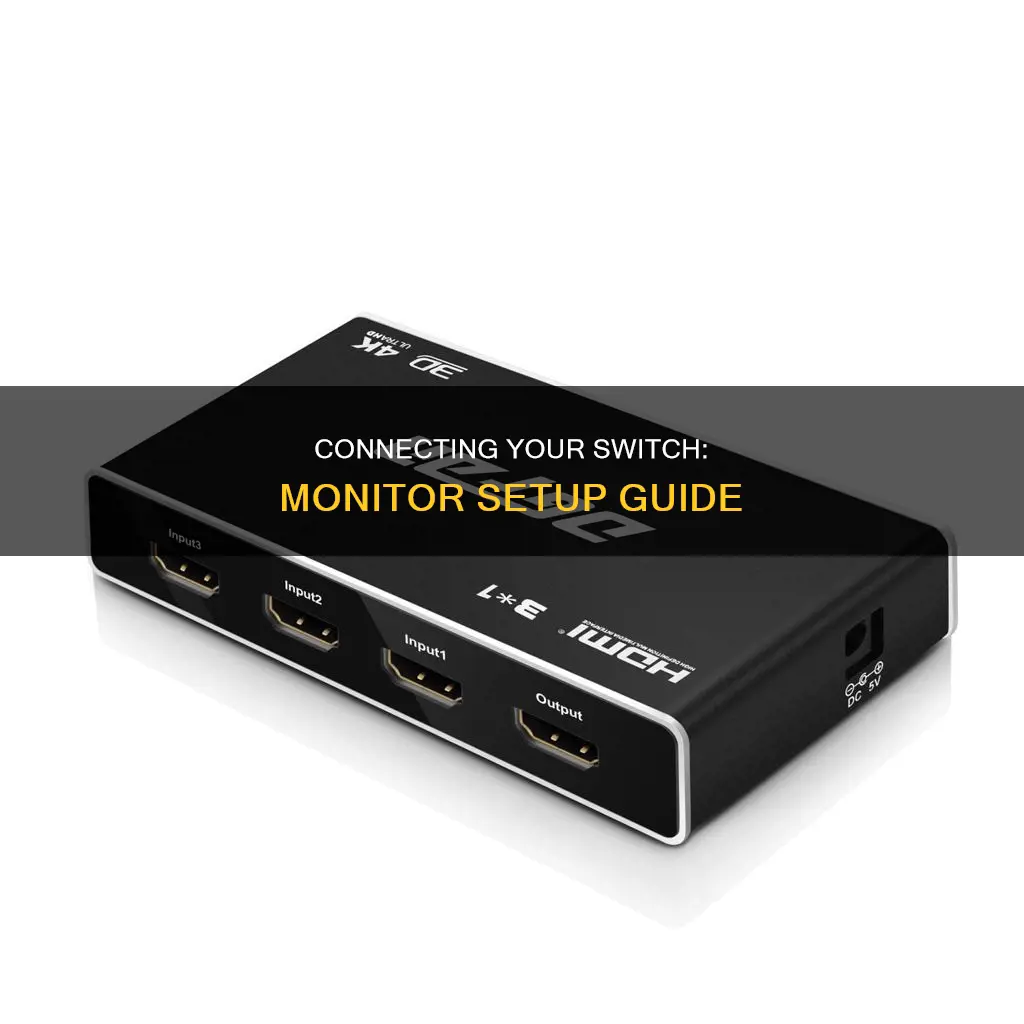
If you're looking to connect your Nintendo Switch to a monitor, there are a few different ways to do so. One way is to use the HDMI port on the Nintendo Switch dock, and the other is to use a USB Type-C video cable. If you're using the dock, you'll need to connect it to the Switch, then connect the dock to the monitor using an HDMI cable. If you're using a USB Type-C cable, make sure your monitor's USB-C port supports DP Alt mode and can supply enough power to the console.
What You'll Learn

Connect the Switch Dock
To connect the Switch Dock, you will need a Nintendo Switch TV Dock with a power supply, a gaming monitor with an HDMI 1.4 connector, and an HDMI 1.4 cable (included in the Nintendo Switch box).
Firstly, open the back of the Nintendo Switch Dock. Connect the HDMI cable and USB-C end of the power cable. The USB-C port for the power supply is located at the top of the dock and is labelled 'AC Adapter'. The HDMI port is at the bottom of the dock.
Next, plug the other end of the HDMI cable into the HDMI port of your monitor. Make sure to check whether you use HDMI 1 or HDMI 2, so you know which source of your monitor the Switch will appear on. Ensure that the HDMI cable is not too tight or trapped behind the monitor, as this can damage the cable and cause a bad signal or image loss.
Now, connect the Switch to the dock. Turn on the Switch and hold your console so that the + and - buttons are at the top. Carefully lower the Switch into the dock until you feel it click. When done correctly, the display of your Switch will move to the monitor.
If the image disappears from your Switch but doesn't appear on your monitor, you may have selected the wrong source. To select the right source, use the OSD of your monitor. You can open this via the buttons on your monitor. Choose the tab that allows you to select an input source, often indicated with a square with an arrow inside. Select the HDMI port you've plugged the cable into.
Setting Up a Duplicate Monitor: Easy Steps to Success
You may want to see also

Connect the Switch Dock to your monitor
To connect the Nintendo Switch Dock to your monitor, you will need a Nintendo Switch TV Dock with a power supply, a gaming monitor with an HDMI 1.4 connector, and an HDMI 1.4 cable (included in the Nintendo Switch box).
Step 1: Connect the Switch Dock
Open the back of the dock and connect the HDMI cable and USB-C end of the power cable. The USB-C port for the power supply is labelled 'AC Adapter' and is located at the top of the dock. The HDMI port is located at the bottom of the dock.
Step 2: Connect the Switch Dock to your monitor
Plug the other end of the HDMI cable into the HDMI port of your monitor. Check whether you use HDMI 1 or HDMI 2, so you know which source to select on your monitor. Ensure the HDMI cable is not too tight or trapped behind the monitor, as this can damage the cable and cause a bad signal or image loss.
Step 3: Connect the Switch to the dock
Place the Switch into the dock. Turn on the Switch and hold your console so that the + and - buttons are at the top. Lower the Switch carefully into the dock until you feel it click. If you have done this correctly, the display of your Switch will move to the monitor.
Step 4: Select the right source
If the Nintendo Switch doesn't work after connecting and booting your console, you have probably selected the wrong source. A monitor often has more than one port, so you will have to look for the right source. You can do this via the OSD of your monitor, which you can open via the buttons on your monitor. Choose the tab that allows you to select an input source, often indicated by a square with an arrow inside. Select the HDMI port you plugged the cable into.
The Ultimate Monitor Calibration and Profiling Guide
You may want to see also

Connect the Switch to the Switch Dock
To connect your Nintendo Switch to a monitor, you will need a Nintendo Switch TV Dock with a power supply, a gaming monitor with an HDMI 1.4 connector, and an HDMI 1.4 cable (included in the Nintendo Switch box).
First, connect the Switch Dock to the monitor. Open the back of the dock and connect the HDMI cable and USB-C end of the power cable. The USB-C port for the power supply is labelled 'AC Adapter' and is located at the top of the dock, while the HDMI port is at the bottom.
Second, connect the other end of the HDMI cable into the HDMI port of your monitor. Make sure to check whether you use HDMI 1 or HDMI 2, so you know which source to select on your monitor. Ensure that the HDMI cable is not too tight or trapped behind the monitor, as this can damage the cable and cause a bad signal or image loss.
Third, connect the Switch to the dock. Turn on the Switch and hold your console so that the + and - buttons are at the top. Carefully lower the Switch into the dock until you feel it click. The display of your Switch will move to the monitor. If the image disappears from your Switch but doesn't appear on your monitor, you may have selected the wrong source.
Finally, select the right source via the OSD of your monitor. If the Nintendo Switch doesn't work after connecting and booting your console, you've probably selected the wrong source. A monitor often has more than one port, so you'll need to select the right source. You can do this via the OSD of your monitor, which you can open via the buttons on your monitor. Choose the tab that allows you to select an input source, often indicated by a square with an arrow inside. Select the HDMI port you've plugged the cable into.
Kia K5: Blind Spot Monitoring System Explained
You may want to see also

Select the right source
Now that your Nintendo Switch is connected to your monitor, you need to select the right source on your monitor. This is because a monitor often has more than one port, so you will have to select the correct input source.
You can do this via the OSD (On-Screen Display) of your monitor, which you can open via the buttons on your monitor. Choose the tab that allows you to select an input source, often indicated with a square with an arrow inside. Select the HDMI port you plugged the cable into. For example, if you plugged the HDMI cable into HDMI 1, select HDMI 1 as the input source.
If you are using a Nintendo Switch dock, you will also need to turn on your TV set and select the correct HDMI input.
If you are connecting your Nintendo Switch directly to your monitor without a dock, you will need a USB-C to HDMI adapter.
Cleaning an LCD Monitor: Tips and Tricks
You may want to see also

Connect via USB Type-C
The Nintendo Switch's USB-C port supports PD fast charging and DisplayPort (Alt mode) video output. This means that you can connect your Switch directly to some monitors without the need for a dock. However, there are a few things to keep in mind when connecting via USB Type-C.
Firstly, your monitor's USB-C port must support DP Alt mode. Secondly, the monitor must supply enough power to the Switch console. The Switch's AC adapter supports power output of 5V 1.5A / 15V 2.6A, so your monitor must be able to supply 7.5W-39W PD power.
To connect your Switch to a compatible monitor, simply connect the AC PD adapter to the monitor, then connect the monitor and Switch console with a USB-C cable. You can now remove the Joy-Con controllers and start playing.
It's important to note that some users have reported choppier performance when connecting via USB-C compared to HDMI. This is likely due to the Switch having to do more work to generate the USB-C output, especially if it's not receiving power from the monitor. Additionally, using the screen will likely drain 60-70% of the Switch's battery life.
Connecting Scarlett 2i2 to Studio Monitors: A Comprehensive Guide
You may want to see also
Frequently asked questions
You can connect your Nintendo Switch to a monitor in two ways:
- Using the HDMI port on the NS dock.
- Using only the NS console with a USB Type-C video cable.
No, the NS dock is not required. However, if you want to use the first method, you will need a dock.
You will need a Nintendo Switch TV Dock with a power supply, a gaming monitor with an HDMI 1.4 connector, and an HDMI 1.4 cable (included in the Nintendo Switch box).
You will need a USB-C to HDMI adapter. You can connect the USB-C power cable and HDMI cable from the dock to your adapter, and then plug the adapter into your Switch.
You can do this via the OSD of your monitor, which you can open via the buttons on your monitor. Choose the tab that allows you to select an input source, often indicated by a square with an arrow inside. Select the HDMI port you've plugged the cable into.


