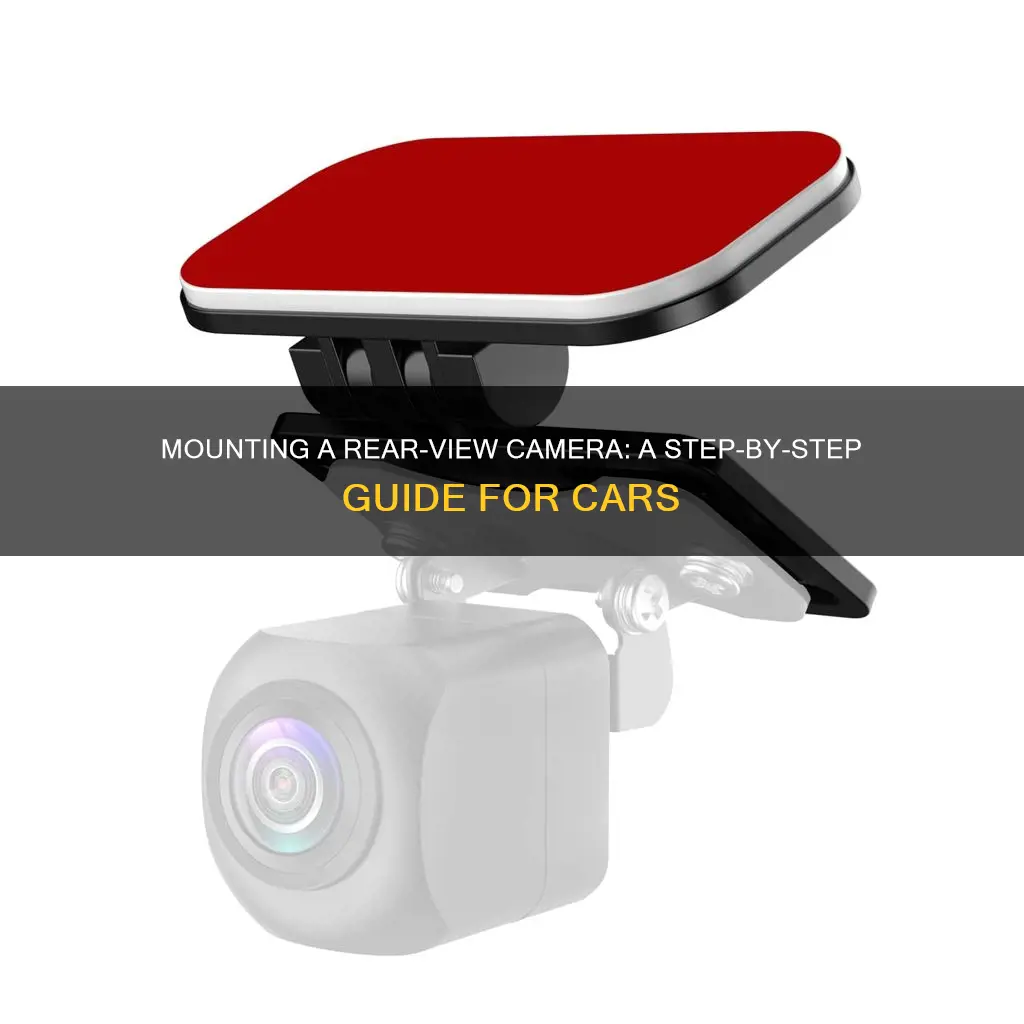
Mounting a rear camera in your car can be a tricky process, but it's a great way to improve safety and get a better view of what's behind you when reversing. The first step is to choose the right camera for your vehicle – you can opt for a bracket-mounted, flush-mounted, or license plate-mounted camera, among other options. Once you've selected the right camera, you'll need to gather the necessary tools and safety gear, including a screwdriver, drill, and electrical connectors. The next step is to mount the camera, which typically involves drilling a hole and running the camera wiring through it. You may also need to connect the camera to a power source, such as the reverse or license plate light. Finally, you'll need to test the camera to ensure it's working properly.
| Characteristics | Values |
|---|---|
| Camera Type | Bracket-mounted, Flush-mounted, License plate frame, License plate bar, OEM-specific, Integrated OEM, In-dash aftermarket, On-dash aftermarket, Rearview mirror |
| Display Type | In-dash, On-dash, Rearview mirror |
| Connection Type | Wired, Wireless |
| Installation Time | 1 hour |
| Installation Skill Level | Beginner |
| Tools | Flathead screwdriver, Phillips screwdriver, Drill with assorted bits, Posi-tap or other electrical connectors, Trim/panel removal tools, 3/32 to ⅛ drill bit, Automotive Multimeter, Wire connectors |
| Safety Gear | Glasses, Gloves |
What You'll Learn
![]()
Choosing the right location for the camera
- License Plate Mount: One of the most popular options is to mount the camera on the license plate. This method is easy to install since it attaches to the existing license plate bolts. You can either attach it to the top of your license plate or build it into a license plate frame. While this option is not very versatile in terms of placement, it is a straightforward installation process.
- Bracket Mount: A bracket mount offers more versatility as you can position the camera anywhere on the back of your vehicle. However, installing a bracket may require drilling into your car's body, and changing the camera placement later will leave holes.
- Flush Mount: A flush mount camera has a low-profile design, with the mount built into the camera. This option keeps the camera close to the vehicle's body, resulting in a sleek and integrated look.
- OEM Mount: If your car model has rearview cameras as an option, you may find a vehicle-specific mount designed for your car. This option ensures a seamless fit and often doesn't require drilling or extensive modifications.
- Rear Window Mount: Another option is to mount the camera on the inside of the rear window, usually at the top centre. This location provides a clear view and doesn't require drilling or modifications to the car's exterior. However, ensure that the camera doesn't obstruct your rearview.
- Roof Mount: For vehicles with independently liftable rear windows, you can consider mounting the camera on the roof just above the rear window. This option may require additional installation steps, such as installing a suitable platform for the adhesive to rest on.
When choosing the camera location, consider factors such as ease of installation, versatility, and the camera's field of view. Additionally, keep in mind any legal requirements or restrictions regarding the placement of rear-view cameras in your region.
The Ultimate Guide to Caring for Your Camera Lenses
You may want to see also
![]()
Preparing the surface for mounting
The first step in preparing the surface for mounting a rear camera is to find a flat surface at the centre rear of your car. This is where you will mount your camera. Ensure that the surface is clean and free of any dirt, grease, or wax. You can use a wax and grease remover or methylated spirits to clean the area.
Once you have found the ideal location and cleaned the surface, you can stick the camera in place. Most cameras will come with adhesive tape that is strong enough to keep the camera in place. However, if you want to ensure that the camera is extra secure, you can drill holes and use the included screws to fasten the camera to the surface.
If you chose to use screws, make sure that you drill holes that are large enough for the screws to fit snugly. Also, be careful not to drill too deep, as you do not want to damage any interior components or wiring.
After the camera is mounted, be sure to give it a firm tug to ensure that it is secure.
Rear Camera Acreage: Maximizing Your Car's Vision
You may want to see also
![]()
Drilling a hole for the camera wire
Drilling a hole for the rear-view camera's wire is a delicate process that requires careful planning and execution. Here is a step-by-step guide to help you through the process:
- Identify the Location: Determine the exact spot where you need to drill the hole. This is usually done by holding the camera up to the intended mounting area and noting the position of its splitting cord. Make sure there are no obstructions between the license plate mount and the rear wiring chamber.
- Choose the Right Drill Bit: Select a drill bit that is large enough to fit the camera's power and video cable. For most cars, a drill bit with a diameter between 1/8 and 1/4 inch (0.32 and 0.64 cm) should be sufficient.
- Drill the Hole: Using a power drill equipped with a high-speed twist drill bit, carefully drill the hole in the identified location. Ensure that the hole is drilled directly behind where the camera's power and video cable will be positioned.
- Use a Rubber Grommet: Before running the camera cable into the car, slip a rubber grommet onto it near the non-splitting end. Rubber grommets, available at most home improvement stores, will keep the wire in place and prevent leaks. Choose a grommet that fits snugly inside the drilled hole.
- Run the Camera Cable: Pull the camera's video and power cable through the drilled hole into the trunk of your car. Ensure that the cable is pulled tight so that the rubber grommet lodges securely into the hole.
- Seal and Protect: After drilling the hole, it is important to seal it properly to prevent water ingress and rust formation. Use automotive wiring grommets to seal the hole and spray the area with a rust-preventive coating like Rustoleum. Additionally, check for water tightness and apply silicone if necessary.
- Alternative Methods: If you are hesitant to drill a hole, there are alternative methods to consider. Some backup cameras screw into the license plate light housing, allowing you to avoid drilling. Another option is to create a small slot in the clear lens edge and insert the wire, sealing it with silicone.
Logitech Circle Camera: How Long Does the Battery Last?
You may want to see also
![]()
Running the camera wiring through the hole
Firstly, you'll need to purchase or gather the necessary tools and materials. These include a power drill, a high-speed twist drill bit, a rubber grommet, wire strippers or pliers, electrical tape, and, if needed, a wire connector such as a Posi-Tap. It is also important to ensure you are wearing protective clothing, such as a long-sleeve shirt, and that you have disconnected the vehicle's battery terminals.
Once you have the required tools, you can begin the process:
Drilling the Hole:
- Identify a flat surface at the rear of your car, as close to the centre as possible, to mount the rear-view camera.
- Clean this area with wax and grease remover or methylated spirits.
- Using the power drill and high-speed twist drill bit, drill a small hole in the license plate mounting area. Ensure there are no obstructions between the license plate mount and the rear wiring chamber.
- The hole should be large enough to fit the camera's power and video cable. It is recommended to use a drill bit with a diameter between 1/8 and 1/4 inches.
Running the Wiring:
- Before running the camera cable into the car, slip the rubber grommet onto the cable near the non-splitting end. This will keep the wire in place and prevent leaks.
- Pull the splitting end of the camera's video and power cable through the drilled hole and into the trunk of your car. Ensure the rubber grommet is lodged securely in the hole.
- Route the camera wiring through the car, connecting it to the front of the vehicle. This may involve removing interior panels and running the cable through exposed chambers. The exact process will depend on your vehicle's model.
- If you are using a mirror screen, clip it over your existing rear-view mirror. Alternatively, a standalone screen can be mounted on the windscreen or dashboard, ensuring it doesn't obscure the driver's vision.
- For a neater installation, consider using electrical tape, cable clips, or zip ties to bundle and secure the wires along the interior of the car.
By following these steps, you can safely and effectively run the camera wiring through the hole during the installation of your rear-view camera.
Mastering HP Camera Operation: A Step-by-Step Guide
You may want to see also
![]()
Attaching the camera to the vehicle
Firstly, identify a suitable mounting location for the rear-view camera. The camera should be positioned as close to the centre of the vehicle as possible. It is important to choose a flat surface that will not obstruct the camera's view. Clean the selected area with wax and grease remover or methylated spirits to ensure that the adhesive will stick properly.
Next, decide on a mounting method. Some cameras come with an adhesive mount, which can be stuck directly onto the chosen area. If your camera did not come with an adhesive mount, you can use the included screws to secure the camera in place. Alternatively, double-sided tape can be used, but it is crucial to ensure that the mating surfaces are clean to prevent the camera from falling off.
If you opted for the adhesive mount or double-sided tape, you may want to use screws for added security. Drill holes in the chosen location and secure the camera with the provided screws. Ensure that the camera is firmly attached and won't move around.
Now, it's time to connect the camera wiring. Identify the camera's power and video cable, which should be sticking out of the hole drilled during the previous steps. Connect the provided wire cluster to the camera wire, which will split into a video wire and a power wire. You may also have a reverse signal wire, depending on your camera model.
Finally, test the camera to ensure it is working correctly. Reconnect the vehicle's battery terminals and turn on the ignition. Put the car in reverse and check if the monitor turns on and displays the rear video feed. If it works, turn off the car. If not, double-check your connections and ensure that all wires are connected correctly.
Supported File Formats for Camera Raw Explained
You may want to see also
Frequently asked questions
The camera should be mounted as close to the centre of the vehicle as possible. It's also important to ensure that the camera has no obstructions and maintains full functionality.
You will need safety gear such as glasses and gloves, a screwdriver, a drill with assorted bits, electrical connectors, and a rearview camera system.
First, you need to access where you are mounting the camera. This could be the dashboard or rearview mirror. Then, you need to mount the camera to the vehicle. This can be done using a license plate bracket or double-sided tape.