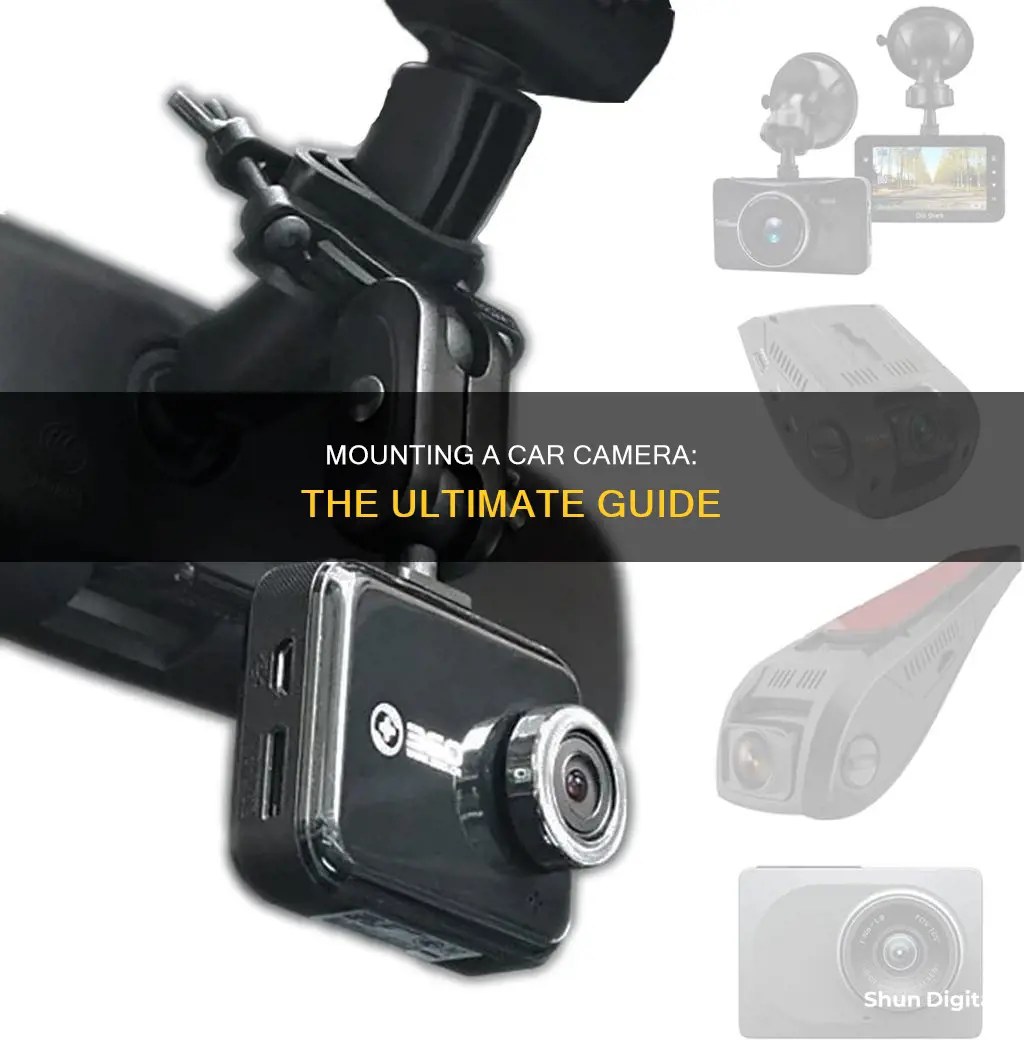
Mounting a camera in your car can be a tricky process, but it's a great way to capture unique shots and add production value to your film. There are a variety of methods and equipment you can use, from suction cups and magnetic mounts to dashboard and license plate setups. Safety is a key consideration, and it's important to ensure your gear is securely attached and won't cause any obstructions or distractions for the driver. In this guide, we'll explore different mounting options, provide step-by-step instructions, and offer tips for getting the best results when filming from a moving vehicle.
What You'll Learn

Using a suction cup mount
Step 1: Choose the Right Suction Cup Mount
Select a suction cup mount that suits your camera and car. There are various options available, such as single or multiple suction cups, with different holding power and flexibility. Consider the weight of your camera, the surface you'll be mounting it on, and whether you need a mount that can conform to the curves of your car. Some mounts are designed for flat surfaces, while others can adapt to gentle curves.
Step 2: Prepare the Surface
Ensure that the mounting surface, such as the car windshield or window, is clean, smooth, dry, and free of any dirt or grease. This is crucial for achieving a strong suction and secure hold.
Step 3: Attach the Suction Cup Mount
Firmly press the suction cup onto the prepared surface. For pump-activated suction cups, pump the plunger a few times until a strong vacuum is created, as indicated by a red line disappearing. For other types of suction cups, follow the specific instructions provided with your mount.
Step 4: Secure the Camera
Attach your camera to the suction cup mount. Ensure that the camera is securely fastened to the mount to prevent accidental detachment. Refer to the instructions for your specific mount to understand the attachment mechanism.
Step 5: Adjust the Camera Angle
Adjust the camera angle as needed. Most suction cup mounts offer a variety of fixed adjustment positions, allowing you to find the desired shooting angle. Utilize the available knobs, joints, and articulating arms to fine-tune the camera's position.
Step 6: Ensure Safety
Always use a safety or security cable when mounting a camera on your car. This adds an extra layer of protection in case the suction cup fails. Additionally, be mindful of local laws and regulations regarding camera usage, especially when capturing footage in public areas.
Step 7: Regular Maintenance
To maintain the suction cup's performance, keep it clean and store it properly when not in use. Some suction cups may benefit from a light coating of wax paper to preserve the suction material. Always inspect the suction cup and mounting hardware for any signs of wear and tear before each use.
Suction cup mounts provide a convenient and adaptable solution for mounting cameras in cars, offering versatility in terms of camera placement and angle adjustment. Remember to choose the right mount for your needs, follow safety guidelines, and maintain your equipment for the best results.
Cleaning Camera Battery Terminals: A Step-by-Step Guide
You may want to see also

Using a magnetic mount
There are a variety of magnetic mounts available, with some designed specifically for certain camera models, such as the GoPro. When choosing a magnetic mount, it is important to consider the strength of the magnet, as this will determine how secure your camera is. Some magnets can hold up to 105 lbs, which is more than enough for most cameras.
The benefit of using a magnetic mount is that it provides a stable and vibration-free platform for your camera. This is because they use less rubber material than suction mounts, which can be prone to vibration due to their rubber components. Magnetic mounts are also temperature-resistant, so you don't have to worry about them losing their holding power in hot or cold weather.
To use a magnetic mount, simply attach the mount to a steel surface on your car. The mount will then securely hold your camera in place, allowing you to capture the perfect shot. Some magnetic mounts come with articulating arms, which allow for more flexibility in camera positioning.
When using a magnetic mount, it is important to follow safety precautions. Always use a secondary form of safety mounting or tethering, and never leave your camera unattended while it is in operation. By taking these precautions, you can safely and effectively use a magnetic mount to secure your camera in your car.
Understanding the Creative Power of TV Mode on Your Camera
You may want to see also

Dashboard base plate mount
Installation
- Clean the dashboard surface where you'll be placing the base plate. It's important to remove any dirt, dust, or grease to ensure a strong bond.
- Peel the adhesive backing off the base plate.
- Firmly press the base plate onto the desired location on your dashboard. Hold it in place for a few seconds to ensure a strong bond.
- Attach the suction cup to the base plate. The suction cup should have a standard camera mount screw that allows you to secure your camera in place.
Benefits
- Versatility: They can accommodate a wide range of cameras, from dash cams to action cameras and even smartphones.
- Adjustability: The suction cup mount typically allows for a full range of motion, making it easy to adjust the angle and position of your camera.
- Strong hold: The combination of adhesive and suction cup provides a secure hold for your camera, ensuring it stays in place during driving.
- Discreet design: Dashboard base plate mounts are often low-profile and discreet, complementing the interior of your vehicle.
Considerations
When choosing a dashboard base plate mount, there are a few things to keep in mind:
- Compatibility: Ensure that the mount is compatible with your camera model. Check the size and weight specifications of your camera and make sure the mount can support it.
- Adhesive quality: Look for mounts with high-quality, heat-resistant adhesives that can withstand the temperature changes in your vehicle.
- Suction cup strength: Opt for mounts with strong suction cups that can securely hold your camera. Look for options with pump-activated vacuum suction for added security.
- Rotation and lock mechanism: Consider a mount with a 360-degree rotation and a locking mechanism to easily adjust and secure your camera in the desired position.
Car Cameras in Indiana: Are They Legal?
You may want to see also

Sponge dashboard mount
This DIY dashboard camera mount can be made for under $10 using a car sponge (peanut-shaped) and a rug pad. This setup is ideal for shots of car passengers or road trip-style shots out of the windshield.
Steps:
- Cut out a camera-shaped hole in the sponge based on the camera you will be using. Trace the camera with a marker and then cut inside the line to ensure a snug fit.
- If your camera is on the lighter side (e.g. a GoPro), add some weights to the sponge. This can be done by cutting a small hole in the sponge and inserting a tube filled with pennies or D batteries.
- Attach some no-slip grippy stuff or a rug pad to the bottom of the sponge using adhesive to prevent sliding on the dashboard.
- If you need to attach a live view monitor to your DSLR, simply cut an extra hole through the side of the sponge for the cable.
Safety Tips:
- If rigging a camera on the passenger side, disable airbags on that side. In the event of a crash, the airbag deployment can propel the rig into the driver or passenger.
- Always have a safety system in place to hold the rig and prevent damage in case your initial rigging fails. For example, if using suction cups, also use ratchet straps to keep everything in place.
- Do not obstruct the driver's view with your rig.
- Tie or tape down any loose lines.
Freeze Your Computer Camera: Easy Steps to Secure Your Privacy
You may want to see also

Headrest mount
How to Mount a Camera on Your Car Headrest
Overview
Mounting a camera on your car's headrest is a great way to capture footage from the driver's perspective or record inside the vehicle. This setup is ideal for vlogging, car review videos, or even as a dashcam replacement.
There are several headrest camera mounts available on the market, such as the Hague CHM Camera Headrest Mount, Tackform Headrest Mount, and Proaim Headrest Car Mount. These products offer adjustable designs and stable mounting solutions for various camera types.
Step-by-Step Guide
Here's a general guide on how to mount a camera on your car's headrest using a commercially available headrest mount:
- Select a Suitable Headrest Mount: Choose a headrest mount that is compatible with your camera and car headrest design. Ensure it can support the weight of your camera.
- Attach the Mounting Clamp: Securely attach the mounting clamp of the headrest mount to one of the posts on your car's headrest. Tighten the clamp according to the manufacturer's instructions to ensure a stable hold.
- Adjust the Mount Position: Slide the mount horizontally or adjust its position as needed to get the desired camera angle. Some mounts may also offer vertical or rotational adjustments.
- Secure the Camera: Attach your camera to the headrest mount using the provided camera attachment mechanism. This could be a ball mount, a buckle system, or a standard tripod screw, depending on the mount's design.
- Adjust Camera Angle: Fine-tune the camera angle as needed. Many headrest mounts offer articulating joints or ball heads for precise angle adjustments. Ensure the camera is securely fastened to the mount to prevent accidental detachment.
Tips and Tricks
- When choosing a headrest mount, opt for one with adjustable designs to accommodate different headrest widths and camera positions.
- Look for mounts with stable and secure clamping mechanisms to prevent accidental detachment or vibrations during driving.
- Consider the weight capacity of the headrest mount to ensure it can safely support your camera.
- If you plan to remove the mount frequently, choose a design that allows for quick attachment and detachment.
DIY Option
If you're feeling adventurous, you can even build your own DIY headrest camera mount using readily available materials. A basic DIY design involves using a combination of PVC pipes, connectors, and clamps to create a custom headrest camera mount.
By following these steps and tips, you'll be well on your way to capturing high-quality footage from your car's headrest mount.
Understanding Shutter Priority Mode: Creative Control for Photographers
You may want to see also
Frequently asked questions
You can make a dashboard mount with a piece of wood, four rubber feet, and a bolt. Another option is a headrest mount made with a PVC pipe, U-bolts, wingnuts, and a bolt for the camera.
You can make a license plate mount with angled steel and an L bracket. You can also use a magnetic or suction cup mount.
If your dashcam has a screen, turn it on and check the live view of your footage. If you have a dashcam with Wi-Fi and a smartphone app, you can view live footage on your phone while mounting the camera.
Clean the windshield with a window cleaner and let it dry. Apply the adhesive mount and press your hands against it for about 10 seconds to secure it.


