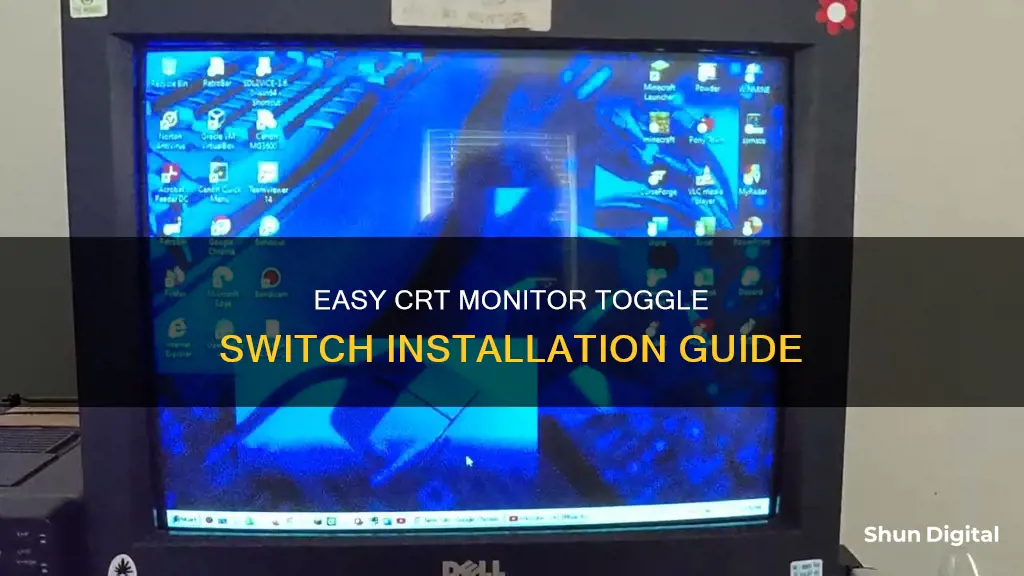
Installing a toggle switch on a CRT monitor involves a few key steps. Firstly, ensure your safety by disconnecting the monitor from its power source. Next, you'll need to access the internal wiring by removing the device's exterior panelling or housing. This will allow you to measure and cut a hole for the switch, which you can then install from the underside of the panel. The next step is to cut and reconnect the device's supply wire to the toggle switch, using the appropriate connection method for your switch type. Finally, reconnect the power and test your new switch.
What You'll Learn

Choosing the right type of toggle switch
Number of Poles and Throws
First, you need to determine the number of "poles" and "throws" required for your toggle switch. A pole refers to the number of circuits controlled by the switch, typically indicated by the number of visible "levers" on the switch. A throw refers to the number of positions the switch can be in. For a basic on-off function, you'll typically need a single pole, single throw (SPST) switch. However, if you require more advanced control, such as multiple on/off settings or independent control of different circuits, you may need a switch with multiple poles and/or throws.
Current Rating
It is essential to select a toggle switch with a current rating that exceeds the maximum current (in amps) that will flow through it. Different electrical devices have varying power requirements, so ensure the contact rating of the chosen switch equals or surpasses the circuit current it will regulate. This is a critical safety measure to prevent overloading the switch and potential electrical hazards.
Type of Electrical Connections
Make sure to choose a toggle switch with the right type of electrical connections for your specific project. Common types of switch connections include solder lugs, pins, or terminals. Selecting a switch with compatible connections will make installation easier and help ensure a secure and reliable connection.
Mount Type
Consider the mount type required for your toggle switch. If your device has designated spaces for toggle switches, you may not need to modify it. However, if modifications are necessary, you'll typically need to drill a hole and install a mount to secure the switch. A panel mount switch, for instance, has a threaded body that protrudes through a hole in the panel and is secured with a panel or jam nut.
Visual Design
To avoid user confusion, it is important to follow standard visual design principles when choosing a toggle switch. Ensure the switch resembles a slider and utilizes clear visual cues, such as movement and colour changes, to indicate its state. High-contrast colours are particularly important to signal state changes effectively.
Labels
Provide concise and unambiguous labels for your toggle switch. Keep the labels short and direct, with keywords that clearly describe the function of the switch when it is turned on. Avoid neutral or ambiguous labels that may confuse users. Remember to follow platform conventions and implement labels consistently across your application.
Understanding SRGB Mode on Your ASUS Monitor
You may want to see also

Disconnecting the power source
For a car, this would involve disconnecting the negative terminal of the battery. As a safety precaution, it is also essential to remove any jewelry, especially metal items, which can conduct electricity.
Once the power source is disconnected, the next step is to remove the panel or housing from the device to access its internal wiring. This may require the use of screwdrivers, pry bars, or other specialized tools. It is important to note that different devices may have unique methods for disconnecting the power source, so it is crucial to refer to specific instructions or seek expert advice when in doubt.
Tommie's Ankle Monitor: A Question of Legal Intrigue
You may want to see also

Removing the device's housing
Before beginning to install a toggle switch, it is important to ensure your safety by disconnecting all power from the device. This will vary depending on the device, but for a car, for example, you would disconnect the negative terminal of the battery.
Now, you can begin to remove the device's housing. This will usually require screwdrivers, pry bars, 'panel poppers', or other specialised tools. If possible, try to only remove the panelling from the part of the device where you intend to install the switch. For instance, if installing a toggle switch in your car, you would only need to remove the dash panelling.
Once you have removed the necessary panelling, you can measure the diameter of the switch bushing that will protrude through the panel. This will allow you to create a suitably-sized hole for your switch. For basic toggle switches, this will be a circular hole, but other switches may require a differently-shaped hole. You can then drill or cut a hole in the panel to fit your switch.
Finally, you can install the switch from the underside of the panel, securing it with its mount. This usually involves threading a jam nut onto the switch's bushing and tightening it with an adjustable wrench.
Measuring Employee Performance: Strategies for Business Success
You may want to see also

Installing the switch
Firstly, disconnect all power from the device. This is a crucial step to protect yourself from electric shock and prevent short circuits.
Next, remove the panel or housing from the device to access its internal wiring. This will allow you to reach the area where you plan to install the switch.
Now, you need to measure the diameter of the switch bushing, which will protrude through the panel. This measurement will guide you in creating a suitably-sized hole for the switch. Use an HSS (high-speed steel) twist drill bit or a spade bit to drill the hole if you're drilling through materials like wood, plastic, or mild steel.
Once the hole is ready, it's time to install the switch from the underside of the panel. Secure it in place with its mount. This typically involves threading a jam nut onto the switch's bushing and tightening it with an adjustable wrench.
At this stage, you should have the switch in place, but it's not yet functional. To make it operational, you need to connect it to the device's power supply. Cut the supply wire and strip the insulation from the ends. If the wire is too short to reach the switch, you can add a "pigtail," which is a short length of wire (about 6 inches or 15 cm) with stripped ends. Connect the pigtail to the supply wire by twisting the ends together clockwise and securing them with a wire nut.
Finally, connect the supply wire to the toggle switch. The connection method will depend on the type of switch you have—it could be through wire leads, screw terminals, or solder connections. Once the connections are made, carefully reconnect the device's power supply and test the function of the toggle switch.
If the switch works as intended, congratulations! You've successfully installed it. Now, you can replace the panel or device housing.
LCD Monitor Anatomy: Unveiling the Intricate Inner Workings
You may want to see also

Testing the switch
- Set the multimeter to the Consistency or Ohms preset and turn it on.
- Check that the multimeter is working by touching the probe tips together. The multimeter must show a value of 1 ohm or less when the probes are in contact. If there is no reading or a high reading, the meter itself may be malfunctioning.
- Attach the red lead to one of the toggle switch's terminals and the positive lead to the other terminal.
- Turn the knob to the ON state. The meter should indicate that the switch is turned on.
- Turn the switch on and off a few times. If the multimeter display changes from ON to OFF, the switch is functioning as intended. If the display does not change, the switch is malfunctioning and needs to be replaced.
- Ensure the switch is turned off. The meter should read OL or a higher resistance value, indicating that the switch is off.
For a single-pole toggle light switch, you can perform the following additional test:
- Connect one multimeter lead to each side terminal. When you switch on the multimeter, it should display a value of 1.
- Now, test the second lead by touching it to the other terminal.
If the switch fails this test, it needs to be replaced. Once you've found a working switch, carefully install it while ensuring the power is still turned off. Finally, re-energize the circuit breaker.
How Holter Monitors Measure EF and Cardiac Health
You may want to see also
Frequently asked questions
Ensure the monitor is unplugged and there is no risk of electric shock before starting work.
You will need a screwdriver, wire cutters, a drill, and potentially other tools such as a soldering iron.
Cut the supply wire and add a pigtail if either end is too short to reach the switch. Then, connect the supply wire to the toggle switch using screw terminals, solder connections, or by twisting the wire ends together.
Reconnect the power supply and test the function of the toggle switch. If it works as intended, replace the panel or device housing.


