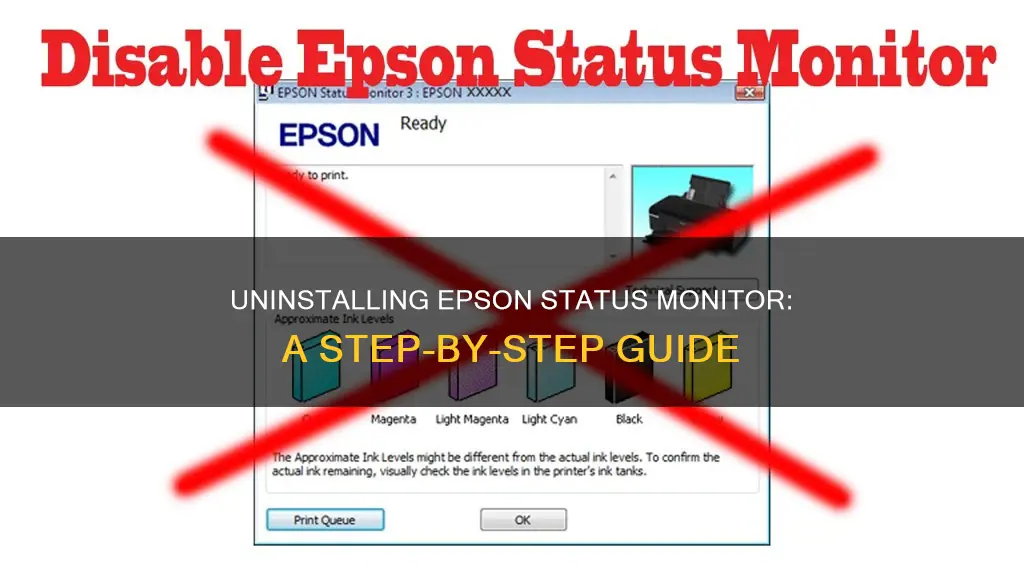
The Epson Status Monitor Utility is a utility that monitors your printer and provides information on errors and printer ink levels. It can be uninstalled by following a series of steps, which vary depending on the Windows operating system being used. For example, on Windows 10, one must open the Printers and Faxes / Printers / Devices and Printers folder, enter the Maintenance / Utility section of the printer driver, right-click on the printer icon, and then left-click on Printing Preferences. However, it is important to note that this utility should only be disabled if you intend to use the WIC Reset Utility.
| Characteristics | Values |
|---|---|
| Operating System | Windows 2000, XP, Vista, 7, 8/8.1, 10 |
| Epson Status Monitor Utility | Monitors printer and gives information on errors and ink levels |
| Epson Status Monitor 3 Environment Check | Displays ads, pop-ups, and banners; recommended to remove immediately |
| Uninstallation Process | Open Control Panel, select "Add/Remove Programs", select "EPSON Printer Software", click "Change/Remove", select the printer model, select the utility tab, confirm the checkbox for the software to be uninstalled, click "OK" |
| Disable Status Monitor | Open "Printers and Faxes"/"Devices and Printers", right-click on the printer icon, select "Printing Preferences", click on "Maintenance" or "Utility" tab, click on "Speed & Progress" or "Extended Settings", disable Status Monitor |
What You'll Learn
- Uninstalling Epson Status Monitor 3 from Windows 10, 8/8.1, 7, XP, Vista, 2000, or Server 2003
- Removing Epson Status Monitor 3 Environment Check (ads, banners, deals)
- Disabling the Epson Status Monitor Utility on Windows 8/8.1 and 10
- Disabling the Epson Status Monitor Utility on Windows 2000, XP, Vista, and 7
- Stopping the Remaining Ink Level popup on an Epson printer

Uninstalling Epson Status Monitor 3 from Windows 10, 8/8.1, 7, XP, Vista, 2000, or Server 2003
To uninstall Epson Status Monitor 3 from Windows 10, 8/8.1, 7, XP, Vista, 2000, or Server 2003, follow these steps:
Windows 10, 8/8.1, 7, Vista:
- Quit all applications.
- Right-click the Start menu, and then click Control Panel.
- Click "Uninstall a program" (Windows 10, 8, 8.1, 7, or Vista) or double-click the "Add or Remove Programs" icon (Windows XP).
- Select the desired printer, then right-click "Uninstall/Change".
- Follow the on-screen instructions to complete the uninstallation.
Windows XP:
- Quit all applications.
- Click Start, then click Control Panel, then click "Add or Remove Programs".
- Double-click the "Add/Remove Programs" icon.
- Select the EPSON Printer Software, then click "Change/Remove".
- Follow the on-screen instructions to complete the uninstallation.
Windows 2000 or Server 2003:
- Quit all applications.
- Click Start, then click Control Panel, then click "Add or Remove Programs".
- Double-click the "Add/Remove Programs" icon.
- For Windows 2000, select EPSON Printer Software, then click "Change/Remove". For Windows Server 2003, click "Add/Remove".
- Follow the on-screen instructions to complete the uninstallation.
Notes:
- When uninstalling from a multi-user Windows XP, 2000, or Server 2003 environment, remove the shortcut icon from all clients before uninstalling by clearing the Shortcut Icon checkbox in the Monitoring Preference dialog box.
- If you are a Windows 98 user with a USB port, you also need to uninstall the EPSON USB printer and EPSON Status Monitor 3.
Finding Wallpaper Size for a Three-Monitor Setup
You may want to see also

Removing Epson Status Monitor 3 Environment Check (ads, banners, deals)
Epson Status Monitor 3 Environment Check is a valid program that can be installed alongside other free software in a "bundled installation." This additional module is not required to run on startup and can be safely disabled or uninstalled.
Uninstalling Epson Status Monitor 3 Environment Check
To remove Epson Status Monitor 3 Environment Check from your computer, you can follow these general steps:
- Open the Start menu and select Settings.
- Click on System and choose Apps & Features in the left column.
- Find Epson Status Monitor 3 Environment Check in the list and click the Uninstall button.
- Confirm the uninstallation by clicking the Uninstall button again in the opened window, if necessary.
Alternatively, you can uninstall the program by going through the Control Panel:
- Right-click on the bottom left corner of the screen (while on your desktop) and select Control Panel.
- Click on Uninstall a program under Programs and Features.
- Locate Epson Status Monitor 3 Environment Check or other related suspicious programs.
- Click the Uninstall button and wait for the process to complete.
Manual Removal of Epson Status Monitor 3 Environment Check
If the uninstallation process fails or you encounter any errors, you can try removing Epson Status Monitor 3 Environment Check manually. This involves deleting all registry keys, files, and folders connected with the program, removing it from the startup list, and unregistering all corresponding DLLs.
Protecting Your Computer from Similar Threats
To protect your computer from similar adware threats, it is recommended to use anti-spyware software such as WiperSoft Antispyware or MalwareBytes Premium. These tools can help detect and remove malware, including any remaining files or registry entries associated with Epson Status Monitor 3 Environment Check.
Additionally, consider using SpyHunter to activate System and Network Guards, which can provide additional protection against malware and browser settings guard.
Easy Guide: Connecting a Monitor to Yamaha 5016CF
You may want to see also

Disabling the Epson Status Monitor Utility on Windows 8/8.1 and 10
The Epson Status Monitor Utility is a utility that monitors your printer and provides information on errors and printer ink levels. If you want to use the WIC Reset Utility, you must disable the Epson Status Monitor Utility.
Step 1:
Open the "Printers and Faxes", "Printers", or "Devices and Printers" folder on your computer. You can find this by opening the Control Panel and selecting the "Printers and Other Hardware" category.
Step 2:
Right-click on the printer icon, then left-click on "Printing Preferences".
Step 3:
Click on the "Maintenance" or "Utility" tab.
Step 4:
Click on the "Extended Settings" button. If you are using Windows 2000, XP, Vista, or Windows 7, you will see a "Speed & Progress" button instead of "Extended Settings".
Step 5:
A window with advanced settings will appear. These settings relate to the Status Monitor, which is enabled by default. To disable the Epson Status Monitor Utility, simply click on the "Disable Status Monitor" option in this window.
By following these steps, you will successfully disable the Epson Status Monitor Utility on your Windows 8/8.1 or 10 operating system.
Time for a New BP Monitor?
You may want to see also

Disabling the Epson Status Monitor Utility on Windows 2000, XP, Vista, and 7
The Epson Status Monitor 3 is a utility program that monitors your printer and provides information about its current status, such as the amount of remaining toner. It also displays error messages when issues occur.
To disable the Epson Status Monitor Utility on Windows 2000, XP, Vista, and 7:
- Go to the Start menu.
- Select "Control Panel" (this may be within the "Settings" menu).
- Choose "Printers and Other Hardware" if available, then select "Printers and Faxes."
- Right-click your printer and choose "Printing Preferences."
- Click the "Maintenance" tab.
- Click "Extended Settings."
- Unselect the "Enable Epson Status Monitor 3" option.
- Click "OK" to save your changes.
By following these steps, you will turn off the Epson Status Monitor and prevent it from running in the background or providing notifications about your printer's status.
LED vs LCD: Nit Count Battle
You may want to see also

Stopping the Remaining Ink Level popup on an Epson printer
The Epson Status Monitor Utility is a utility that monitors your printer and provides information on errors and printer ink levels. It can be annoying, especially if you use third-party ink cartridges as they may read as "empty" to the Status Monitor, triggering "low ink level remaining" notifications whenever you want to print.
To stop the Remaining Ink Level popup on an Epson printer, you can turn off ink level notifications through the Epson Status Monitor preferences. Here's how:
- Hover your cursor over the top-right corner of the home screen, select “Settings,” and then click “Devices and Printers.”
- Right-click on your Epson printer and select “Printing Preferences.”
- Click on the “Optional Settings” tab, and then click the “Monitoring Preferences” button.
- Uncheck the “Ink Low” option in the Select Notification panel. If you are using a laser printer, uncheck the “Toner Low” option instead.
- Click “OK” to save your changes, and then close the Printing Preferences window.
Alternatively, if you want to reset the ink levels, you can do so from the product's control panel by following these steps:
- Press the home button, if necessary.
- Press the left or right arrow button to select Maintenance > Reset Ink Level.
- Press the start button, the OK button twice, and then the start button again.
- Press the right or left arrow button to highlight the ink tank you refilled and press OK to select it. Repeat this step for each ink tank colour you refilled.
- Press the start button to reset the ink levels, then press OK when the reset is complete.
Please note that the Epson printer estimates the amount of ink remaining by internally monitoring ink usage. Therefore, the low ink alert system may generate inaccurate messages if the ink tanks are not refilled according to the instructions in the product's User Guide. It is recommended to regularly inspect the ink tanks to ensure the ink levels do not fall below the lower line to avoid potential damage to the printer.
Identifying G-Sync in Monitors: A Quick Guide to Look For
You may want to see also
Frequently asked questions
To remove the Epson Status Monitor from a Windows 10 device, open the Control Panel and select "Programs and Features" or "Add or Remove Programs." Find and click on "Epson Status Monitor 3" and then click "Uninstall."
To disable the Epson Status Monitor Utility, open the "Printers and Faxes" folder and enter the "Maintenance/Utility" section of the printer driver. Right-click on the printer icon and select "Printing Preferences." Click on the "Maintenance" or "Utility" tab, then click on the "Speed & Progress" or "Extended Settings" button. Disable the Status Monitor in the subsequent window.
To stop ink level notifications, go to "Devices and Printers" in your settings. Right-click on your Epson printer and select "Printing Preferences." Click on the "Optional Settings" tab, then click on the "Monitoring Preferences" button. Uncheck the "Ink Low" option and click "OK" to save your changes.
The Epson Status Monitor Utility is a program that monitors your printer and provides information on errors and printer ink levels.
To remove the Epson Status Monitor 3 Environment Check, you can either uninstall it manually by deleting all registry keys and files connected to it, or you can use a removal tool such as WiperSoft Antispyware or MalwareBytes Premium.


