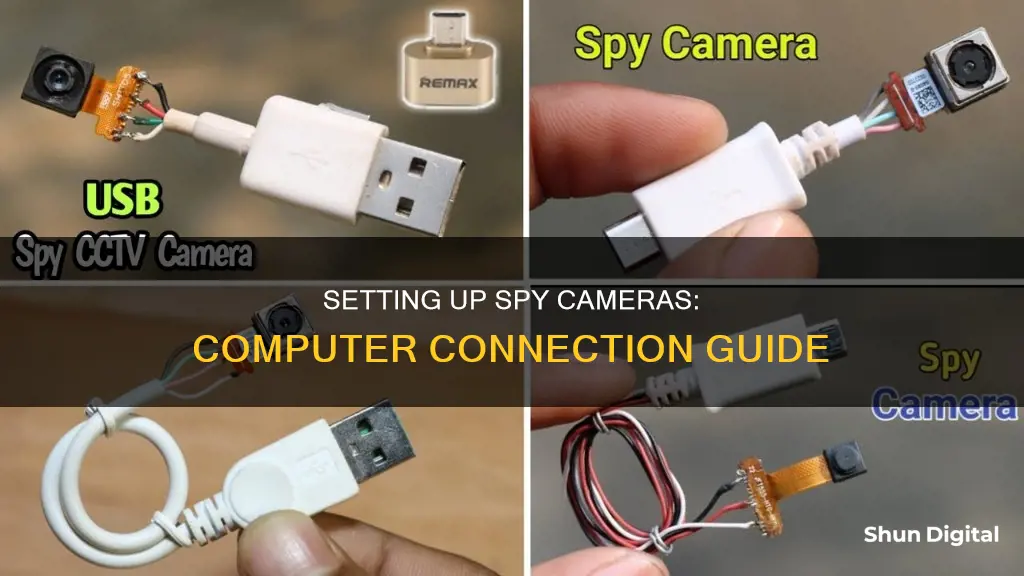
Setting up a spy camera to work with your computer is a great way to enhance your security setup. It's relatively simple to connect a wireless security camera to a computer monitor, giving you real-time surveillance and increased control over your home security.
First, check the compatibility of your camera and computer. You'll need to ensure the camera supports a direct connection to a computer monitor, and that your monitor has the right ports. Look for HDMI or VGA output on your camera, and for the same inputs on your monitor. If your camera and monitor aren't directly compatible, you can use an adapter or converter to bridge the gap.
Next, connect your camera to its power source and then to your monitor using the appropriate cable. Power on both devices and, if necessary, adjust your monitor settings to display the camera feed.
Now, you'll need to set up any required software and configure your camera's settings. Install any software provided by the manufacturer, and use it to adjust parameters such as motion detection sensitivity, video quality, and recording schedules.
Finally, test your setup and troubleshoot any issues. Common problems include no video signal, poor video quality, and connection issues. Resolving these often involves simple fixes like checking your cables and power sources, adjusting settings, and ensuring your devices are on the same network.
| Characteristics | Values |
|---|---|
| Camera Type | Wireless Security Camera |
| Connection Type | Wired (PoE, Ethernet, USB) or Wireless (Wi-Fi) |
| Power Source | Power Adapter, USB Wall Plug, or Built-in Battery |
| Computer Type | Desktop or Laptop |
| Operating System | Windows |
| Software | Surveillance Software (e.g., Reolink Client, VISEC) |
| Hardware | Router, PoE Injector/Switch, Network Cable, HDMI/VGA Cable |
| Storage | MicroSD Card |
What You'll Learn
![]()
Check compatibility with your computer
When connecting a spy camera to your computer, it's important to ensure that your devices are compatible. Here are some detailed instructions to help you check compatibility:
Firstly, you need to identify the type of camera you have. Is it a wired or wireless camera? Wired cameras connect directly to a DVR or VCR using a cable, while wireless cameras transmit signals to a receiver connected to the DVR or VCR.
If you have a wired camera, check the type of cable it uses. It could be a standard network cable, a USB cable, or something else. Ensure your computer has the appropriate port for the cable. For example, if your camera uses a USB cable, your computer should have a USB port.
For wireless cameras, compatibility depends on the Wi-Fi settings. You'll need to connect the camera to your Wi-Fi network during setup. Make sure your computer is also connected to the same network. This way, your computer can detect and communicate with the camera.
Additionally, consider the software requirements. Some cameras come with their own software or apps that need to be installed on your computer. Check the system requirements for this software to ensure it's compatible with your computer's operating system.
Another aspect of compatibility is the power source. Spy cameras may require a power adapter to function. Ensure you have the appropriate power adapter and that it's compatible with your camera and electrical outlet.
If you're using a laptop, keep in mind that you may need to disable its network connection when connecting to the camera. This is because the laptop's network settings might interfere with the camera's connection.
Lastly, for certain advanced features, you may need specific hardware. For instance, if your camera supports motion detection, ensure your computer has the necessary hardware to process and display this information.
By checking these factors, you can ensure compatibility between your spy camera and computer, making the setup process much smoother.
Reducing Camera Noise: Tips for Sharper Raw Images
You may want to see also
![]()
Connect the camera to a power source
To connect your spy camera to a power source, you have a few options.
Power Adapter
The most common way to power a spy camera is through a power adapter. These adapters typically plug into a standard wall outlet and provide a constant power supply to the camera. This ensures that your camera is always powered on and ready to record.
Extension Cord
If your outlet isn't in a convenient location or doesn't face the area you want to monitor, you can use an extension cord. Simply plug the power adapter into the extension cord and then plug the extension cord into the wall outlet.
Power Supply Box
Another option is to connect your camera to a power supply box. This method is useful if you have multiple security cameras, as it allows you to connect all the cameras to one central power source. You will need to mount the power supply box near your cameras and connect each camera's power wires individually to the power supply pins (red wire for positive, black wire for negative). Make sure to use the correct cables and protect all wires during installation.
Power Bank
Some spy cameras are designed to be powered by a power bank, which provides a portable and discreet power source. These cameras often offer additional features such as motion detection, night vision, and WiFi connectivity.
Ethernet Cable
If you have a wired IP camera, you can connect it to a power supply using an Ethernet cable. This method requires additional steps, such as twisting and cleaning the wires, and linking them to power connectors.
Rechargeable Batteries
Some security cameras are powered by rechargeable batteries. However, these cameras are not as efficient as those with a continuous power supply, as you will need to regularly change or recharge the batteries.
It is important to note that the specific steps to connect your spy camera to a power source may vary depending on the model and type of camera you have. Always refer to the manufacturer's instructions or seek professional advice if you are unsure.
Disable Your MacBook Camera: A Simple Guide
You may want to see also
![]()
Connect the camera to your computer
To connect your spy camera to your computer, you'll need to check that your specific camera is compatible with your computer. Most spy cameras are designed to be compatible with all types of computers and most operating systems. Once you've confirmed compatibility, follow these steps:
- Check the charging status of your camera. Ensure it is fully charged before use.
- Reset the device if necessary. If your camera is functioning properly but suddenly shuts down, press the "Reset" button before plugging it into your computer.
- Choose the right USB port on your computer. Sometimes, recognition problems occur due to poor contacts, so try using one of the USB ports at the back of your central unit.
- Insert a microSD card. Most USB spy cameras use microSD cards to store recorded data. Find the microSD card slot near the USB connector and insert the card, ensuring it is facing the correct direction.
- Connect your camera to a power source. Plug the USB cable into your camera's USB port, and then connect the other end to your laptop's USB port or a USB wall plug. A red light should indicate that the camera is powered on.
- Wait for your computer to detect the camera. Your computer should automatically recognise the camera, but if not, try a different USB port or restart your computer.
Now that your spy camera is connected, you can access the recorded footage by opening the file directory on your computer.
Mastering Manual Focus: A Guide to Shooting Sharp Photos
You may want to see also
![]()
Install and launch the camera software
To use your laptop as a spy camera, you will need to install third-party software. There are many paid and free tools available online. Here are the steps to install and launch two of the most popular free tools, Yawcam and Contacam.
Yawcam
Step 1: Install Yawcam on your computer
Go to the Yawcam official website and download the software. Once downloaded, install the software on your laptop. If you don't have Java installed, Yawcam will ask you to do so before installing the software.
Step 2: Add your webcam
Once the software is installed, launch it on your computer and add your laptop webcam. Click on "Settings" in the menu bar at the top, then go to "Device" > "Change to" > "Webcam".
With this, your webcam will be added to the software, and you can see a preview window on your screen. You can also add an external webcam if your laptop doesn't have one.
Step 3: Configure output methods
Yawcam provides multiple output methods for your recordings. These include saving to file, FTP transfer, saving to an HTTP server, and live streaming through the internet.
If you want to save the photos captured by your spy camera on your computer, go to the Yawcam dashboard and enable the first option, which is "File". Click on "Settings" and then select "Edit Settings...". Under "Output", select "File", and you can choose the format and quality of the image, the folder to save the images, and the interval for updating the photos.
Contacam
Step 1: Download the software
Click the button below to download the software. There is no cost for this, and it is 100% free with all the features.
Step 2: Install the software
The software installation is standard. Just click the file to start the process and continue by clicking "Agree", "Next", "Install", and "Finish".
Step 3: Launch the software
After installing the software, type "ContaCam" in the Windows Search area and double-click to load it. This is for Windows 10. If you are using another version of the operating system, just search for the installed software and run it.
Step 4: Choose your camera
The software will recognize the installed webcam. If there is more than one, click on the "Capture" menu and choose the desired model.
Step 5: Enable motion detection
To enable the software to record your spy camera, right-click and choose "Movement Detection". You can also select "Show Detection" to see the areas where there are movements.
Now your spy camera is recording, and you may notice that the webcam LED stays on, indicating that the software is using the webcam. If you don't want your spy camera to be apparent, put something like tape over the LED to block the light.
Other Options
Other free software options for turning your laptop into a spy camera include iSpy Connect, ZoneMinder, and ugolog.
Surveillance Cameras: Security, Protection, and Peace of Mind
You may want to see also
![]()
Adjust the camera settings
Adjusting the settings on your spy camera will help you optimise its performance and ensure you capture the footage you need. Here are some steps to adjust the settings on your spy camera:
Adjusting the Time and Date:
It is important to ensure the time and date on your spy camera are accurate. The procedure for this is generally the same across different models and types of cameras. First, connect your camera to your computer. You should see "Removable disc (H)" appear. Then, using a notepad application, create a file called "time.txt". On the first line, note the date and time in the format "year.month.day hour.minutes.seconds", followed by the letter "Y" to display the time under the video or "N" if not needed. For example, to set the date and time for Christmas 2019 at 6:30 a.m., the format would be "2019.12.25 06.30.00 Y". Once done, send the file to the "H) disk", similar to how you would with DCIM documents. Depending on your device, you may need to rename the file to "userset.txt", "userconfig.txt", or "settime.txt".
Configuring Motion Detection:
Motion detection is a valuable feature that can save space on your memory card and extend battery life. You can adjust the sensitivity level based on the environment. If the setting is too low, the camera might miss the intended target, and if it is too high, it could be triggered by every minor movement. Finding the right balance may require some trial and error.
Selecting Recording Modes:
Your spy camera may offer different recording modes, such as motion detection mode and continuous recording mode. Motion detection mode will capture video and audio when motion is detected, while continuous recording mode will record non-stop until the memory card is full or the battery runs out.
High-Resolution Setting:
When using continuous recording mode, it is essential to choose a high-resolution setting. This will ensure that the video quality is clear and professional, making a difference when reviewing the footage.
Audio Recording:
Some spy cameras offer audio recording, which can be useful for complementing video footage. However, be sure to use this feature lawfully and with consent, as privacy laws vary from state to state.
Storage Capacity:
Consider the storage capacity of your microSD card and choose an appropriate size. Smaller capacities, such as 8GB, are suitable for casual use or when you only need a few hours of recording. Larger capacities, like 128GB, are ideal for longer durations or if you want to avoid frequent file transfers.
Where Dziga Vertov's Man With a Movie Camera Was Made
You may want to see also
Frequently asked questions
Yes, you can. Ensure the camera and monitor are compatible and have the necessary ports and connections.
You will need the camera, a power source, a wireless receiver or transmitter, and the necessary cables to connect the receiver or transmitter to the computer.
First, connect the camera to a power source. Then, connect the wireless receiver or transmitter to the camera and the computer monitor using the appropriate cables.
Yes, you can. Ensure the monitor has enough inputs for each camera, and you may need a switcher or multiplexer to toggle between camera feeds.
Connecting a wireless security camera to a computer monitor allows for dedicated, real-time monitoring, providing a larger and more detailed view compared to a smartphone or tablet.