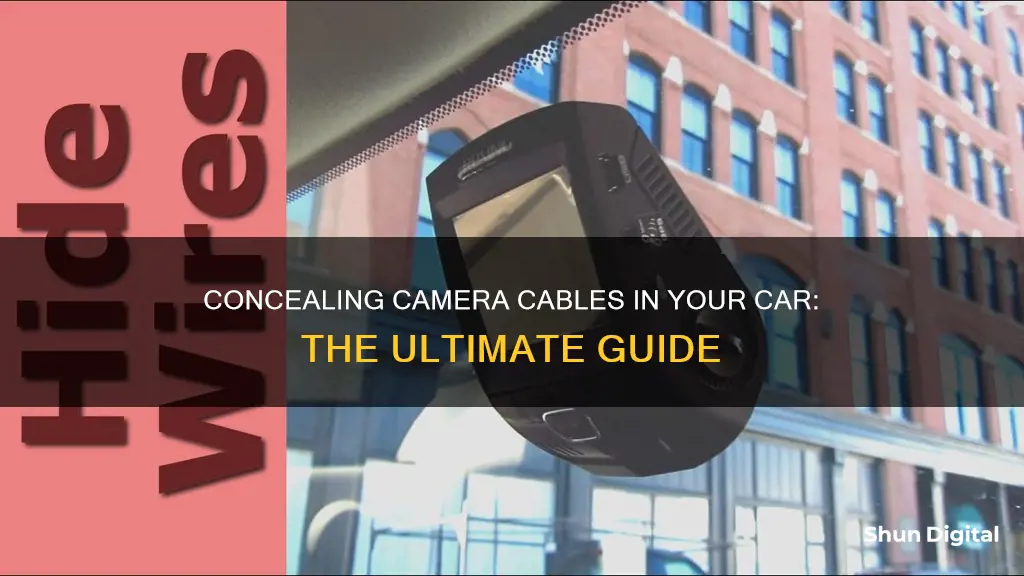
Unsightly camera cables in your car can be a real eyesore, but there are several ways to effectively hide them. From using adhesive wire clips to carefully planning the cable route, you can achieve a neat and professional-looking installation. It is important to choose a path that keeps the power cable out of sight, starting from the dash cam and running along the headliner towards the passenger side, then down the A-pillar to the dashboard. Using trim removal tools, you can gently pry the interior trim panels to access the areas where you want to route the wires, such as the headliner, A-pillar, and side panels. By tucking the wires behind these panels and securing them with cable clips or electrical tape, you can create a clean and discreet setup. Additionally, wire covers can be used for longer or more visible stretches of wire. Proper wire management not only enhances the aesthetics of your car but also reduces distractions and safety hazards while driving.
| Characteristics | Values |
|---|---|
| Plan wiring route | Start from the dash cam and run the cable along the headliner towards the passenger side, then follow the A-pillar down to the dashboard. |
| Tools | Adhesive wire clips, trim removal kit, electrical tape, suction cup for mounting, plastic pry tools, cable clips, double-sided tape, wire covers, microfiber cloth |
| Cable clips | Use adhesive cable clips to secure the wires in place and prevent them from dangling. |
| Hide wires | Tuck wires along the headliner, guide them down the trim piece, and run them inside the dashboard. |
| Reassemble trim panels | Reattach the trim panels and ensure they are correctly aligned and secured. |
| Power connection | Connect the dash cam to a power source, such as the cigarette lighter socket or the vehicle's fuse box. |
What You'll Learn
- Plan the route: Map out a path from the dashcam to the fuse box, keeping the cable out of sight
- Use adhesive wire clips: Attach clips to interior panels to hold wires in place
- Remove trim pieces: Use a trim removal kit to access hidden areas and tuck wires away
- Secure wires with electrical tape: Prevent wires from coming loose or dangling inside the car
- Reassemble trim panels: Once wires are in place, carefully reattach trim panels

Plan the route: Map out a path from the dashcam to the fuse box, keeping the cable out of sight
Planning the route for your dashcam's cable is a crucial step in ensuring a neat and discreet installation. Here are some detailed instructions to guide you through the process of mapping out a path from the dashcam to the fuse box while keeping the cable out of sight:
Identify Starting and Ending Points:
Start by identifying the dashcam's position on your windshield and the location of the fuse box. These will be your starting and ending points for the cable routing.
Choose a Path Along Less Visible Parts:
The goal is to keep the cable as inconspicuous as possible. Look for paths that allow you to route the cable along the car's less visible parts, such as between panels, beneath carpets, or through existing channels. Avoid running the cable across areas that are wide open and easily noticeable.
Avoid Obstructing Sensors and Moving Parts:
As you plan the route, be mindful of any important sensors, airbags, or moving parts such as doors and windows. Ensure that the cable path doesn't interfere with these components. Refer to your car's manual if needed, or consult a professional for guidance.
Use Existing Wiring Routes:
One effective way to keep the cable hidden is to follow the path of existing wiring in your vehicle, such as the headliner or door molding. This helps to keep the dashcam cable concealed since it blends in with the existing wiring.
Use Tools for Easier Access:
To access certain areas behind trim panels, you may need to use trim removal tools. These tools are designed to safely remove interior trim panels without causing any damage. They can help you access hidden spaces where you can route the cable.
Secure the Cable with Adhesive Clips:
In areas where the cable needs to be secured in place, use adhesive cable clips. These clips can be attached to interior panels, headliners, or other surfaces to hold the cable firmly and prevent it from dangling.
Consider Using Wire Covers:
If there are long or visible stretches of cable that can't be tucked into panels, consider using wire covers. These can be easily placed over the wires to conceal them and provide additional protection.
By carefully planning the route, using the right tools, and employing cable management techniques, you can successfully map out a path for your dashcam cable that keeps it out of sight and maintains a neat and discreet installation.
Target's Camera Battery Options: What You Need to Know
You may want to see also

Use adhesive wire clips: Attach clips to interior panels to hold wires in place
Adhesive wire clips are a great way to keep your dashcam wires organised and out of sight. They are small clips with an adhesive backing that can be easily attached to the interior panels of your car. The clips keep the wires securely in place and prevent them from dangling or getting in your way while driving.
To use adhesive wire clips, first plan the route you want the wires to follow. Choose a path that starts from the dash camera, continues along the headliner towards the A-pillar, and down to the fuse box. Keep the wires along less visible parts, such as between panels and beneath carpets, to maintain a neat appearance.
Once you have determined the route, simply stick the adhesive wire clips onto the desired surface, such as the car's trim or headliner. Then, insert the wires into the designated slots on the clips. Make sure to tuck the wires securely behind the interior panels as you go.
Adhesive wire clips are safe to use on various surfaces, including plastic, glass, iron, wood, glossy cardboard, porcelain, and ceramic. They provide a secure and neat way to route and conceal the cables, giving your car a clean and professional-looking installation.
By using adhesive wire clips, you can effectively hide your dashcam wires, improving the aesthetics of your car's interior and reducing distractions while driving.
The Kodak Six-16 Camera: A Vintage Photography Icon
You may want to see also

Remove trim pieces: Use a trim removal kit to access hidden areas and tuck wires away
To effectively hide your dashcam wires, you'll need to remove trim pieces to access hidden areas and tuck the wires away. This can be done using a trim removal kit, which typically includes various tools like plastic or metal pry tools, clip removal tools, upholstery remover tools, and trim clip pliers. These tools help you safely remove trim pieces and access the areas where you need to hide the wires, such as behind switch panels or along the headliner.
Before you begin, gather your trim removal kit and any other necessary tools. Ensure your vehicle is turned off and the keys are removed from the ignition to avoid any electrical issues.
Locate the trim pieces you need to remove to access the desired hidden areas. This may include the A-pillar, headliner, side panels, or cabin trim panels. Carefully use the appropriate tools from your trim removal kit to remove these trim pieces without causing any damage. Be gentle and use the right tool for each type of clip or fastener.
Once the trim pieces are removed, you can start tucking the wires away. Guide the wires along the planned route, carefully threading them behind the interior panels. Use adhesive wire clips or cable clips to secure the wires in place, especially in areas where the cables don't fit into the panels. Make sure the wires are securely tucked away and don't obstruct any important sensors or moving parts, such as airbags.
After the wires are in place, carefully reattach the trim panels, ensuring they are correctly aligned and secured. Test your dashcam to ensure it's working properly.
By following these steps and using a trim removal kit, you can neatly hide your dashcam wires, maintaining a clean and unobstructed view in your vehicle.
Surveillance in LA: How Many Cameras Watch Downtown?
You may want to see also

Secure wires with electrical tape: Prevent wires from coming loose or dangling inside the car
Securing wires with electrical tape is an essential step in preventing them from dangling or coming loose inside your car. This not only ensures a neat and organised appearance but also enhances safety by reducing potential distractions while driving.
Electrical tape is a versatile and effective solution for wire management. When securing your dash cam wires, it is recommended to wrap the tape tightly around the wires at different intervals along their length. This provides added stability and keeps the wires securely in place.
By using electrical tape, you can hide the wires along the less visible parts of your car, such as between panels and beneath carpets. This helps to maintain a tidy interior while ensuring the wires are safely out of sight.
There are various types of electrical tape available, including vinyl, cloth, and fleece varieties. When choosing electrical tape, consider the temperature rating to ensure it can withstand the heat generated by your vehicle. Additionally, some tapes may leave a residue on the wire insulation, so selecting a tape that won't cause this issue, such as fleece tape, is advisable.
In addition to electrical tape, you can also use adhesive wire clips to secure the wires to the interior panels of your car. This combination of electrical tape and wire clips provides a secure and discreet wire management system, ensuring your dash cam setup remains tidy and safe.
Hacking Surveillance Cameras: Sleeping Dogs Guide
You may want to see also

Reassemble trim panels: Once wires are in place, carefully reattach trim panels
Reassembling the trim panels is a crucial step in the process of hiding your dashcam wires and restoring the neat appearance of your car's interior. Here's a detailed guide to help you carefully reattach the trim panels:
Before proceeding with reattachment, ensure that the wires are securely in place and hidden behind the interior panels. Gently tug on the wires to confirm they are firmly tucked away and won't come loose while driving.
Now, carefully align the trim panels you had previously removed. It's important to take your time and ensure the panels are correctly positioned and secured. Use trim removal tools, such as plastic or metal pry tools, to gently push the trim panels back into place without causing any damage to the surrounding areas.
Some trim panels may have clips or fasteners that need to be secured. In such cases, use clip removal tools with forked or flat ends to slip behind the clips and securely fasten them. For panels with trim clips, you can use trim clip pliers to grip the clips tightly and pry them into place, especially those that are difficult to access with other tools.
After reattaching the trim panels, it's a good idea to check if they are securely in place. Gently tug on the panels or try to move them slightly to ensure they are firmly attached.
By carefully reassembling the trim panels, you will maintain the original look of your car's interior and ensure that the wires remain hidden, providing a neat and professional finish to your dashcam installation.
Finally, reconnect your dashcam to its power source and test it to ensure it is functioning correctly.
Blur Your Background on Video Calls: Easy Camera Tricks
You may want to see also
Frequently asked questions
Plan a route that keeps the cable out of sight. Start from the dash cam, run the cable along the headliner towards the passenger side, then follow the A-pillar down to the dashboard.
You will need a trim removal kit, adhesive wire clips, and electrical tape.
First, tuck the wires along the headliner, then guide the wire down the trim piece, and finally, run the wire inside the dashboard.
Make sure to research your specific car model and dash camera in the user manual. Use electrical tape if the adhesive clips don't provide enough grip.


