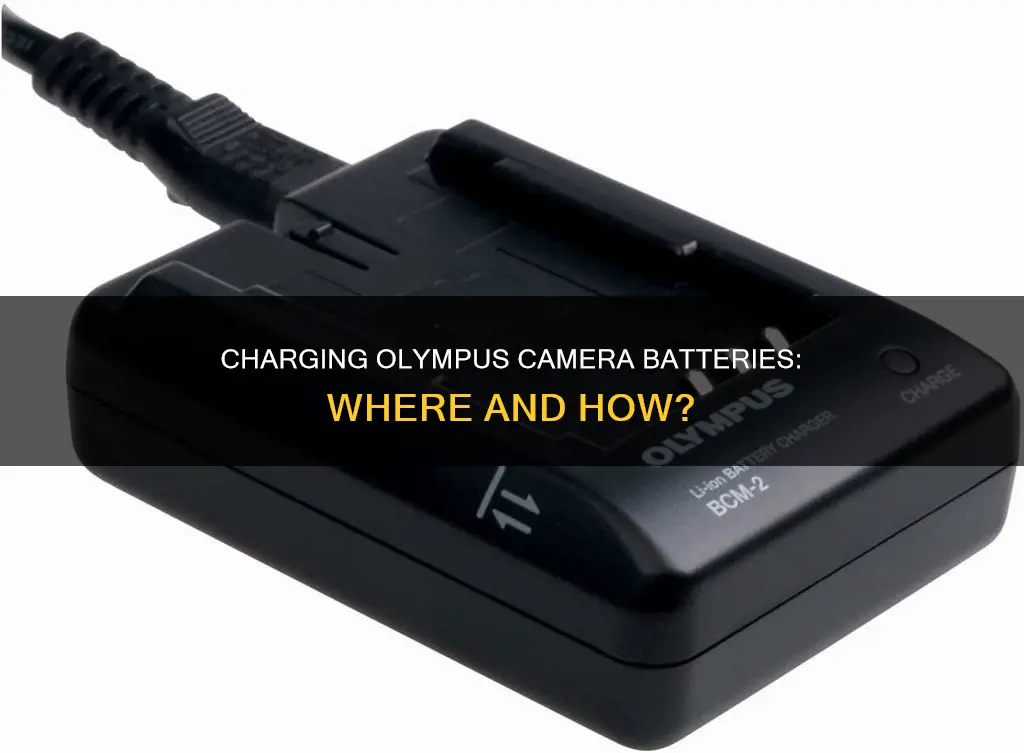
There are a few different ways to charge the battery on an Olympus camera. Some Olympus cameras come with a separate battery charger, while others can be charged through the camera itself via USB. It's important to note that not all Olympus cameras support in-camera charging, and some may require specific types of USB cables or chargers. Some users have also reported success with third-party chargers and batteries, but it's recommended to read the camera manual and exercise caution to avoid damaging your camera.
| Characteristics | Values |
|---|---|
| Charging method | In-camera charging, separate charger, or charging port |
| Charger type | USB, wall wart, power bank, solar panel |
| Battery type | OEM, third-party (e.g., Wasabi, Patona, Kastar) |
| Cable type | USB, HDMI Micro, USB-C |
What You'll Learn
![]()
Charging an Olympus camera battery without a charger
There are a few ways to charge an Olympus camera battery without a charger. Here are some methods you can try:
- Using a Universal Charger: You can purchase a universal charger with adjustable terminal pins to charge your Olympus camera battery. While the Olympus EM5 battery uses a slightly higher voltage than standard batteries, it can still be charged using a universal charger. However, the battery will be charged at a lower voltage, resulting in slightly reduced capacity.
- Third-Party Chargers: You can also opt for third-party chargers specifically designed for Olympus camera batteries. These chargers, along with compatible third-party batteries, are usually more affordable than official Olympus products. However, it is recommended to avoid the cheapest options to ensure reliability and safety.
- USB Charging: Some newer Olympus camera models support in-camera USB charging. For example, the Olympus E-M1X and the more recent E-M5III and E-M1III models can be charged via USB-C. Simply connect the camera to a power source using the appropriate USB cable, such as USB-C, and ensure that the camera is powered off during the charging process.
- External Batteries: If you have access to an external battery pack or power bank, you can use it to charge your Olympus camera battery. Look for power banks that support USB Power Delivery (USB PD) and provide sufficient power output, typically around 30-45 Watts, to ensure efficient charging.
- Solar Chargers: Solar chargers are an eco-friendly option for charging your Olympus camera battery. However, they may not provide consistent power output due to fluctuations in sunlight intensity. Solar chargers typically require additional equipment, such as a power bank or a battery cradle, to store the generated energy and deliver it to your camera battery.
It is important to note that charging an Olympus camera battery without the official charger may require some experimentation and caution. Always refer to your camera's manual and safety guidelines to avoid any potential damage to your equipment. Additionally, when using third-party batteries and chargers, opt for reputable brands to ensure compatibility and safety.
Charging Camera: Plugging into Computer, What's the Deal?
You may want to see also
![]()
Charging an Olympus camera battery via USB
The OM-1, E-M5 Mark III, and E-PL10 cameras can be charged via USB. Simply plug the USB cable into the camera and the other end into a USB wall adapter, power bank, or any other USB power source.
The E-M1 Mark III can also be charged via USB, but it requires a USB cable capable of handling USB Power Delivery (USB PD). The cable provided with the camera (CB-USB11) cannot be used for USB PD. When using USB PD, the power source must provide at least 27 watts (9 volts at a minimum of 3 amps or 15 volts with a minimum of 2 amps).
For older models like the E-M1 Mark II and earlier, there is no support for charging the battery via USB.
It is important to note that when charging via USB, the camera must have enough battery charge to start the process. Additionally, the camera cannot be used for USB tethering or external HDMI output while charging via USB.
Always refer to your camera's manual for specific instructions and compatibility information.
Charging the Kodak Easyshare C1450: A Simple Guide
You may want to see also
![]()
Charging an Olympus camera battery in-camera
For the OM-1 model, you must use a USB-C Power Delivery (USB-C PD) device that provides at least 27 watts. You will also need to set the USB mode to USB-C PD, and ensure that the camera has enough battery charge to start the charging process.
For the E-M1 Mark III model, you can use any USB cable to charge the camera when it is turned off. However, if you want to use USB-C PD, you will need a cable that can handle it, as the supplied cable with the camera cannot.
It is important to note that not all USB cables and chargers are created equal. Some may not be able to deliver enough power to charge your camera, so it is recommended to check the specifications before purchasing. Additionally, always refer to your camera's manual for specific instructions on charging and to avoid accidentally damaging your device.
Charging the Kidizoom Selfie Camera: A Step-by-Step Guide
You may want to see also
![]()
Charging an Olympus camera battery with a power bank
First, check your camera model to ensure it supports USB charging. Some older Olympus camera models may not have this feature. The Olympus OM-D E-M10ii, for example, does not charge via USB, but newer models like the OM-D E-M1 III and later support USB charging.
If your camera supports USB charging, you'll need a compatible USB cable. The supplied cable that came with your camera should work, but make sure it's a data transfer cable and not just a USB connection cable. Some cameras, like the OM-D E-M1 III, require a USB-C cable that supports USB Power Delivery (USB-C PD). Check your camera's manual or the Olympus website for specific cable requirements.
Next, you'll need a power bank that supports the USB Power Delivery (USB-PD) standard. Look for power banks that output 9V 3A, 15V 2A, or 15V 3A. Olympus lists some supported devices on their website, including the Anker PowerPort III mini and the Anker PowerCore +26800 PD. RAVPower also offers compatible power banks and wall chargers.
When you're ready to charge your camera, simply turn off the camera and plug the USB cable into the camera and the power bank. The camera's red lamp should light up, indicating that it's charging. A full charge should take around 2 hours, but this may vary depending on your camera and power bank.
It's important to note that when charging via USB, only the internal battery in the camera body will be charged. Any attached battery grip, like the HLD-9, will not be charged. Additionally, you won't be able to use external HDMI or USB tethering while charging via USB.
If you're using a power bank with multiple ports, you can even charge your camera and phone simultaneously! Just be aware that fast charging for your phone may not be supported when using the same power bank to charge multiple devices.
Some other things to keep in mind:
- Make sure your camera's battery has enough charge to run the camera for a bit when using USB-C PD.
- The camera's manual may specify that the battery needs to be at a certain temperature range for optimal charging.
- Always refer to your camera's manual for specific instructions and safety precautions.
By following these steps, you'll be able to conveniently charge your Olympus camera battery with a power bank, making sure your camera is ready to capture all your memorable moments!
Charging Camera Batteries: Using the DigiPower Charger
You may want to see also
![]()
Charging an Olympus camera battery with a solar panel
Step 1: Understand Your Camera's Battery Requirements
Before opting for solar charging, it is crucial to know the specific battery requirements of your Olympus camera. Different Olympus camera models may have varying battery types and voltages. Check your camera's manual or consult an expert to identify the exact battery specifications, including voltage and capacity, to ensure compatibility with the solar charging system.
Step 2: Choose a Suitable Solar Panel
Select a solar panel that matches your camera's voltage requirements. Solar panels typically produce 12 volts, which may be higher than what your camera battery needs. However, you can use a voltage regulator or a charge controller to step down the voltage to the appropriate level for your camera battery. Consider the panel's wattage and efficiency as well, as these factors will impact the charging time.
Step 3: Select an Appropriate Charge Controller
A charge controller is essential for regulating the voltage and current from the solar panel to ensure safe and effective charging of your camera battery. There are two types of charge controllers: PWM (pulse-width modulation) and MPPT (maximum power point tracking). MPPT controllers are more efficient but tend to be more expensive. Choose a charge controller that suits your budget and ensures stable charging for your camera battery.
Step 4: Connect the Solar Panel and Charge Controller
Connect the solar panel to the charge controller using appropriate cables. Ensure that the cables are rated to handle the current and voltage produced by the solar panel. Follow the instructions provided with the charge controller for proper setup and configuration.
Step 5: Connect the Camera Battery to the Charge Controller
Use suitable cables to connect your camera battery to the charge controller's output. Some charge controllers may have specific battery connectors, while others may require you to use alligator clips or ring terminals. Ensure a secure connection to prevent power loss during charging.
Step 6: Position the Solar Panel for Optimal Sun Exposure
Place the solar panel in a location that receives maximum sunlight throughout the day. Consider the sun's path and adjust the panel's orientation periodically to capture the sun's rays effectively. Keep the panel clean and free from shadows or obstructions for optimal performance.
Step 7: Monitor the Charging Process
Keep an eye on the charging process, especially if you're using the camera's internal battery charging feature. Some cameras may have specific requirements, such as turning off certain functions or maintaining a particular temperature range during charging. Refer to your camera's manual for any specific guidelines.
Step 8: Consider a Power Bank or External Battery
If you plan to be in areas with inconsistent sunlight or extended periods without sun exposure, consider investing in a power bank or external battery. You can charge these devices using the solar panel during sunny periods and then use them to charge your camera batteries as needed, ensuring uninterrupted power for your camera.
Step 9: Practice Proper Battery Care and Maintenance
Always follow the manufacturer's guidelines for charging, storing, and handling your camera batteries. Proper battery care will help maintain their performance and longevity. Use batteries that are compatible with your camera model and avoid overcharging or discharging them completely. Store batteries in a cool, dry place when not in use.
By following these steps and choosing the right equipment, you can effectively charge your Olympus camera battery using a solar panel. Remember to consider your camera's specific requirements and select compatible components to ensure safe and efficient charging during your outdoor photography adventures.
Charging Camera Batteries: A Quick Guide to Powering Up
You may want to see also
Frequently asked questions
You can either charge the battery in-camera or buy a separate charger. For in-camera charging, you can use any USB cable to connect the camera to a USB mains adapter.
Yes, but it is recommended to use the same branded charger as the batteries. Some third-party chargers and batteries that are known to work with Olympus cameras include Wasabi, Patona, and Kastar.
The blinking lights indicate that the battery is charging. The light will turn off when the battery is fully charged.
Yes, you can use a solar panel that generates 12V DC @1000mA to charge your camera batteries.