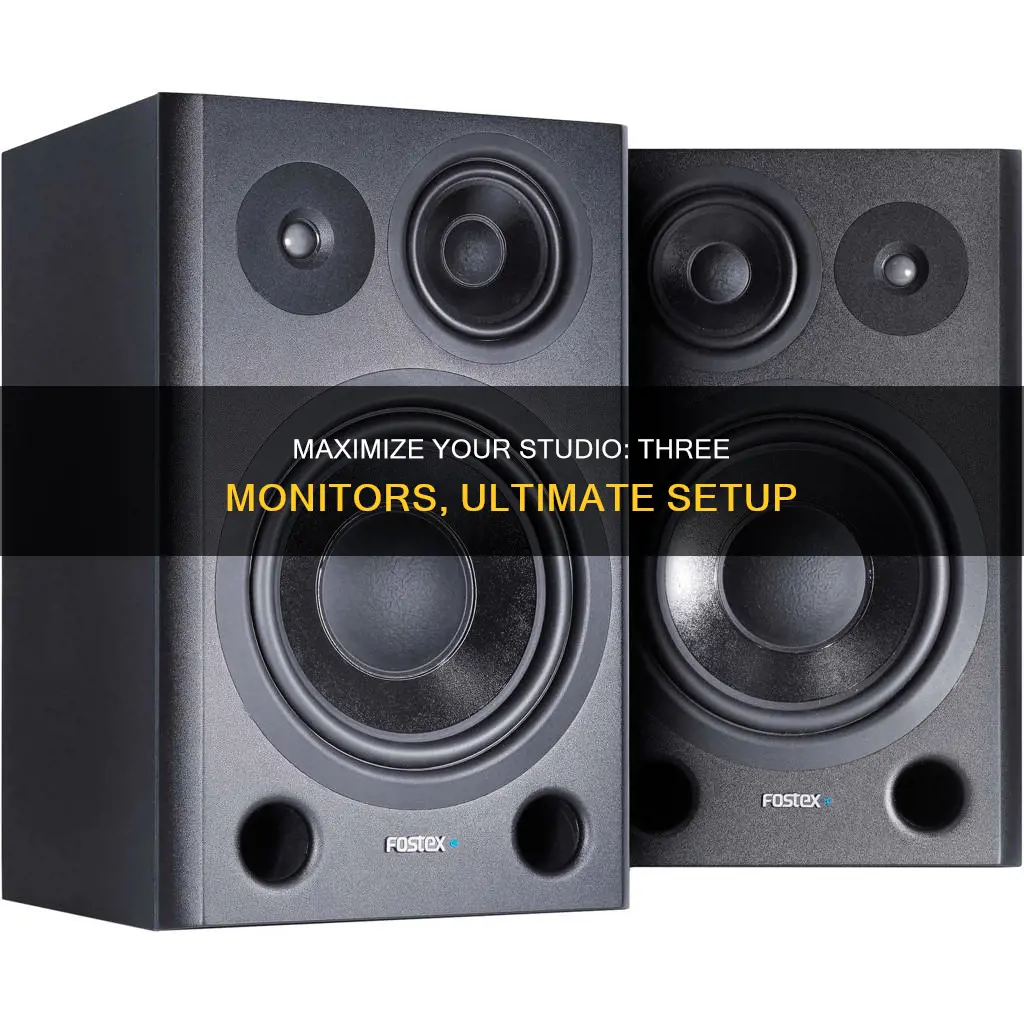
Setting up multiple monitors in a recording studio is a great way to ensure that your music will sound good on a variety of speaker systems. While one pair of monitors may be sufficient for some, having at least two sets of speakers, including your main near-field monitors and a set of small, inexpensive desktop computer speakers (mini-monitors), will let you hear how most listeners will hear your music. This dual monitor approach will allow you to hear how your tracks sound on a cheap home stereo system, television, or computer speakers, rather than just the precise and accurate sound of your studio reference monitors.
Additionally, having multiple sets of monitors in your studio can provide a reference for how your music will sound for your listeners, many of whom are likely listening on headphones or two-way speakers. A secondary set of two-way speakers can be especially useful for this purpose.
When setting up multiple monitors, it's important to consider the placement of the speakers. The ideal setup is to have your speakers upright and level with your head, forming an equilateral triangle with your head at the listening position between the two speakers. However, when working with multiple monitors, it can be challenging to achieve the perfect equilateral triangle setup.
To manage the audio from multiple monitors, you may need to add an analog monitor control box to your system, such as the PreSonus Monitor Station or the Mackie Big Knob. These units allow you to switch between monitors while mixing without losing your sweet spot listening position.
While setting up multiple monitors in a recording studio can be beneficial, it's important to remember that the more speakers you add, the more challenging it may be to find the ideal placement for each speaker.

Speaker placement
Finding the Ideal Listening Position
Start by determining the ideal listening position in the room. This position is crucial for achieving the best sound experience. Face the short wall of the room, so your speakers project down the length of the room. Sitting closer to the front wall is generally preferable as it helps minimise bass peaks and nulls caused by reflections from the rear wall.
A common guideline for finding the optimal listening position is the "38% Rule," created by studio designer Wes Lachot. Calculate 38% of your room's length and mark a spot that is 38% back from the front wall, centred width-wise between the sidewalls. This position can be a good starting point, but feel free to experiment with different positions between 35% and 43% to find the sweet spot for your room.
It is essential to avoid sitting at the halfway point of the room lengthwise, as this can cause a nasty dip in the bass response due to a null at the centre. Additionally, ensure that your ears are not halfway between the floor and ceiling to avoid another bass null.
For accurate stereo imaging, it is recommended to position the listener and speakers in an equilateral triangle. Draw imaginary lines at a 30-degree angle from the reference point (behind your head) to the left and right. Place your left and right speakers on these lines, ensuring the tweeters are on-axis with the lines. This setup ensures that the speakers are angled towards your ears.
The height of your studio reference monitors is also crucial. They should be at least 47 inches (120 cm) off the floor, with the tweeters aimed directly at your ears. If you need to tilt the speakers down slightly, avoid angling them more than 15 degrees from vertical to prevent significant changes in frequency response.
Distance Between Monitors and Walls
Place your monitors at a distance from the walls to reduce sound reflections. As a rule of thumb for near-field monitors, maintain a minimum distance of 20-30 cm (8-12 inches) and a maximum distance of 60-90 cm between the monitors and walls. Ensure that the distances between the monitors and the side and back walls are different to avoid creating corners in your listening position.
If your monitors have rear ports, keep them away from the wall to minimise low-end issues. A good rule is to maintain a distance of at least the diameter of the port (usually 5-10 cm) between the rear port and the wall.
Speaker Isolation
It is essential to isolate your speakers from hard surfaces like desktops or consoles to prevent unwanted reflections and vibrations. Invest in monitor stands or isolation pads to separate the monitors from the rest of your setup. Speaker isolation pads, such as dense foam or multi-layer isolators, can effectively absorb vibrations and mitigate resonances.
Adding a Subwoofer
When adding a subwoofer, ensure that your monitor system is correctly set up first. Subwoofers are non-directional, so their placement is more flexible. A trick to find a good location is to place the subwoofer in your listening position and crawl around the room to find where the bass sounds best, then mark that spot. Adjust the subwoofer's crossover frequency to match the bass roll-off of your main monitors.
In summary, achieving optimal speaker placement in a three-monitor recording studio involves finding the ideal listening position, creating an equilateral triangle with the speakers, maintaining appropriate distances from walls, isolating the speakers from hard surfaces, and carefully integrating a subwoofer if desired. By following these guidelines and experimenting with placements, you can optimise your studio's sound quality and accuracy.
Subaru Ascent: Blind Spot Monitoring Feature Explained
You may want to see also

Monitor control boxes
The primary purpose of a monitor control box is to provide a convenient way to switch between different monitors and control their output. This is particularly useful when you have multiple sets of monitors, such as near-field monitors and minimonitors, as it lets you easily compare how your mix sounds on different speaker systems.
There are various monitor control boxes available on the market, ranging from simple passive units to more advanced digital and analogue systems. Passive monitor controllers, like the Behringer Monitor1, offer basic functionality such as volume control and input selection. On the other hand, more advanced units like the PreSonus Monitor Station V2 provide additional features such as input and output routing, headphone outputs, and talkback functionality.
Some monitor control boxes also include room correction features, such as the IK Multimedia ARC system, which uses a calibration microphone to analyse the acoustics of your room and apply corrections to your monitors, ensuring a more accurate listening experience.
When choosing a monitor control box, consider your specific needs and budget. If you require basic monitor switching and volume control, a simple passive unit may suffice. However, if you want more advanced features like input routing, headphone support, or room correction, you'll need to invest in a more sophisticated monitor management system.
In conclusion, monitor control boxes are essential for any recording studio setup with multiple monitors. They provide convenient control over your monitoring system, allowing you to easily switch between different speakers and adjust their output to suit your needs. With a range of options available, from passive controllers to advanced monitor management systems, you can find the perfect solution to streamline your studio workflow.
The Perfect 24-Inch Monitor: ASUS VG248QE Review
You may want to see also

Speaker size
The size of your studio monitors will depend on the size of your room and the style of music you are working with. For home studios, 5-inch woofers are a good fit. If you are working with electronic dance music and require better low-frequency response, a bigger driver size would be more suitable as larger speakers can move more air, which is necessary for reproducing lower-frequency sounds. Smaller speakers, on the other hand, may offer better midrange and high-frequency response as they can reproduce these frequencies more accurately due to their compact size.
For nearfield monitors, woofer sizes can range from 3 inches to 8 inches. For most small to medium-sized rooms, nearfield monitors are more than adequate.
Monitoring Home Electricity Usage: Data Collection Methods
You may want to see also

Speaker stands
When choosing speaker stands, consider the weight of your monitors and select stands that can safely elevate them to listening level. Stands come in a variety of materials, including metal, which is durable but heavier, and plastic, which is more affordable and easier to move around. If you want to conceal your cables, look for stands with internal cable routing.
- On-Stage SMS6000-P Studio Monitor Stands: These freestanding stands are constructed from arc-welded steel and offer five different height positions. They come with swappable feet, making them suitable for both carpeted and hard floors.
- IsoAcoustics ISO-155 Studio Monitor Stands: These desktop stands provide isolation and elevation, ensuring accurate bass reproduction and clean sound. They offer tilt adjustment and are easy to assemble.
- Behringer SM2001 Studio Monitor Stands: With a price of less than $50 per pair, these stands are perfect for those on a budget. They are easy to assemble and offer height adjustability and a rotatable top.
- Gator Frameworks Clamp-On Studio Monitor Stands: These stands attach directly to your desk, saving valuable space. They can hold large monitor speakers of up to 60 lbs each and are tilt-adjustable up to 15 degrees.
- Ultimate Support MS-100B Studio Monitor Stands: These freestanding stands offer a blend of sturdiness and isolation. The aluminium construction is rigid, and the high-density acoustic foam ensures optimal sound transmission. They also feature a sand chamber to enhance low-end response and cable channels for tidy cable management.
- Argosy Spire 420i Studio Monitor Stands: These high-end stands offer superb isolation thanks to their IsoAcoustic technology. They also include in-stand cable routing and are designed to 'direct' sound in the right direction.
Monitoring Delivery Performance: Strategies for Success
You may want to see also

Room acoustics
Speaker Placement and Setup:
- The ideal setup for three monitors is to form an equilateral triangle, with the listener positioned at one corner and the speakers at the other two. This ensures that the sound reaches the listener directly, without being compromised by room reflections.
- Ensure the speakers are placed symmetrically in the room, firing down the long axis in smaller rooms.
- Avoid placing speakers too close to the room's corners, and follow the manufacturer's recommendations for the distance from walls.
- The speakers should be at head height, angled slightly downwards towards the listener's head.
- Avoid placing any hardware, such as computer screens, between the speakers and the listener.
- The speaker setup should not be midway along any room dimensions to prevent bass frequency issues.
- Consider using stands or isolation pads to decouple the speakers from the surface they are placed on, reducing sound transfer to the surface.
Acoustic Treatment:
- Identify and treat reflection points in the room, especially side walls, the ceiling, and the rear wall. Use absorption panels or acoustic foam to reduce reflections and improve stereo imaging.
- Bass traps are essential to even out the bass response in the room. Consider using bass traps in corners, ceiling voids, or deep spaces behind walls.
- To improve low-frequency absorption, space the acoustic panels a few inches from the walls. This technique enhances their effectiveness without requiring excessive thickness.
- For very low bass frequencies, consider using heavy, non-rigid surfaces like "barrier mat" or "dead sheet" to interrupt and absorb the sound.
- Avoid excessive high-frequency trapping, but feel free to add more bass trapping as it will improve the bass response without reducing the overall bass in the room.
Additional Considerations:
- The floor and desk can impact acoustics, but there are limited options for treatment in most home studios. A carpeted floor is preferable to a hard floor, and angling the desk can help reduce reflections.
- Avoid placing reflective surfaces below the monitors, as they can cause high-frequency reflections that interfere with the listening position.
- If using multiple sets of speakers, consider adding an analog monitor control box to easily switch between them without losing your "sweet spot."
By following these guidelines and making adjustments based on your specific room dimensions and equipment, you can significantly improve the room acoustics for your three-monitor recording studio setup.
Monitors for MacBook: Choosing the Right Display
You may want to see also
Frequently asked questions
The ideal speaker setup is an equilateral triangle with the listener at one point. However, if you have a second pair of monitors in the same studio space, it becomes impossible to create two equilateral triangles. One of the two pairs has to sit a little wider/narrower than the ideal equilateral.
Chances are that your audio interface only has one set of monitor outputs. The solution is to add an analogue monitor control box to your system. The stereo mix coming out of your audio interface's monitor output is then connected to this box and split into several monitor output paths, each of which can be sent to its own monitor destination.
Two of the most popular solutions on the market are the PreSonus Monitor Station and the Mackie Big Knob (both units are about $300).
Make sure that the speakers are as far away as possible from any walls to avoid potential low-frequency interaction with your room's physical structure. Pushing your speakers against the wall or shoving them in a corner is never a good idea.


