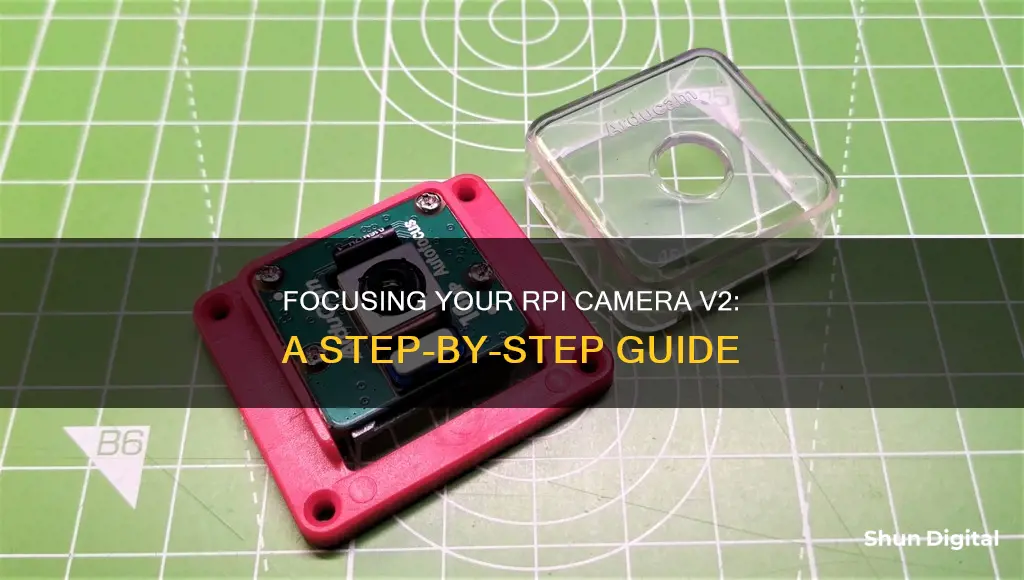
The Raspberry Pi Camera Module V2 has a fixed focus of 1m to infinity, which can cause issues when trying to capture objects or text that are closer than 1m. The focus can be adjusted manually by rotating the lens, but this is not recommended as it may void the warranty and damage the camera. There are tools available to help with this process, such as a lens adjustment tool or a 3D-printed wrench. Some users have also reported success using tweezers, pliers, or a cut-up credit card. It is important to note that the Raspberry Pi Camera Module V2 does not have autofocus capabilities.
| Characteristics | Values |
|---|---|
| Focus distance | 1m to infinity |
| Focus | Fixed |
| Focus control mechanism | Lens adjustment tool |
| Autofocus | Not available |
| Sensor | CMOS image sensor |
| Focus motor | Manual |
| Control system | Manual |
What You'll Learn
![]()
Use a pair of jeweler's pliers or mini needle-nose pliers to adjust the lens
To focus your Raspberry Pi Camera V2, you will need to adjust the lens. This can be done using a pair of jeweler's pliers or mini needle-nose pliers. Here is a step-by-step guide on how to do it:
Step 1: Prepare the Tools
Get a pair of jeweler's pliers or mini needle-nose pliers. You can also use a sturdy pair of tweezers if you don't have pliers. If the lens is difficult to rotate due to the factory glue, you may need another pair of tweezers/pliers to hold the base of the camera module.
Step 2: Grasp the Lens
Use the pliers to gently grasp the front element of the lens. The lens is the small circular part at the front of the camera, and you will need to rotate it to adjust the focus.
Step 3: Break the Factory Glue
Apply a small amount of torque to break the thin layer of glue that sets the factory focus. This glue holds the lens in place, and you need to overcome this resistance to adjust the focus.
Step 4: Adjust the Focus
Turn the lens back and forth in small increments while taking pictures to confirm the correct focus. Take a picture after each small adjustment to see if the image is sharper. Continue this process until you achieve the desired focus.
Step 5: Secure the Lens
Once you have achieved the desired focus, secure the lens in place. You can do this by gently tightening it with the pliers or using any other appropriate method.
It is important to note that adjusting the lens in this manner will likely void any warranty on the camera. Additionally, be gentle and careful during the process to avoid damaging the camera or the lens.
Understanding Camera Battery Encoding
You may want to see also
![]()
Use a credit card, a drill, and a file to adjust the lens
If you don't have small pliers, a credit card, a drill, and a file will do in a pinch. Here's a step-by-step guide on how to adjust the lens of your RPI Camera V2 using these tools:
Step 1: Prepare the Credit Card
Start by drilling a hole in the credit card that's about 5/16" (around 8mm). This hole will act as the base for creating the tool to adjust the lens.
Step 2: File the Hole
Use a small file to carefully file away slots inside the hole you just drilled. These slots need to align with the indentations on the top of the camera lens. This step requires precision and patience to ensure a proper fit.
Step 3: Attach the Tool to the Lens
Once the slots in the credit card hole align with the indentations on the lens, you can attach the tool to the camera. Gently insert the tool onto the lens, making sure the slots fit securely into the indentations.
Step 4: Adjust the Focus
With the credit card tool attached, you can now adjust the focus. Gently turn the credit card tool in small increments, taking pictures at each step to confirm the correct focus. You may need to rotate the lens multiple times until you find the optimal sharpness for your images.
Step 5: Fine-Tune the Focus
Depending on your specific camera and requirements, you may need to fine-tune the focus. Continue making small adjustments with the credit card tool until you achieve the desired image quality. Remember to take test shots after each adjustment to evaluate the focus.
Remember that adjusting the lens in this manner will likely void any warranty on your camera, so proceed with caution. This method is a creative solution when you don't have the recommended tools, but it may not be as precise as using jeweler's pliers or the purpose-built lens adjustment tool mentioned in the original source.
Exploring the Sync Button in Adobe Camera Raw
You may want to see also
![]()
Use a 3D-printed adjustment wrench
The Raspberry Pi Camera v2 has been known to have some issues with focus. Luckily, there is a 3D-printed adjustment wrench available that can be used to enhance your camera and adjust the lens for better pictures.
The 3D-printed adjustment wrench is a small, custom-designed tool that fits the Raspberry Pi Camera v2 lens. It is designed to be placed over the camera lens, with a small hole opening that fits snugly around the lens. Once in place, you can simply turn the wrench like a dial to adjust the focus to your desired setting. This tool is a simple and cost-effective solution for improving the focus of your Raspberry Pi Camera v2.
To create your own 3D-printed adjustment wrench, you can find various designs and 3D models online. These designs can be downloaded and printed using a 3D printer. Some popular websites for finding 3D models include Thingiverse, GrabCAD, and Shapeways. When searching for a design, look for one that is specifically made for the Raspberry Pi Camera v2 lens, as some lenses may have slight variations.
When printing the wrench, pay attention to the printing instructions and assembly guidelines provided by the designer. Some designs may require additional assembly or adjustments to ensure a proper fit. It is also important to use the recommended materials and settings to ensure the durability and accuracy of the printed wrench.
By using a 3D-printed adjustment wrench, you can easily adjust the focus of your Raspberry Pi Camera v2 without having to remove the camera case or use other tools that may be more difficult to manipulate. This wrench provides a simple and accessible solution for improving the focus of your camera, allowing you to capture clearer and sharper images.
The Ultimate Battery Backup Plan for Photographers
You may want to see also
![]()
Use your fingers to rotate the lens
Using your fingers to rotate the lens of the Raspberry Pi Camera v2 is a simple and effective way to adjust the focus. The camera's default focus is set at 1-2 meters, which can result in blurry or hazy images for distant subjects. By rotating the lens, you can improve the sharpness and clarity of your photos and videos.
- Gently grasp the lens: Using your fingertips, gently grasp the front element of the lens. Be careful not to apply too much pressure, as you don't want to damage the lens or any other components.
- Break the factory glue: The lens may be locked in place with a small amount of glue from the factory. To rotate the lens, you will need to apply a small amount of torque to break this glue. Gently twist the lens back and forth until it starts rotating smoothly.
- Adjust the focus: Once the lens is rotating freely, make small adjustments by turning it clockwise or counter-clockwise. Take pictures after each adjustment to evaluate the focus. Continue making fine adjustments until you achieve the desired level of sharpness in your images.
- Evaluate the results: After each rotation, take a test picture to evaluate the focus. Compare the images taken before and after the adjustment to see the improvement in sharpness and clarity.
- Fine-tune as needed: Depending on your specific camera and the desired focus distance, you may need to rotate the lens by a significant degree. In some cases, a rotation of 50° or more may be required. Make small adjustments and evaluate the results after each change to ensure you achieve the best possible focus.
- Consider a lens adjustment tool: While using your fingers can be effective, you may also want to consider purchasing a purpose-built lens adjustment tool. These tools are designed to make the process easier and can be purchased for a low cost from online retailers.
Remember, adjusting the lens of your Raspberry Pi Camera v2 may void the warranty. Always proceed with caution and be gentle when making any physical adjustments to your camera.
Camera Tickets: Legal or Not in Center Point, Alabama?
You may want to see also
![]()
Purchase an auto-focus camera module
If you're looking to purchase an auto-focus camera module for your Raspberry Pi, there are a few options available.
Firstly, it's important to note that the official Raspberry Pi camera modules do not support autofocus. However, Arducam has developed autofocus camera modules that are compatible with Raspberry Pi models. These include:
- Arducam 5MP OV5647 1080p Autofocus Camera Module: This module offers a 5MP resolution and is compatible with Raspberry Pi 5/4/3B+/3. It features a motorized focus lens and can be controlled via software, allowing for remote adjustments.
- Arducam IMX219 Auto Focus Camera Module: This is a drop-in replacement for the Raspberry Pi V2 and NVIDIA Jetson Nano Camera. It provides an 8MP resolution and includes example codes for both autofocus and manual keyboard control.
- Arducam 16MP IMX519 Autofocus Camera Module: This module offers a higher resolution of 16MP and is based on the Sony IMX519 sensor. It has the classic V1/V2 form factor, making it a hassle-free upgrade. It is officially supported by Raspberry Pi and can be used with any model that has a MIPI connector.
In addition to these options, Arducam also offers other autofocus camera modules, such as the 12MP 477P Autofocus High-Quality Camera and the 21MP IMX230 Color Camera Module.
When choosing an autofocus camera module, consider factors such as resolution, compatibility with your Raspberry Pi model, ease of use, and the availability of example codes or software control. It is also important to note that autofocus cameras may be more expensive than fixed-focus options.
Eco Mode: Camera's Power-Saving Feature
You may want to see also
Frequently asked questions
The Raspberry Pi Camera V2 has a viewing distance of 1m to infinity, so you will need to do extra work if you need to shoot closer than 1m. The focus is set for 1-2 meters away, so if you are using it for distant subjects, everything will look blurry. The focus can be adjusted by rotating the lens. This can be done with a pair of jeweler's pliers or mini needle-nose pliers. You can also use a credit card, a drill, and a file.
No, the Raspberry Pi Camera V2 does not have autofocus capabilities. The focus can only be adjusted manually by rotating the lens.
Yes, it is possible to add autofocus to the Raspberry Pi Camera V2 by using a third-party autofocus camera module such as the Arducam IMX219 Auto Focus Camera Module, which is a drop-in replacement for the Raspberry Pi V2 camera.