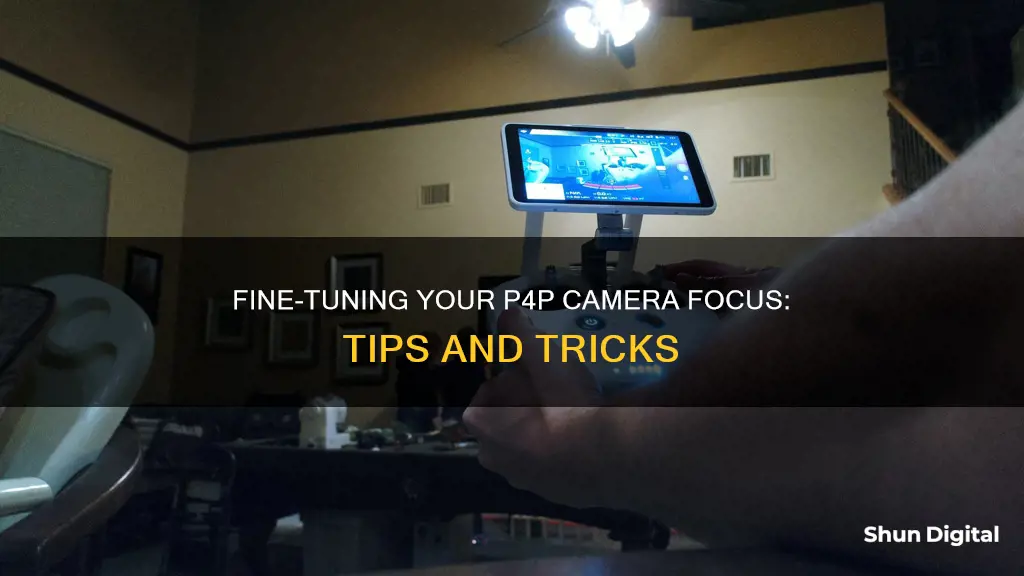
The DJI Phantom 4 Pro camera has two modes for focusing: Auto and Manual. In Auto mode, the camera will adjust its focus as you move, but it is unclear how it performs a focus range test. In Manual mode, you can use the wheel to set the focus, but the symbols are not intuitive and can be confusing. Calibrating the lens by using a high-contrast object and setting it to infinity can help improve focus. Some users have reported issues with focusing on photos and video, with images appearing grainy and out of focus. Adjusting the aperture and using focus peaking can help improve the depth of field and ensure the subject is in focus.
What You'll Learn
- The P4P has two modes for focusing: Auto and Manual
- When using Auto mode, the camera will adjust its focus when an object enters the focus box?
- In Manual mode, the focus point stays the same, regardless of what enters the box
- To achieve infinity focus in Manual mode, turn the wheel towards the infinity symbol
- Calibrate your manual focus by focusing on a high-contrast subject far away using Autofocus

The P4P has two modes for focusing: Auto and Manual
The P4P camera has two modes for focusing: Auto and Manual.
Auto Focus
When using Auto Focus, you can click on the area of the screen you want to be in focus. The green square will jump to that spot and you will hear a confirmation sound. You can also half-press the shutter button to trigger auto-focus before fully pressing the shutter to capture an image. The focus can be set between 1m and infinity.
Manual Focus
You can also click on the screen to set the focus manually. Selecting manual focus will lock the current focus setting. If you are not filming something very close to your subject, you can set the focus to manual and infinity. Depending on the f-stop, infinity starts at around 3 meters.
Other Tips
If you are using a mini iPad 2, you may need to calibrate the manual focus. This will involve focusing on a high-contrast subject far away using autofocus, and then setting this as the infinity focus for manual. You can also try the focus assist in manual, which will enlarge a portion of the video so you can check the focus.
Bridge and Camera Raw: The Perfect Pairing
You may want to see also

When using Auto mode, the camera will adjust its focus when an object enters the focus box
The P4P camera has an autofocus feature that can be activated by clicking on the area of the image you want to be in focus. This is known as Auto mode. When using Auto mode, the camera will adjust its focus when an object enters the focus box. This is indicated by a green square that jumps to the spot you selected, accompanied by a confirmation sound.
Auto mode gives your camera complete control over its various settings, including autofocus mode, ISO, aperture, and shutter speed. This means that the camera will automatically adjust its focus when an object enters the focus box, ensuring that the object remains in focus.
The focus box can be adjusted by clicking on the screen of the device. This will lock the manual focus setting, allowing you to adjust the focus as needed. It is important to note that the P4P camera requires manual focusing when objects are very close to the camera. In such cases, you can set the focus to manual and infinity.
Auto mode is particularly useful for beginners or when you need to take a quick shot without having the time to adjust camera settings manually. It allows you to capture the moment without worrying about technical details and ensures that you don't miss critical shots due to incorrect settings.
The Pentax 6x7 Camera: A Vintage Classic
You may want to see also

In Manual mode, the focus point stays the same, regardless of what enters the box
When shooting with a P4P camera, you have the option to use autofocus or manual focus. In autofocus mode, the camera will automatically adjust the focus on your chosen subject. However, in manual mode, you have more control over the focus point and can lock it to a specific point.
Manual focus mode is particularly useful when your distance from the subject isn't changing, as it allows you to work quickly without worrying about the autofocus locking onto the wrong area. It is also more reliable in low-light conditions and when shooting genres like macro, architecture, and stills. To enable manual focus mode on a P4P camera, you can select the option in the settings or menu.
Once you have selected manual focus mode, you can lock the focus point by clicking on the desired spot on the screen. This will ensure that the focus stays on that point, regardless of what enters the box or the distance of your subject. The focus will only change if you manually adjust it by clicking on a different spot.
It is important to note that in manual mode, you will need to adjust the focus if your distance from the subject changes. For example, if you are shooting something that is 10 feet away and then move the drone further up into the sky, you will need to refocus manually.
Additionally, when using manual focus, it is crucial to ensure that your lens does not overfocus, especially when using the infinity setting. This can happen even with high-end lenses. To avoid this issue, you can set the focus to manual and infinity, which is suitable for most situations unless you are filming something very close.
Overall, the manual focus mode on the P4P camera gives you more control over the focus point and is useful in various shooting scenarios, especially when the distance to the subject remains constant or in low-light conditions.
Traffic Cameras on Route 61, PA: Ticket or No Ticket?
You may want to see also

To achieve infinity focus in Manual mode, turn the wheel towards the infinity symbol
First, make sure your lens can focus to infinity. You can do this quickly by checking if your lens has two focus rings. If your lens does have two rotatable focus rings, change the AF/MF switch to MF (manual focus). Then, turn the smaller focal ring all the way to the right and then to the left until you see the infinity symbol.
Now, look through your viewfinder and point your lens at a distant object you want to photograph. Rotate the larger ring with your fingers until the object appears to be in sharp focus. If this doesn't bring the object into clear focus, you may need to physically move closer to or further from it. Now, you can take the shot.
This is known as the "focus to infinity" technique. It is important to note that each lens has a different method for focusing to infinity, so you may need to make adjustments as needed.
Pentax Cameras: Still in the Market?
You may want to see also

Calibrate your manual focus by focusing on a high-contrast subject far away using Autofocus
Calibrating your manual focus is an important step in ensuring your images are sharp and in focus. Here is a step-by-step guide to help you achieve this:
Step 1: Set-Up
Find a high-contrast subject such as a tree, which is far away from you (approximately 20 feet). Set up your camera on a tripod and ensure it is stable and not tilted in any direction. Point the centre autofocus point of your camera at the subject, ensuring that the subject covers the autofocus point.
Step 2: Lighting and Settings
Ensure you are in a well-lit environment. If shooting indoors, set up in a brightly lit area. You can also adjust your camera settings to a low-to-mid-range ISO, depending on your camera's light sensitivity. Turn off any vibration reduction settings on your camera and use a timer to avoid camera shake when taking photos.
Step 3: Focus and Shoot
With your camera in autofocus mode, take a photo of the subject, ensuring the centre of the subject is in focus. If you have a shallow depth of field, you can also focus on a specific point in the distance, such as a mark on the tree.
Step 4: Inspect the Image
Zoom in to 100% and inspect the transition from the foreground to the background of the image. Look for the point of perfect focus and whether your autofocus is front-focusing or back-focusing.
Step 5: Adjust and Repeat
Based on your inspection, adjust your camera settings to correct the focus. If your focus is falling slightly behind your subject (back focus), add a positive correction. If your focus is falling in front of your subject (front focus), add a negative correction. Repeat the process of shooting, inspecting, and adjusting until your centre focus point is crisp and sharp.
By following these steps, you will be able to calibrate your manual focus effectively and improve the overall sharpness and focus of your images.
HDMI: Powering Cameras or Just for Data Transfer?
You may want to see also
Frequently asked questions
You can set the focus to manual and infinity if you are not filming something very close to your camera. If you choose autofocus, click on the area you want to be in focus.
Set the focus to manual.
Focus on a high-contrast subject far away using autofocus, then set this as the infinity focus for manual.


