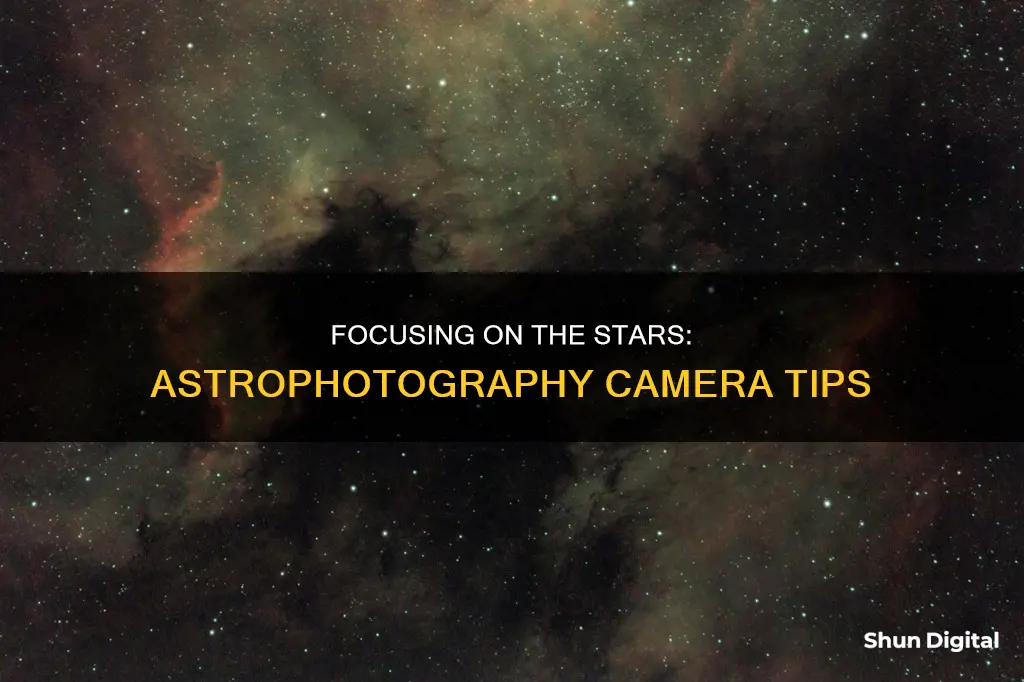
Focusing a camera for astrophotography can be challenging, especially when it comes to getting the stars in sharp focus. In this article, we will explore the different techniques and tools you can use to achieve accurate focus for your astrophotography shots. We will also provide step-by-step instructions on how to focus your camera lens for capturing stunning images of the night sky. So, whether you're a beginner or an experienced astrophotographer, read on to learn how to master the art of focusing your camera for those perfect shots of the stars.
| Characteristics | Values |
|---|---|
| Camera mode | Manual or bulb |
| Aperture | F/4 or below |
| White balance | Daylight or auto |
| Exposure | 30 seconds or bulb |
| ISO | 1600 or above |
| Lens mode | Manual focus |
| Focusing technique | Live view |
| Focusing indicator | Star size |
| Focusing indicator | Number of visible stars |
| Focusing indicator | Chromatic aberration |
| Focusing mask | Bahtinov mask |
| Focusing tool | Flashlight |
What You'll Learn
![]()
Use manual focus mode
When it comes to astrophotography, using the manual focus mode on your camera is essential. The stars are often too dim and small for autofocus to work, so switching to manual focus is crucial for capturing sharp images. Here are some detailed instructions and tips for using manual focus mode effectively:
Check Your Camera Settings:
- Set your camera to "Manual" or "Bulb" mode. While the specific mode doesn't matter too much during focusing, these settings will give you more control over the exposure.
- Set your aperture to its widest setting (e.g., f/2.8). This allows more light to reach the sensor, making it easier to see the stars.
- Adjust your ISO to a higher value (e.g., 800 or 1600). A higher ISO can help with light gathering and improve your chances of seeing stars during focusing.
Use Live View:
- Enable "Live View" on your camera. This feature turns your display screen into a live video feed, allowing you to see what your sensor sees. It will be easier to frame your shots and focus accurately.
- Locate the brightest star in the night sky and centre it in your frame. Planets like Venus and Jupiter can also work well for focusing.
- If you can't find a bright star, you can use artificial light sources such as distant buildings, towns, roadways, or even your headlamp. Just make sure they are at least 100 feet (30 meters) away.
Manually Focus:
- Zoom in on the star using the maximum digital zoom available on your camera (usually 10x).
- Adjust the focus ring on your lens until the star becomes a small, sharp pinpoint of light. Turn the focus ring slowly, as a slight shift can make a big difference in your image.
- Perfect focus is achieved when the star looks as small and pinpoint-like as possible. Out-of-focus stars will appear softer and may show more colour.
- Take test shots and review them to ensure your focus is accurate. Use the magnification function on your camera to check the focus of the captured image.
Lock Your Focus:
- Once you've achieved perfect focus, it's important to lock it down to avoid accidental adjustments. You can use a piece of gaffer tape to carefully secure the focus ring, preventing any unintentional changes.
- Remember to adjust your camera settings back to your desired values for the actual image capture, as the settings used for focusing may not be ideal for the final shot.
Use a Focusing Mask (Optional):
- For even more precision, consider using a focusing mask like the Bahtinov Mask. This simple accessory creates a star diffraction pattern, helping you achieve critical focus.
- When using a focusing mask, point your camera at a bright star and adjust the focus until the central spike in the pattern is centred.
- Focusing masks can be especially useful when dealing with lenses that have an infinity mark, as these marks may not always be accurate.
The Evolution of Fujifilm Cameras: A Manufacturing Journey
You may want to see also
![]()
Find the brightest star
When it comes to astrophotography, finding the brightest star in the night sky is crucial to achieving the perfect focus on your lens. Here are some tips to help you find the brightest star and improve your astrophotography skills:
Locating the Brightest Star
- Look for well-known bright stars: Sirius, Vega, Deneb, Altair, and Arcturus are some of the brightest stars in the northern hemisphere. These stars are usually easy to spot and can help you focus your lens or telescope.
- Consider the time of year: The visibility of certain stars can vary with the seasons. For example, Vega is more commonly visible during the summer, while Rigel is a good option for winter.
- Use a star map or app: Star maps or astronomy apps can help you identify the brightest stars in the night sky on a particular day and your location. This can make it easier to locate the brightest star and plan your astrophotography session.
- Scan the night sky: Take some time to let your eyes adjust to the darkness and scan the sky for the brightest star you can find. You can also use binoculars to help spot brighter stars.
Focusing on the Brightest Star
Once you have located the brightest star, follow these steps to focus your camera:
- Set up your camera: Ensure your camera is in manual or bulb mode, and set the aperture to the lowest possible number (wide aperture) to allow more light to reach the sensor. Also, adjust the ISO to a higher value (e.g., 800 or 1600) to enhance light sensitivity.
- Frame the star: Point your camera towards the brightest star and use the "live view" mode to centre the star on your camera screen. If needed, adjust the position of your camera until the star is visible on the screen.
- Zoom in: Activate the maximum digital zoom on your camera while keeping the star centred. This will help you see the star in more detail and make fine adjustments to your focus.
- Adjust the focus: Turn the focus ring on your lens until the star becomes as small as possible. You may need to turn the focus ring all the way to one side and then slightly backward to achieve perfect focus.
- Lock the focus: Once you have achieved perfect focus, avoid touching the lens for the rest of your session. You can use gaffer tape to secure the focus ring and prevent accidental adjustments.
Launching Adobe Camera Raw: A Quick Guide
You may want to see also
![]()
Use live view and zoom functions
When using the live view and zoom functions to focus your camera for astrophotography, there are a few important steps to follow.
First, ensure that your camera is set to manual focus mode, as autofocus will not work reliably in dark sky conditions. Then, locate a bright star or planet to use as your reference point. If you are having trouble finding a bright star, you can also use an artificial light source such as a distant building or streetlamp. Once you have found your reference point, centre it in your frame and turn on live view.
With live view activated, you can now use the digital zoom function to magnify the image and fine-tune your focus. Zoom in to 5x or 10x magnification, and adjust the focus ring on your lens until the star or planet becomes a small, sharp pinpoint of light. This may take some back and forth adjustments, as you will need to find the exact point where the image is sharpest.
Once you have achieved perfect focus, be sure to lock it down by taping the focus ring or using another method to prevent it from moving. This is important because even a slight change in focus can result in blurry images.
It is also worth noting that the settings you use for focusing may be different from your actual shooting settings. For example, you may need to use a higher ISO and longer exposure when focusing to allow more light to reach the sensor. Additionally, remember to adjust your lens back to your shooting settings after focusing, as using the wrong settings can result in blurry images.
The Rarest Catch: 1967 Camaro SS Convertibles
You may want to see also
![]()
Adjust the focus ring
Once you have found a bright star, centred it, and activated the maximum digital zoom allowed on your camera, you can begin to adjust the focus ring.
The goal is to make the star as small as possible. Turn the focus ring on your lens until the star starts to shrink. Usually, you'll have to turn the focus ring all the way to one side and then bring it back a tiny bit. Once you achieve perfect focus, do not touch the lens for the rest of the night.
You will need to go back and forth, in and out of focus many times, before you find the spot where the pinpoint is smallest and sharpest. You can take test exposures and compare your results to confirm the stars in the image are as small as possible.
If you plan on using this lens solely for astrophotography, carefully tape the focus ring to the body of the lens after achieving focus. That way, you will not have to repeat the process again.
Are Batteries Included? Camera Shopping Basics
You may want to see also
![]()
Tape the focus ring
Taping the focus ring is a great way to ensure that your lens does not accidentally shift out of focus while you are taking your astrophotography shots. This is especially important if you are taking photos over a long period of time, as you do not want to realise that your images are blurry when it is too late!
There are a few different types of tape that you can use to secure your focus ring. One option is gaffer tape, which will not leave any residue on your lens. However, it may not work in extremely cold temperatures. Another option is freezer tape, which is cheap and easy to remove, even in cold weather. You could also try blue painter's tape, which is easy to remove and will not leave any residue.
When taping down your focus ring, it is important to be careful not to bump your lens and accidentally change the focus. One way to avoid this is to place a strip of tape on the barrel and focus ring of your lens, then peel back the part on the focus ring before you focus your lens. Once you have achieved the perfect focus, gently fold the tape back down to secure the focus ring in place.
Taping your focus ring is a good idea if you are using a lens that tends to shift out of focus, or if you will be shooting in a location with a large number of people who might bump your camera. It is also a good idea if you will be shooting at a high elevation, as your lens may zoom out over time.
However, some photographers choose not to tape their focus ring, as they are worried about accidentally changing the focus while applying the tape. Ultimately, the decision of whether or not to tape your focus ring is up to you and depends on your personal preferences and the type of lens you are using.
Alabama Camera Tickets: What You Need to Pay
You may want to see also
Frequently asked questions
Make sure your camera is in manual focus mode. Autofocus won't work in dark sky conditions.
Set your camera to manual or bulb mode. Set your aperture to the lowest possible number (f/2.8 or f/4 are recommended). Set your ISO to at least 800 or 1600.
Find the brightest star in the sky (or a distant light source) and centre it in your frame.
Use the maximum digital zoom on your camera and adjust the focus ring until the star is as small as possible. Tape the focus ring in place once you've achieved perfect focus.
A Bahtinov mask is a popular tool for achieving perfect focus. It's a simple mask that covers your camera lens and creates a star diffraction pattern. When the pattern is symmetrical, your camera is in focus.