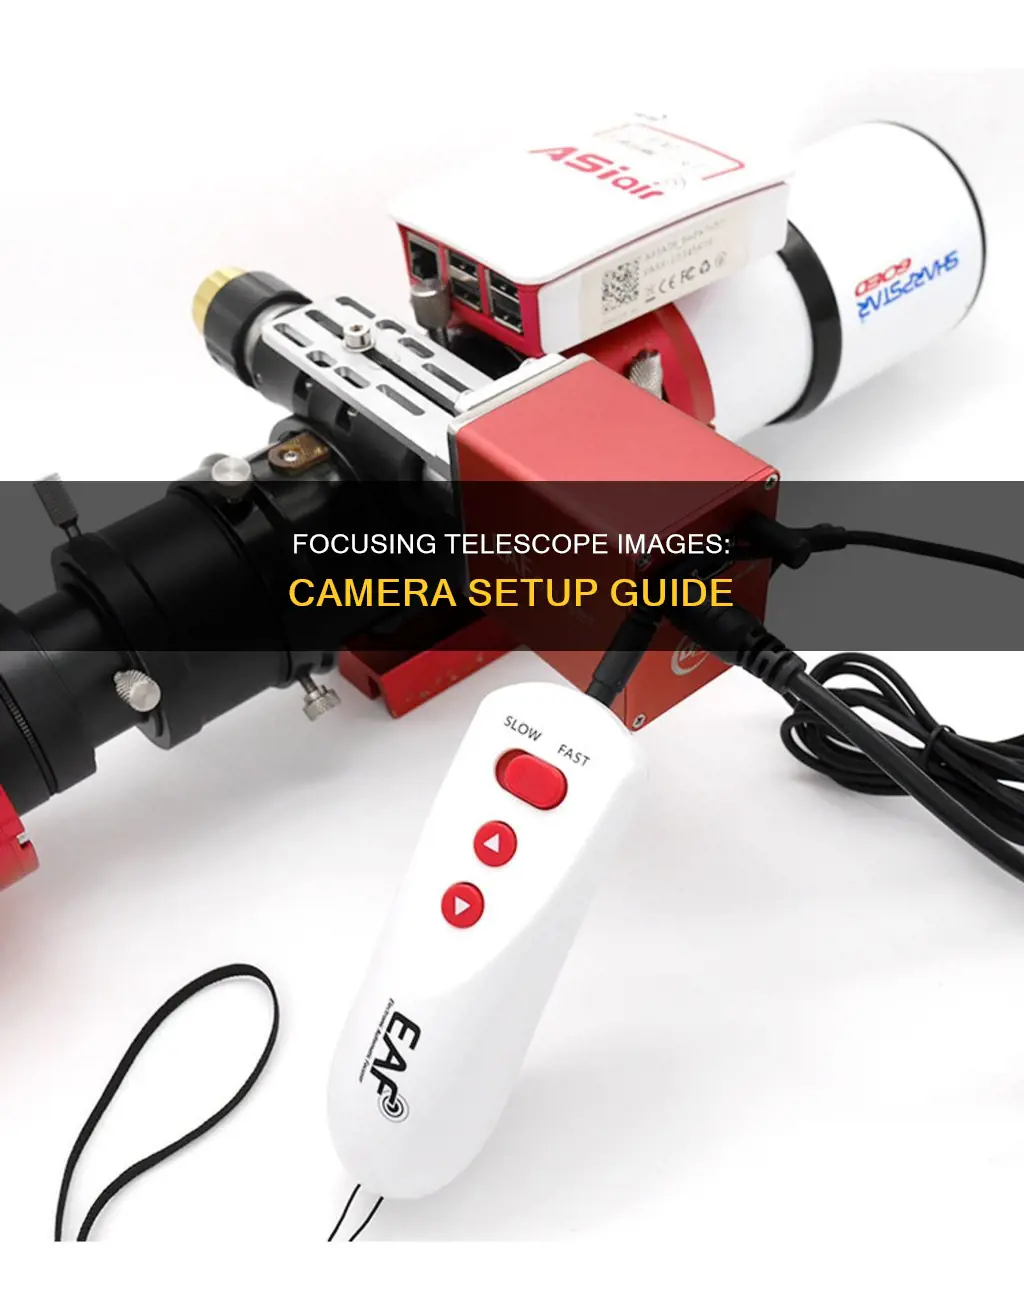
Focusing a camera on a telescope can be a challenging task, especially for beginners in astrophotography. The process involves attaching the camera to the telescope using a T-ring and adapter, ensuring the correct distance between the camera sensor and the telescope's focal point, and making adjustments for clear and sharp images.
One common issue faced by photographers is the inability to focus on stars or celestial objects due to the design of the telescope or the camera's autofocus function. This often requires the use of additional equipment, such as a Barlow lens, to extend the focal length and bring the object into focus.
Another challenge is achieving the right balance between the weight of the camera and the stability of the telescope mount. Heavier cameras can strain the motors and cause vibrations, affecting the clarity of images.
Additionally, focusing methods play a crucial role in the success of astrophotography. Software-assisted metric focusing and live-view real-time video display are among the most accurate techniques, while focusing through the viewfinder with the unaided eye is generally not recommended due to its inconsistency and discomfort.
| Characteristics | Values |
|---|---|
| Camera | DSLR |
| Telescope type | Newtonian, Refractor |
| Telescope models | Astromania 1.25" Extendable Camera Adapter, Celestron Starsense Explorer 130az, Saxon 200DS, SkyWatcher 130 |
| Adapter | T-adapter, 1.25-inch adapter, T-ring |
| Additional accessories | Barlow lens, Extension tube, Focal reducer, Field flattener, Clip-in filters, 2" light pollution filter |
| Focusing methods | Software Metrics, Live View, Magnifier / Right-Angle Finder, Digital Zoom Trial and Error, Hybrid Method - Star Trails with a Hartmann Mask, In-Camera Focus Indicator, Parfocalized Eyepiece, Ground glass and Magnifier, Hybrid Ronchi Screen |
What You'll Learn

Use a T-ring and adapter to attach the camera to the telescope
To attach your camera to a telescope, you will need a T-ring and adapter. This is a simple process, but it requires careful attention to detail to ensure your equipment is secure and functioning correctly.
Firstly, you will need to select the correct T-ring for your camera. The T-ring will lock onto your camera body in the same way a lens would. Therefore, it is important to ensure that the T-ring matches the lens mount design of your camera. This will ensure it locks on correctly.
Once you have the correct T-ring, you can attach it to your camera body. The T-ring should have a red indicator that you can line up with the one on your camera body. You will know it is correctly attached when you hear a "click".
The next step is to attach the adapter. The adapter will have either a 1.25" or 2" barrel (nose-piece), depending on the openings available on your telescope focuser. The adapter is threaded onto the T-ring, and then inserted into the focus tube of the telescope, just like an eyepiece would be. Ensure the adapter is locked into place inside the telescope focus drawtube to avoid any movement or camera shake.
Now your camera is attached, you can begin to focus. You may need to adjust the focuser to get the correct distance from the telescope tube. This can be done by racking the focuser in or out.
If you are using a Newtonian telescope, you may encounter issues with achieving the correct focus. This is because the eyepiece is on the side, and there is limited room to adjust the focuser. In this case, you may need to use a Barlow lens, which will allow you to move the camera closer to the telescope tube and achieve focus.
By following these steps, you can securely attach your camera to your telescope and begin your astrophotography journey.
The Evolution of Camera Materials: Past, Present, Future
You may want to see also

Focus the camera manually
Focusing a camera on a telescope manually is a delicate process that requires patience and precision. Here is a step-by-step guide to achieving the perfect manual focus for astrophotography:
Step 1: Check Your Camera Settings
Before beginning the focusing process, ensure your camera settings are optimized for the task. The mode can be set to Manual or Bulb, as you will likely be capturing images after focusing. Set the aperture to its widest setting (lowest f-stop number) to allow more light to reach the sensor. For ISO, a higher value like 800 or 1600 is recommended, though it can be adjusted as needed.
Step 2: Set Your Lens to Manual Focus
It is crucial to switch your lens to Manual Focus mode. Automatic focus will not yield reliable results when trying to capture stars or celestial bodies.
Step 3: Locate a Bright Star
Once it is dark enough, search for one of the brightest stars in the night sky. Stars like Vega, Rigel, or Sirius are excellent choices, depending on the season. Planets can also be used as reference points but may be too bright for some lenses.
Step 4: Frame the Star in Live View
Point your camera in the general direction of the chosen star and activate Live View on your camera. Adjust your camera's position until the star appears on the screen. If you cannot spot the star, try playing with the focus ring on your lens to bring it into view.
Step 5: Zoom In
Once the star is centered in your frame, activate the maximum digital zoom (usually 10x) while keeping the star within the frame. This step will allow you to see the star in more detail and aid in the focusing process.
Step 6: Manually Focus the Star
Turn the focus ring on your lens until the star becomes as small as possible. You might need to turn the focus ring all the way to one side and then slightly back to achieve perfect focus. Once you have achieved perfect focus, refrain from touching the lens for the rest of your session.
Optional Step: Tape the Focus Ring
If you plan on using this lens solely for astrophotography, you can carefully tape the focus ring to the lens body to maintain focus. This way, you won't need to repeat the focusing process each time.
Additional Tips:
- Some lenses have an infinity sign that indicates where to stop the focus ring for perfect focus on distant objects. However, it is recommended to check the focus in Live View as this might not be accurate enough for stars.
- If you are using a telescope with a camera attached, you may need to use a T-Ring and adapter to connect the two properly. Ensure the camera is securely fastened to the telescope's focus tube to avoid accidental drops.
- When taking pictures, use a remote shutter release cable to avoid touching the camera and causing vibrations. Alternatively, use the camera's timer function to reduce the impact of vibrations.
Charging Your Vivitar Camera: A Step-by-Step Guide
You may want to see also

Use a Barlow lens to adjust the focal length
A Barlow lens is a cost-effective way to increase the magnification of your telescope setup without having to invest in a new telescope. It does this by increasing the effective focal length of the telescope.
To use a Barlow lens to adjust the focal length, follow these steps:
- Remove your eyepiece from the telescope if there is one.
- Insert the Barlow lens with the "nose" (the smaller side) facing the slot where you would normally insert the eyepiece. This can be into the telescope's focuser or the star diagonal.
- Insert the eyepiece into the open slot at the end of the Barlow, also with the "nose" pointing towards the opening.
- If necessary, secure both the Barlow and the eyepiece with the locking mechanism (e.g. a dial or screw).
It is important to note that the Barlow lens should be placed between the camera and the focuser tube for astrophotography. Additionally, the magnification of a Barlow lens is not fixed and can be varied by changing its position in the optical train or by adjusting the distance between the lens and the eyepiece/camera.
When using a Barlow lens, it is also worth considering the potential drawbacks. These include a dimmer image, increased optical aberration, and the need for a more precise polar alignment due to the higher magnification and optical resolution.
Xomodo Wireless Cameras: How Long Does the Charge Last?
You may want to see also

Use a remote shutter release cable to take pictures
Using a remote shutter release cable is an important accessory when taking pictures through a telescope. This is because it allows you to capture images without touching the camera, reducing vibrations and minimising camera shake.
A remote shutter release cable is especially useful when photographing the moon. Due to its brightness and large apparent size, the moon is a favourite target for budding lunar photographers. A remote shutter release cable will help you to avoid blurry images and will ensure that your images are sharp.
In addition, a remote shutter release cable can be used to set a sequence of images to fire on their own. This is particularly useful for deep-sky astrophotography, where you will need to take long-exposure images of the night sky.
When using a remote shutter release cable, it is important to make sure that your camera is securely attached to the telescope. This will ensure that your camera does not fall out when the telescope is pointed upwards. It is also important to use the correct type of cable for your specific camera model.
By using a remote shutter release cable and following these tips, you can improve the quality of your astrophotography and capture stunning images of the night sky.
Extend Tasco Trail Camera Battery Life
You may want to see also

Use a clip-in filter to reduce light pollution
Using a clip-in filter to reduce light pollution is a great way to improve your astrophotography images. Light pollution filters work by blocking certain wavelengths of visible light that are produced by artificial light sources such as streetlights, allowing you to capture the true colours of the night sky. When choosing a light pollution filter, there are two main types to consider: multi-broadband filters and multi-narrowband filters.
Multi-Broadband Filters
Multi-broadband filters are ideal for photographing galaxies, star clusters, reflection nebulae, and dark nebulae. They allow a large portion of the light spectrum to pass through while blocking common sources of light pollution. This type of filter works well with any colour camera, even stock DSLRs. However, they may not completely eliminate the effects of light pollution, especially in heavily polluted areas. Examples of multi-broadband filters include the Optolong L-Pro and the Kase Wolverine Neutral Night.
Multi-Narrowband Filters
Multi-narrowband filters, on the other hand, block out most of the light spectrum but allow specific emission bands found in nebulae to pass through. This type of filter is perfect for capturing emission nebulae, planetary nebulae, and supernova remnants. They work best with modified DSLRs or dedicated astronomy cameras. Examples of multi-narrowband filters include the Optolong L-eXtreme and the Radian Triad Ultra.
When choosing a light pollution filter, it is important to consider your level of light pollution, the type of camera you are using, your telescope, and your budget. Additionally, make sure to select the correct size filter for your camera sensor. Clip-in filters are a convenient option if you plan to use multiple lenses with your camera.
Understanding the Note 8 Camera's Unique Mode
You may want to see also
Frequently asked questions
First, you need to get a T-ring that matches your camera's lens mount design. Then, you need an adapter that can be fastened to the T-ring with either a 1.25" or 2" barrel. Finally, attach the camera to the telescope focus tube, ensuring it is locked in place to avoid any movement.
One common issue is that the camera cannot be focused on the sky, especially with Newtonian telescopes. This is often due to the camera not being able to get close enough to the telescope tube. Another issue is that the telescope's focuser doesn't have a thread, requiring the use of a 1.25-inch adapter.
One solution is to use a Barlow lens, which increases the effective focal length of the system, allowing for more magnified images and often enabling focus. Another solution is to use a T-adapter, which is a simple way to attach the camera to the telescope. Additionally, if your camera has Live View, you can use it to help with focusing, as it shows the actual image seen through the system.


