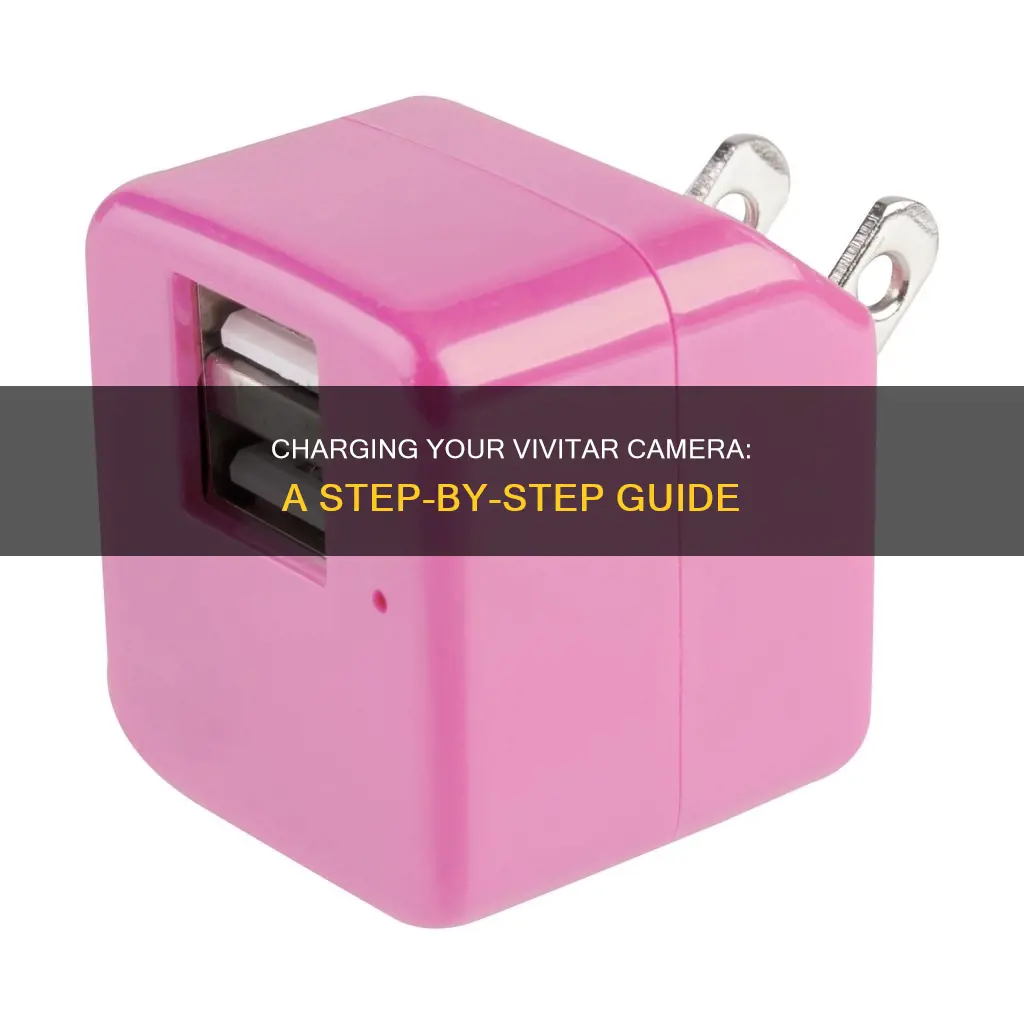
Charging a Vivitar camera depends on the model. The Vivitar ViviCam 8025 Digital Camera, for instance, can be charged via a mains charger or USB. If it's the first time of use, give it 12 hours on a mains charger or 24 hours on USB. After that, 4 hours should be enough. The Vivitar 4K Ultra HD WiFi Camera is another model that users have sought to charge. Vivitar also offers a 1-hour rapid charger for certain camera models.
What You'll Learn

Charging a Vivitar camera for the first time
Step 1: Prepare the Camera
Locate the battery compartment of your Vivitar camera, which is usually covered by a small door. Open the compartment by sliding or lifting the cover. Check your camera's manual to ensure you are using the correct type of batteries for your model. Insert the batteries, making sure they are correctly aligned and securely in place.
Step 2: Connect the Charger
Take the charging cable that came with your Vivitar camera. If you have a newer model, it may have come with a USB cable that can be connected to a power adapter or directly to a USB port on a computer or laptop. If you have an older model, it may have come with a dedicated power adapter.
Step 3: Plug In and Charge
If using a USB cable, connect it to a power source such as a wall outlet, power adapter, or computer/laptop. If using a power adapter, simply plug it into a wall outlet. Once connected, the camera should begin charging.
Step 4: Charging Time
The charging time will vary depending on the model of your Vivitar camera and the capacity of the battery. On average, it should not take more than 24 hours to fully charge. Some Vivitar cameras have LED indicators to show the charging status. For example, a red LED light may indicate that the camera is charging, and it will turn off once the battery is fully charged.
Step 5: Initial Camera Setup
Once the camera is fully charged, you can turn it on and proceed with the initial setup. Set the date and time, and adjust any other settings according to your preferences. It is important to note that the camera will initially be set to automatic mode, but you can explore different modes and settings as you become more familiar with the device.
Troubleshooting:
If your camera does not seem to be charging, ensure that the charging cable and power source are functioning properly. Try using a different outlet or USB port, and check if the cable is securely connected. If the camera still does not charge, the battery may need to be replaced, especially if it is an older model.
By following these steps, you should be able to successfully charge your Vivitar camera for the first time and begin capturing memories with your new device. Remember to refer to your camera's manual for any model-specific instructions or troubleshooting advice.
Charging the Black Magic Camera: A Step-by-Step Guide
You may want to see also

Vivitar camera charging time
The charging time for a Vivitar camera depends on the model. For example, the Vivitar ViviCam 8025 Digital Camera takes 4 hours to charge after the first initial charge of 12 hours on a mains charger or 24 hours on USB.
Vivitar cameras can be charged using a mains charger or a USB cable. The USB cable can be plugged into a PC or a wall charger. Some Vivitar cameras can only be charged using a wall charger.
Vivitar camera chargers can be purchased from Amazon and Walmart.
The Ultimate Camera Companion: DE-A93 Battery Charger
You may want to see also

Vivitar camera charging issues
If you're having issues charging your Vivitar camera, there are several steps you can take to troubleshoot the problem. Here are some detailed instructions to help you resolve the issue:
- Check the battery: Make sure that the battery is properly inserted into the camera. If it's a removable battery, take it out and reinsert it, ensuring it's aligned correctly.
- Use a different charging cord: Try using a different USB cord to connect your camera to a power source. Sometimes, the issue could be with the cord rather than the camera itself.
- Try a different power source: If you're charging via a USB port on your computer, try plugging the camera into a different port or use a different computer entirely. If you're using a wall charger, try plugging it into a different power outlet to ensure the outlet is functioning properly.
- Inspect the charging port: Check the charging port on your camera for any debris or damage. If there is visible dust or lint, carefully clean the port with a soft brush or compressed air.
- Battery health: If you've had the battery for a long time, it may be at the end of its life and unable to hold a charge. Consider purchasing a new battery as a replacement.
- Contact customer support: If all else fails, reach out to Vivitar's customer support for further assistance. They may provide additional troubleshooting tips or guide you through the warranty process if your camera is defective.
- Charging time: The charging time for your Vivitar camera will vary depending on the model. On average, it takes around 4 hours to fully charge a Vivitar camera battery. However, for the first-time use of a Vivitar 1080 camera, it is recommended to charge it for 12 hours on a mains charger or 24 hours via USB before subsequent 4-hour charges.
- Charging options: You can charge your Vivitar camera using either a mains charger or a USB cable. Some camera models may only support one of these methods, so refer to your camera's manual for specific instructions.
- Indicator lights: Pay attention to the indicator lights on your camera or charger. A solid red light typically indicates that the battery is still charging, while a flashing red light or no light at all may signal that the battery is fully charged.
- Wall charger specifications: When using a wall charger, ensure that the charger is specifically designed for your Vivitar camera model. Using an incorrect charger may damage your camera or battery.
Charging Camera Batteries: Alone Contestants' Strategies
You may want to see also

Vivitar camera charging accessories
There are a variety of charging accessories available for Vivitar cameras. The specific charger you need will depend on the model of your Vivitar camera.
For example, the Vivitar ViviCam 8025 Digital Camera can be charged via a mains charger or USB. If it's your first time charging the device, it's recommended that you give it 12 hours to charge using a mains charger, or 24 hours using a USB. After that, four hours of charging time should be sufficient.
You can also find Vivitar camera chargers on Amazon and Walmart. Amazon offers a range of Vivitar camera chargers, including:
- Wall chargers
- USB charging cables
- Rapid chargers
- Battery packs
- Battery grips
Walmart also offers Vivitar camera batteries and chargers, with prices ranging from $7.99 to $44.40.
The Ultimate Guide to Camera Battery Chargers and Converters
You may want to see also

Vivitar camera charging via USB
Charging your Vivitar camera via USB is a straightforward process. Here is a step-by-step guide:
Step 1: Gather the Necessary Equipment
You will need your Vivitar camera, a USB cable, and a power source such as a computer or laptop. Ensure that you have the correct USB cable that is compatible with your Vivitar camera model.
Step 2: Connect the USB Cable
Take the USB cable and connect one end to your camera and the other end to an available USB port on your computer or laptop.
Step 3: Initiate Charging
Once the camera is connected, it should automatically start charging. Look for a charging indicator on your camera, such as a blinking or solid LED light, to confirm that charging has begun.
Step 4: Allow Adequate Charging Time
The charging time will depend on the model of your Vivitar camera and whether it is your first time charging it. For the initial charge, it is recommended to allow up to 12 hours when using a mains charger or 24 hours when charging via USB. Subsequent charges will typically take less time, around 4 hours, to fully charge your camera.
Step 5: Disconnect and Resume Usage
Once your camera is fully charged, you can safely disconnect the USB cable from your camera and power source. Your Vivitar camera is now ready for use, and you can resume capturing memorable moments.
Remember to refer to your specific Vivitar camera model's user manual for detailed instructions and charging times, as they may vary across different models.
Charging Your D90 Camera: A Step-by-Step Guide
You may want to see also
Frequently asked questions
If it's the first time of use, give it 12 hours on a mains charger or 24 hours on USB. After that, 4 hours should be enough.
Yes, you can use a USB cable to charge your camera by plugging the smaller end into your camera and the larger end into your PC/laptop.
This depends on the model of your Vivitar camera. Some Vivitar cameras come with a wall charger, while others can be charged via USB.
You can buy Vivitar camera chargers online from websites like Amazon and Walmart, or from electronics stores.
When the camera is plugged into a power source, a charging indicator light should be visible. Once the light turns off, your camera is fully charged.


