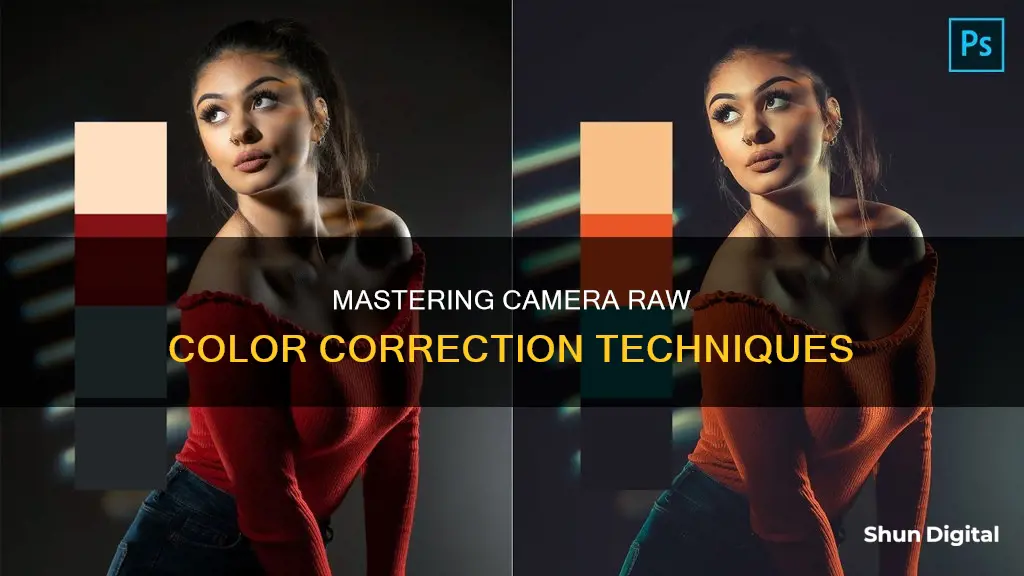
Adobe Camera Raw is a powerful tool for photographers and designers, offering precise control over colour correction and image adjustments. With its latest update, Adobe Camera Raw now features a new Colour Grading section, comprising three wheels that control the hue and saturation of shadows, mid-tones, and highlights. This allows users to make subtle or extreme changes to their images with ease. In this article, we will explore the steps to effectively colour correct your images using the tools available in Adobe Camera Raw, including the White Balance tool, Temperature and Tint sliders, and the new Colour Grading wheels.
| Characteristics | Values |
|---|---|
| Software | Adobe Camera Raw, Photoshop |
| Purpose | Color correction, white balance adjustment, tonal adjustments |
| Tools | Histogram, Point Color tool, White Balance tool, Temperature and Tint sliders, Lens Correction |
| Techniques | Adjusting vibrance, color temperature, tint, exposure, contrast, highlights, shadows, etc. |
| Image Format | RAW, JPEG, TIFF |
What You'll Learn
![]()
Using the Histogram and RGB levels
A histogram is a representation of the number of pixels at each luminance value in an image. A histogram that has non-zero values for each luminance value indicates an image that takes advantage of the full tonal scale. One that doesn’t use the full tonal range corresponds to a dull image that lacks contrast. A histogram with a spike at the left side indicates shadow clipping; a histogram with a spike on the right side indicates highlight clipping.
The Camera Raw histogram shows all three channels (red, green, and blue) of the image simultaneously. The histogram changes automatically as you adjust the settings in the Camera Raw dialog box. As you move the Zoom tool, Hand tool, or White Balance tool over the preview image, you see the RGB values in the upper-right corner of the dialog box.
RGB values of an image are the red, green, and blue color channels. White appears when all three channels overlap. Yellow, magenta, and cyan appear when two of the RGB channels overlap (yellow equals the red + green channels, magenta equals the red + blue channels, and cyan equals the green + blue channels).
The histogram's most popular use is to determine whether or not your photo is over- or underexposed, and let you know how that affects the appearance of your photo. A huge spike touching either the left or right end of your luminance histogram indicates clipping, and lets you know you’ve lost some details in your photo.
The RGB histograms display brightness from darks to lights, with dark tones on the right and light tones on the left. They also run from a value of 0 on the left to 255 on the right, with 0 being the absence or lowest brightness of that color and 255 being the greatest saturation or highest brightness of that color.
The difference between luminance histograms and RGB histograms is that luminance histograms deal with all the color channels grouped together and represented in a condensed white/black graph from blacks to whites, whereas RGB histograms look at the varying brightness intensities of a single color.
Trail Camera Power: Battery or Solar?
You may want to see also
![]()
Adjusting the white balance
There are three ways to adjust the white balance in Camera Raw: using the Temperature and Tint sliders, the White Balance presets drop-down menu, and the White Balance tool.
Using the Temperature and Tint Sliders
The Temperature and Tint sliders allow you to tweak the white balance by dragging towards the colour you want. The slider uses the Kelvin colour temperature scale, so dragging the slider to the left will add more blue, and dragging it to the right will add more yellow.
Using the White Balance Presets
The White Balance presets drop-down menu allows you to select a preset white balance level. The default setting is "As Shot", which displays the white levels using the camera raw image's metadata. This is often the same as the "Auto" preset. If the available presets do not adjust the white balance correctly, you can use the Temperature and Tint sliders to manually adjust the white balance.
Using the White Balance Tool
The White Balance Tool is another way to adjust the white balance in Camera Raw. To use this tool, first, select it from the toolbar (or press "I" on your keyboard). Then, click on something in the image that is supposed to be grey. By telling the software that this area is supposed to be neutral grey, it will remove any yellow, blue, or other tints so that the area becomes grey, and this will correct the colours in your image. Ideally, you should select a very light grey area (not white). If there is nothing grey in the photo, try to find a neutral-looking colour.
RAW vs JPEG
It is important to note that the file format you are working with will affect the way you adjust the white balance. When you open a RAW image in Camera Raw, it initially displays the white balance choice you made in the camera. However, when you shoot in JPEG, the white balance preset you chose in your camera is baked into the image, so the only preset available will be "Auto". While it is a myth that you cannot change the white balance for JPEG images, white balance adjustments generally look better when performed on RAW images.
Charging Your CoFunkool Camera's Lithium Battery: A Step-by-Step Guide
You may want to see also
![]()
Using the Point Color tool
Adobe Camera Raw's Point Color tool allows you to make precise, accurate, and detailed colour refinements to a photo. Here's a step-by-step guide on how to use it:
Step 1: Access the Point Color Tool
- In the Adobe Camera Raw interface, navigate to the "Color Mixer" panel.
- Click on the "Point Color" tab to access the Point Color tool.
Step 2: Select a Specific Colour in the Photo
- Use the picker (an eyedropper tool) to select a specific colour in the photo that you want to refine.
- A swatch of the selected colour will be created next to the picker. You can store up to eight swatches at a time.
Step 3: Refine the Selected Colour
- Use the "Hue Shift", "Saturation Shift", and "Luminance Shift" sliders to make refinements to the specific colour.
- The "before" and "after" shifts will be reflected in the image, with the original colour displayed on the first half of a colour bar below the swatch, and the shifted colour on the second half.
Step 4: Control the Range of Affected Colours
- Use the "Range" slider to control the range of colours that are affected by your refinements.
- You can make specific adjustments to the "Hue Range", "Saturation Range", and "Luminance Range".
Step 5: Visualise the Affected Areas
- Select the "Visualise Range" option to view only the areas of the photo that are affected by your current colour selection and refinements.
- This helps you precisely target the desired areas for colour adjustments.
Step 6: Combine with Masking (Optional)
The Point Color tool can be used in conjunction with Masking, giving you greater control over specific colours without altering the overall vibrancy of the image.
Spy Cameras: How Long Does the Charge Last?
You may want to see also
![]()
Lens correction
There are two main types of distortion: barrel distortion and pincushion distortion. Barrel distortion causes straight lines to appear to bow outward, while pincushion distortion causes straight lines to bend inward. Camera lenses can exhibit these distortions at certain focal lengths, f-stops, and focus distances.
You can also manually correct for lens distortions. In Camera Raw, the Manual tab under the Lens Corrections tab provides tools to adjust for barrel and pincushion distortion, as well as vignetting. By dragging the Distortion slider, you can correct barrel distortion by dragging to the right or pincushion distortion by dragging to the left. The Amount slider in the Lens Vignetting section can be used to compensate for vignetting, with values over 100 applying greater correction.
Additionally, chromatic aberration, caused by the failure of the lens to focus different colors to the same spot, can be corrected in the Color tab of the Lens Correction panel. By selecting "Remove Chromatic Aberration", you can remove blue-yellow or red-green color shifts. Purple and green color fringes can be adjusted using the Purple Amount and Green Amount sliders, respectively.
Where to Buy Camera Batteries: Walgreens and Beyond
You may want to see also
![]()
Using the Temperature and Tint Sliders
The Temperature and Tint sliders in Camera Raw allow you to tweak the white balance of your image. You can drag the sliders towards the colour you want to achieve. For example, if your image looks too blue (cold), you can drag the Temperature slider to the right to make the image more yellow (warmer). The Temperature slider's numbers are displayed in Kelvin degrees, but you can stop dragging when the image looks warm enough to you—this is a visual judgement call.
The Temperature slider adjusts the white balance to a custom colour temperature. Moving the slider to the left will make the image colours cooler (bluish) to compensate for the lower colour temperature (yellowish) of the ambient light. Moving the slider to the right will make the image colours warmer (yellowish) to compensate for the higher colour temperature (bluish) of the ambient light.
The Tint slider fine-tunes the white balance to compensate for a green or magenta tint. Move the slider to the left (negative values) to add green to the photo, and move it to the right (positive values) to add magenta.
Charging Your Camp Snap Camera: A Quick Guide
You may want to see also
Frequently asked questions
Select Filter > Camera Raw Filter. This will open a comprehensive window with tools that allow you to zoom in on the image, set the white balance, and more.
This tool uses the neutral grey you pick as the midpoint. Keep clicking the tool until you achieve the result you want. This tool is also great for removing a colour cast.
Adjust the tint slider to offset green/magenta. Tint adds green on the left and cyan on the right. Small changes are best; let your eye judge what looks best.