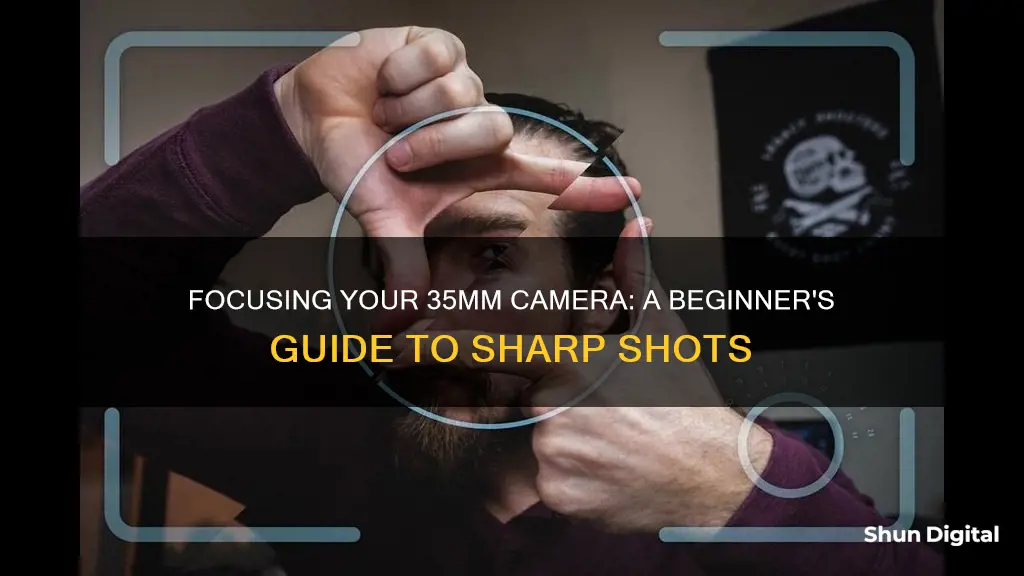
Focusing a 35mm camera can be a tricky process, but it's an essential skill for any aspiring photographer to master. In this guide, we'll be exploring the different techniques and tools you can use to achieve sharp and crisp focus in your 35mm photography. From manual focus to autofocus, and from single-lens reflex cameras to viewfinders, we'll cover everything you need to know to take your 35mm photography skills to the next level. So, let's get started on the journey to becoming a focus master!
| Characteristics | Values |
|---|---|
| Focusing | Turn the focusing ring until the image in the viewfinder is sharp. |
| Exposure | Set the aperture, shutter speed, or both, until the needle sits at the halfway mark. |
| Framing | Frame your shot and shoot. |
| Shutter speed | Set the shutter speed dial to the time for which the film is exposed to light. |
| Aperture | Control the aperture ring to adjust the size of the opening near the front of the lens. |
| ISO | Set the ISO dial to tell the camera the speed of your film. |
| Mode | Set the mode dial to various automatic exposure modes. |
| Rewind | Press the rewind release button and turn the rewind crank to rewind your film. |
What You'll Learn

Understand the difference between manual and autofocus cameras
Autofocus and manual focus cameras each have their own advantages and disadvantages. Understanding the difference between the two is critical in choosing the right one to use.
Autofocus
Autofocus allows the camera to set the focal point, handling most of the work in ensuring a clear shot. It is generally very quick, although its speed varies depending on the camera and lens type. Sports-oriented equipment is typically much faster. Autofocus has seen advancements such as tracking, enabling it to lock focus on a subject and track it through the frame. This feature is particularly useful for capturing moving subjects.
Autofocus systems rely on contrast to identify objects of interest. When this contrast is not present, such as in situations with heavy backlight, the ability of the autofocus system to focus is also severely impeded. Autofocus systems also perform poorly in low-light conditions as they depend on light to determine where to focus.
Manual Focus
Manual focus enables the user to set the focal point, providing more creative control over the image. It offers greater creative control as the user determines the focus point. This method is ideal for situations where autofocus may struggle, such as low-light conditions or taking shots through glass or fences.
Manual focus is very precise and easy to use to pick out objects of interest from a chaotic scene. It is particularly useful for shooting in low-light conditions, low-contrast scenes, and scenes with many objects. It is also well-suited for macro photography and landscape photography.
The choice between autofocus and manual focus depends on the individual photographer's needs and shooting conditions. While autofocus is generally faster and more convenient, manual focus offers greater control and is better suited for certain types of photography and shooting conditions.
Travel Tips: Wrapping Camera Batteries for Safe Journeys
You may want to see also

Learn about the focusing ring
The focusing ring is one of the basic controls on a 35mm camera. It is used to focus the lens to the distance of your subject. The focusing ring will usually have distances in both feet and meters, as well as an infinity marking (for focusing an infinite distance away). Some cameras, like the Olympus Trip 35, will instead have focusing zones, sometimes with cute little symbols marking what the zones are.
Manual-focus single-lens reflex cameras can be a little more awkward to use. SLRs are distinguished by their large central "hump" housing the viewfinder and their pentaprism or pentamirror. To focus the shot, you need to turn the focusing ring until the image in the viewfinder is sharp.
Manual-focus rangefinder cameras are similar. Coupled rangefinder cameras show two images of the same subject through the viewfinder. As you turn the focusing ring, one of the images will move until the two images coincide and fuse into one – this is when the image is in focus. Some older rangefinder cameras do not have a coupled rangefinder. If this is the case with your camera, find the desired distance through the rangefinder, then set that value on the focusing ring.
Unlocking the Free Camera Mode in Conan Exile
You may want to see also

Know how to focus an SLR camera
Focusing an SLR camera can be done manually or automatically, depending on the model.
Manual Focus
SLR stands for single-lens reflex, which means that the photographer can view through the lens and see exactly what will be captured. To focus manually, turn the focusing ring until the image in the viewfinder is sharp. Most manual-focus cameras will have two focusing aids: a split screen in the centre, which splits the image into two pieces that align when the image is in focus, and a microprism ring, which makes defocusing more obvious.
Autofocus
Autofocus SLRs, common since the mid-1980s, are easier to focus. Simply half-press the shutter gently to focus. When focus is obtained, usually indicated in the viewfinder or with a beeping sound, the camera is ready to take a shot.
Zone Focusing
Zone focusing, also known as scale focusing, is a technique that involves guessing the distance to the subject and dialling that value on the lens. This can be useful when speed is important, or when autofocus is unable to detect the distance correctly. Most cameras divide the scale into three zones: "portrait", "group portrait", and "infinity".
Mastering Camera Focus: DIY Tips for Sharp Photos
You may want to see also

Zone focusing: guessing the distance to the subject
Zone focusing, also known as scale focusing, is a powerful photography technique that can help you be faster and more confident with your camera. It is a useful skill for film and street photographers, enabling you to take better shots in low-light conditions.
Zone focusing involves guessing the distance to the subject and dialling that value on the lens. This technique was the only way to focus before the invention of autofocus tools. Today, it is still used on toy cameras like the Diana Mini and viewfinder-only cameras like the Rollei 35. It can also be useful on cameras with precision focus tools like an SLR and even on autofocus/digital cameras.
The "zone" in zone focusing refers to the distance scale being split into distinct sections or zones. Most cameras divide the scale into three zones, commonly understood as "portrait", "group portrait", and "infinity". Portrait mode is the closest distance your camera can focus on, typically 1m/3', group portrait is usually around 3m/10', and infinity is the farthest distance.
While guessing the distance to the subject can be challenging, it is possible to become proficient with zone focusing and achieve sharp photographs. Understanding concepts such as depth of field and hyperfocal focusing can improve your results. Increasing your depth of field by choosing smaller apertures and photographing objects further away will give you a wider error margin.
When using zone focusing, it is important to remember to set the distance on the lens before taking each shot. This technique can be particularly useful in fast-paced situations or low-light conditions where autofocus may struggle. By mastering zone focusing, you can improve your photography skills and capture sharp images even in challenging situations.
Pi Cameras: Where Are They Manufactured?
You may want to see also

Hyperfocal focusing: focusing on the furthest objects
Hyperfocal focusing is a type of zone focusing, which is a powerful photography technique that can help you be faster and more confident with your camera. It is also used to capture better shots in low-light conditions.
To achieve hyperfocal focusing, you must first understand the concept of depth of field. Depth of field refers to the distance between the nearest and farthest objects in a scene that appear acceptably sharp. The hyperfocal distance is defined as the focus distance that places the furthest edge of a depth of field at infinity. This means that by focusing at the hyperfocal distance, you can achieve maximum sharpness from half this distance to infinity.
To optimise your focusing distance, try focusing on the most distant object in your scene. Then, manually adjust the focusing distance as close as possible while still retaining an acceptably sharp background. If your scene includes distant objects near the horizon, this focusing distance will closely approximate the hyperfocal distance.
It is important to note that the hyperfocal distance is dependent on the level of sharpness considered acceptable. Different lenses and cameras may have varying hyperfocal distances, and you can use tools like a depth-of-field calculator or hyperfocal chart calculator to determine the precise hyperfocal distance for your specific setup.
Hyperfocal focusing is particularly useful in landscape photography, as it helps maximise the depth of field, resulting in a more detailed final print. By focusing on the furthest objects using the hyperfocal distance, you can ensure that both the foreground and background elements in your scene are acceptably sharp.
Fight Traffic Camera Tickets: Iowa's Legal Options
You may want to see also
Frequently asked questions
Turn the focusing ring until the image in the viewfinder is sharp. You can use the split screen or microprism ring in the viewfinder to help you determine when the image is in focus.
Zone focusing is a technique where you guess the distance to the subject and dial that value on the lens. You can use the icons on your camera, such as 👤, 👥, and 🏔, to set the distance.
Use a 35mm Single Lens Reflex (SLR) camera, as it is the easiest to aim and frame the object you want to photograph. A removable pentaprism finder can also add greatly to the convenience and ease of acquiring a celestial object, framing it, and focusing on it.


