Focusing a camera is a deep topic in photography that is very important to understand. If you don't focus properly, you will end up with blurry photos even when all your other camera settings are correct. Focusing can be easy or difficult depending on your subject, like a non-moving landscape versus a fast-moving bird in flight.
The first step is to determine whether you want to focus manually or automatically. Manual focus is when you turn a ring or similar mechanism on the lens to focus on your subject. Automatic focus, or autofocus, is when the camera system drives a motor to move elements in your lens to change focus.
The next step is to determine where to focus. One technique is to focus a third of the way into the frame. Another is to focus on the hyperfocal distance, which is the region in space with the potential to be as sharp as possible in a photo. The hyperfocal distance is approximately double the distance from the closest object to the lens.
Finally, you need to pick an aperture, take the picture, and check sharpness. Picking the aperture is actually pretty easy. For 95% of photographs, you can use either f/11 or f/16. If everything in the scene is far away, depth of field isn't an issue, and you can use any aperture. If the scene has some depth, then you'll typically use f/16.
| Characteristics | Values |
|---|---|
| Camera Type | DSLR, Mirrorless |
| Calibration Tools | DIY Method, LensAlign, Calibration Software |
| Calibration Steps | Identify Focus Problems, Calibrate Camera/Lens, Verify Calibrated Setup |
| Calibration Naming Convention | Nikon – AF Fine Tune, Canon – AF Microadjustment, Sony – AF Micro Adjustment, Pentax – AF Adjustment, Olympus – AF Focus Adjust |
What You'll Learn
![]()
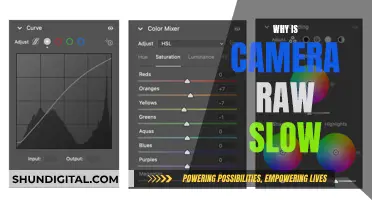
Using manual focus on a DSLR
Switching to manual focus
On the side of your DSLR lens, locate the switch labelled "AF-MF", which stands for Autofocus and Manual Focus, respectively. When you're ready to shoot in MF mode, switch your lens to that setting.
Adjusting the focus
At this point, you must adjust the focus using the focus ring on your lens. If you have a zoom lens, you should have two rings: a zoom ring (closest to the body of the camera) and a focus ring (towards the end of the lens).
As you turn the focus ring, different parts of the shot will come into focus. The point at which an object comes into focus correlates with its distance from the lens. You can see the distance in feet or metres that the lens is focused on by looking at the top of the lens.
Using Live View mode
Switch your camera to live view mode (where the LCD is your viewfinder). Tap the magnifier button to zoom in on your subject and use the arrows on your camera to move the area of view. Fine-tune the focus until the subject is crystal-clear. Tap the magnifier tool again to exit back to normal view before capturing your photo.
When to use manual focus
Although you can use MF at any time, there are specific scenarios that benefit from it. Often, these scenarios are a challenge for autofocus, which may focus on the wrong subject or struggle to find focus.
- Macro photography — When shooting macro, the depth of field is shallow, so it's important to have complete control over what is in focus. Autofocus is challenged by macro shots and often spends too much time looking for the focus point.
- Crowded settings — If you're trying to shoot a subject in a crowded setting of similar objects, the camera might struggle to identify what you're trying to shoot.
- Shooting "through" an object — You can achieve striking photos by keeping the object closest to the lens out of focus and focusing on a subject further away. In this case, use manual focus to ensure the further-away object is the one in focus.
- Low light — If your lens has a smaller aperture, autofocus will be difficult in dimly lit scenes. Switch to manual focus and be sure to hold the camera steady when you get your shot.
- Street photography — Locking your focus and aperture allows you to shoot continuously without changing either setting.
- Landscape — When shooting scenery, autofocus will often find something in the foreground, leaving the rest of the scenery blurred. In this case, focus on something far in the distance while you're in autofocus, then lock that focus by switching to manual before snapping your photo.
Cameras and Tickets: Are You Being Watched?
You may want to see also
![]()
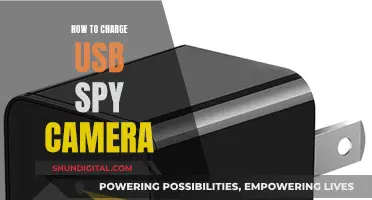
Adjusting the depth of field
Aperture
The aperture is the opening in your lens that lets light through to the camera's sensor. A larger aperture (a smaller f-stop number) will result in a shallower depth of field, while a smaller aperture (a larger f-stop number) will give you a deeper depth of field. For example, using an aperture of f/2.8 will create a shallow depth of field with a soft background blur, while an aperture of f/22 will give you a deeper depth of field with more of the image in focus.
Distance to the Subject
The closer you are to your subject, the shallower the depth of field will be. By moving further away from your subject, you can increase the depth of field. This technique is particularly useful in landscape photography, where you may want to capture a vast scene with both the foreground and background in focus.
Focal Length
Using a wide-angle lens will generally give you a deeper depth of field, while a telephoto lens will produce a narrower depth of field. However, it's important to note that the distance between the camera and the subject also plays a role here. If you adjust the distance to your subject while changing the focal length, you can maintain the same magnification of your subject, resulting in a similar depth of field.
By understanding and manipulating these three factors, you can master the art of adjusting the depth of field to create captivating photographs.
Charging Your GE Camera: A Quick Guide
You may want to see also
![]()
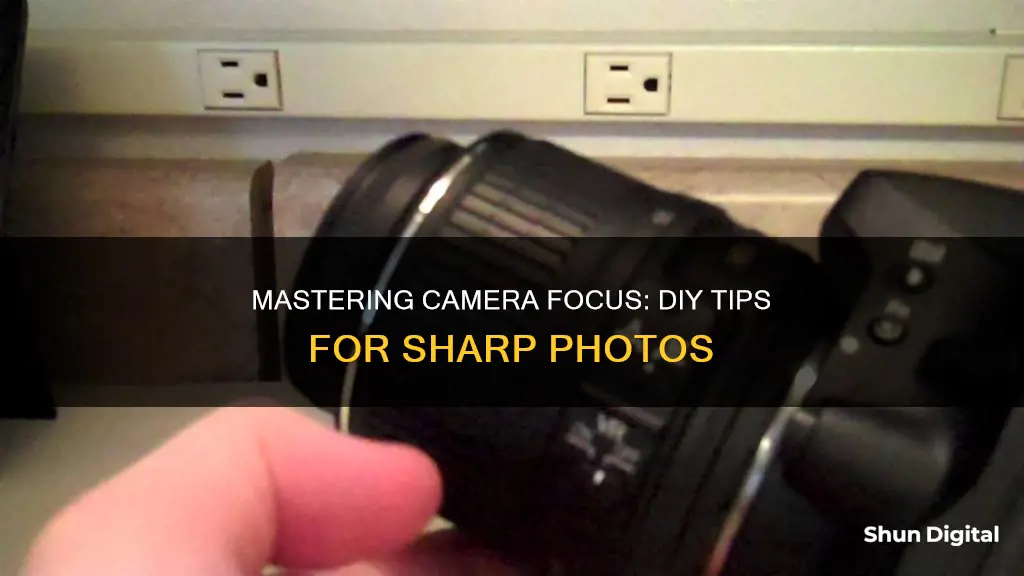
Focusing a smartphone camera
Firstly, you should identify whether your smartphone camera has a built-in manual mode in its stock camera app. If not, you can download a third-party application that allows you to focus manually when your camera is camera2api ready.
Once you have found the manual mode, look for the MF icon to manually focus your smartphone camera. Tap the figure, and the function will activate. A slider will appear on your screen, allowing you to focus manually.
There are a few situations in which manual focus is necessary:
- Low contrast scenes
- The subject itself is low in contrast or has a few striking details, making it more difficult for the camera to identify
- The scene contains several subjects, and you want to pick the right object to be in full focus
- The item has not arrived on the scene yet, but it moves fast, and you must focus before it appears
It is also important to keep your phone as still as possible when taking a photo. Unsteady hands are the number one reason for blurry photos. To guarantee your phone remains still, invest in a tripod designed for smartphones.
Additionally, avoid using digital zoom. Unlike DSLR and point-and-shoot cameras, cell phone cameras don't have an optical zoom feature. Instead, a smartphone's zoom function simply crops and digitally enlarges the shot, lowering the image quality.
EV Mode Camera: The Future of Photography
You may want to see also
![]()
Lens calibration
There are two options for calibrating your lens:
- Send it to your local camera shop or the manufacturer such as Canon or Nikon. This should cost somewhere between $50 - $100. Please note that you will need to send in your camera with your lens, so you’ll be without your camera for a little while.
- DIY it with a lens calibration tool. You will need to get into your autofocus system settings and adjust them to ensure that the lens always focuses accurately on your subject. The steps to do this are as follows:
- Find a room with lots of natural light and put your calibration tool on a flat, steady surface.
- Pop your camera on a tripod to ensure that you’re not moving the camera when you focus.
- Ensure that the camera and ruler are level with one another, exactly perpendicular and at the same height.
- Set your lens to the widest aperture.
- Focus on the area designated on your lens calibration tool and take a photo.
- Check where the focus has fallen—was it in front or behind the target? It is recommended to do this on a computer rather than on your camera’s screen.
- Use your camera’s autofocus adjustment setting to fine-tune your focus, and then take another test shot, moving the slider to the + or - side depending on whether the lens was front or back focusing.
- Repeat until focus is landing exactly where it should be.
Note that this process only fixes one lens by matching it to the camera, so it is recommended to do it for all your lenses.
Understanding Your Camera's Metering Modes
You may want to see also
![]()
Using autofocus
First, make sure your lens is set to autofocus mode. You can do this by locating the switch on the side of your lens, which will be labelled "AF - MF" or "A - M". If the switch is set to "MF", or manual focus, flip it to "AF", or autofocus.
Next, look through the viewfinder and press the shutter button halfway to focus on your subject. You should see different parts of the shot come into focus. Once your subject is in focus, press the shutter button the rest of the way to take the photo.
You can also use the LCD screen on your camera to fine-tune the focus. Simply switch to live view mode and twist the focus ring on the lens until your subject is sharp.
To use autofocus on a smartphone, simply tap the screen where you want the camera to focus. You'll then see a square or rectangle on your subject. Press and hold the screen to lock the focus on that subject. Keep in mind that you'll need to keep your phone the same distance away from the subject after setting the focus.
Replacing the Battery in Your Kangaroo Doorbell Camera
You may want to see also
Frequently asked questions
First, you need to identify if there is a focus problem. If you are an advanced DSLR user, you will know right away when there is a focus problem. However, in many cases, it is the end-user's fault or an issue with camera technique that yields soft images, so I always recommend using proper ways to identify focus problems.
My recommended approach to identify focus issues is to use proper ways to identify focus problems. While this approach works quite well, it does not point out if you have front or back focus problems. That's where a tool like LensAlign or another lens-aligning chart can come in handy—you will not only know right away if there is a problem, but you will also determine if the focus problem is related to back-focus or front-focus.
Calibration works through a setting in your camera, which allows compensating for either back-focus (when focus is shifted behind the focused area) or front-focus (when focus is shifted in front of the focused area). This compensation can be performed in small incremental steps (typically from 0 to -20 and +20 in steps of 1), which allows for precise fine-tuning of the autofocus system.
First, you should identify if there is a focus problem. Second, you should try calibrating your camera/lens. The last step is to verify if your calibrated setup works reliably at different distances.