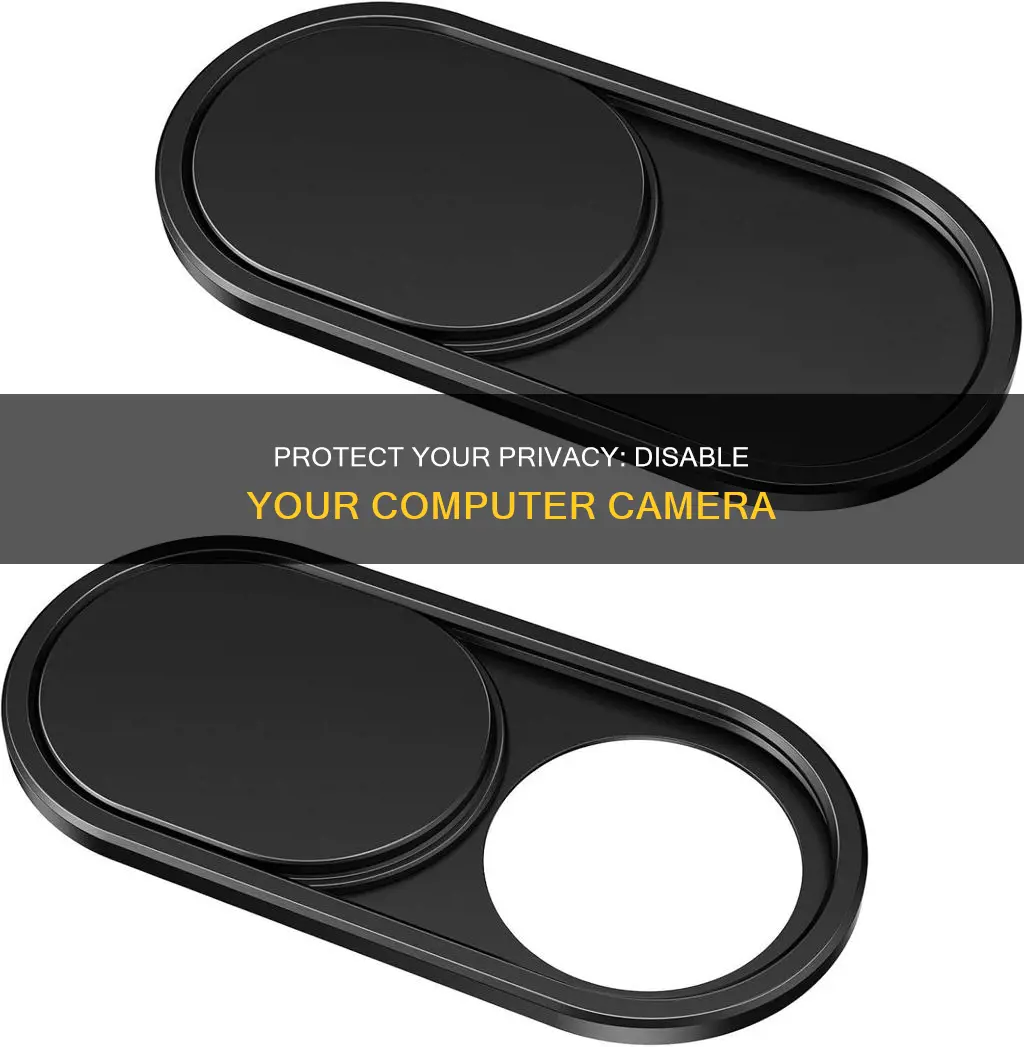
Webcams are now a common feature of laptops, but users may want to disable them due to security concerns. Malware can access computer webcams and spy on users without their knowledge. Disabling the webcam can be done through the Device Manager, which is accessible via the Start menu or Start screen. This will turn the camera off for all apps, but it can be re-enabled through the same process. Alternatively, users can disable the camera for specific apps through the Settings menu. For laptops with an integrated webcam, the webcam can also be disabled at the BIOS level, which is more secure but not as convenient. Covering the webcam with tape is another low-tech option, although it may not be aesthetically pleasing.
| Characteristics | Values |
|---|---|
| Operating System | Windows 11, 10, 8, 7 |
| Method | Disable for all apps, disable for select apps |
| Steps to disable for all apps | 1. Right-click on the Start button. 2. Select "Device Manager". 3. Expand "Imaging devices". 4. Right-click on your camera and select "Disable". 5. Confirm by clicking "Yes". |
| Steps to disable for select apps | 1. Click on the Start menu and select "Settings". 2. Choose "Privacy" or Privacy & Security. 3. Find "Camera" in the left-hand menu and click on it. 4. Toggle "Allow apps to access your camera". 5. Turn off access for specific apps as needed. |
What You'll Learn

How to disable a camera on Windows 10
Disabling your camera in Windows 10 is a straightforward process. There are two main methods: disabling the camera for all apps, or disabling it for select apps.
Turn Off Camera for All Apps
- Right-click on the Windows Start button.
- In the menu that appears, select "Device Manager".
- A new window will open. Select the arrow next to "Imaging devices" to expand the menu.
- Right-click on the name of your camera and select "Disable device".
- In the confirmation box, click "Yes".
Turn Off Camera for Select Apps
- Click on the Start menu and then choose "Settings".
- Select "Privacy". A window will appear. In the left-hand menu, find "Camera" and click on it.
- Find the setting marked ""Allow apps to access your camera", and toggle the switch.
- In the section "Choose which Microsoft Store apps can access your camera", you will see a list of apps. Turn off the app option if you don't want that app to access your camera.
Remember that if you disable camera access for your web browser, you also disable access for any websites you may use. It's a good idea to restart your computer to ensure the settings take effect.
Vivotek Cameras: Where Are They Manufactured?
You may want to see also

How to disable a camera on Windows 11
Disabling your computer camera can be a great way to enhance your privacy and security. Here is a step-by-step guide on how to disable a camera on Windows 11:
Using the Windows Settings:
- Press the Win + I keyboard shortcut to open the Settings app.
- Select "Bluetooth & Devices" from the left pane.
- On the right side, select "Cameras".
- Click on the camera you want to disable under "Connected Cameras".
- Click on the "Disable" button.
- Click "Yes" when a confirmation pop-up appears.
Using the Device Manager:
- Press the Win + I keys to open the Run command dialog box.
- Type "devmgmt.msc" and press Enter to open the Device Manager.
- In the Device Manager window, expand the "Cameras" or "Imaging Devices" section. If you don't see "Cameras", look under "Imaging devices" or "Sound, video, and game controllers".
- Right-click on the camera you want to disable and select "Disable device" from the context menu.
- Click "Yes" when a warning message appears.
- Close the window and restart your computer.
Using a Kill Switch:
Some laptops, such as the HP Spectre x360, have a physical switch that allows you to toggle the camera on or off. Simply locate this switch and flip it to the "off" position.
Disabling Camera Access for Specific Apps:
If you don't want to disable your camera completely, you can specify which apps and services are allowed to access it:
- Select the Settings icon in the Start menu.
- Choose "Privacy" or "Privacy & Security".
- In the "Camera" section, turn on "Allow apps to access your camera" or "Camera Access".
- Tap the slider next to each app or service to allow or block access to the webcam.
Note: Disabling your camera may affect other features such as facial recognition or Windows Hello. Remember to enable your camera again when needed, and always be cautious about your privacy and security settings.
Setting Up Your Dodge Charger: Rear Camera Installation Guide
You may want to see also

How to disable a camera on Windows 7
There are several reasons why you may want to disable your computer's camera. With cyber security being such a hot topic, knowing how to turn off your webcam is vital for your peace of mind. Malware can take control of your hardware and let it work even when you aren't using it. If you have kids, you should strongly consider disabling your webcam to protect their identities and safety.
If you have a Windows 7 computer, here is how you can disable the camera:
Using the Device Manager:
- Right-click on the Start button.
- Click on "Device Manager".
- Click the dropdown arrow next to "Imaging devices".
- Right-click on your camera's name. Note that this could change depending on your hardware.
- Select "Disable" and confirm when asked.
- To enable your camera again, follow the same steps and select "Enable" instead.
Using the Control Panel:
- Go to the Start menu on your desktop and click on "Control Panel".
- Select "Hardware and Sound".
- Choose "Device Manager".
- Select "Imaging Devices" and double-click on your webcam in the list.
- Click on the "Driver" tab and select "Disable".
- Confirm by choosing "Yes" when asked if you want to disable your webcam.
Using Third-Party Software:
If you're looking for a more user-friendly solution, you can use third-party software such as Parallels Toolbox, which allows you to disable and enable your webcam with just a few clicks. Simply open the software, click on the camera pane, and select "block camera" from the dropdown menu.
Physical Covering:
As a simple and effective measure, you can physically cover your webcam with tape or a webcam cover. This ensures that even if your webcam is enabled, it cannot be used to record you without your knowledge. A low-tech solution is to use sticky notes or electrical tape, or you can purchase a dedicated webcam cover that slips over your laptop's camera.
Reolink Camera Origins: Unveiling the Country of Manufacture
You may want to see also

How to disable a camera on a MacBook
There are multiple methods to disable the camera on a MacBook, ranging from non-technical solutions to Terminal commands. Here is a step-by-step guide on how to disable a camera on a MacBook:
Non-Technical Solution: Cover the Camera
A simple and effective non-technical solution is to cover the camera lens with tape, a dark sticker, or a dedicated webcam privacy cover. This method ensures that even if someone tries to access your camera, they won't be able to see anything. However, Apple warns that covering the camera might interfere with features like auto-brightness and True Tone. Additionally, there is a risk of scratching your display and trackpad, especially with the 2017 model or later, where the trackpad area is larger.
Disabling Camera Access for Specific Apps:
- Go to System Settings or System Preferences.
- Select "Privacy & Security" or "Security & Privacy."
- Click on "Camera" in the menu on the left.
- Uncheck or toggle off access for the apps you want to restrict from using the camera.
Disabling Camera in Safari:
- Open the Safari browser.
- Click on "Safari" in the menu bar and select "Preferences."
- Click on the "Websites" tab and select "Camera" in the left pane.
- Choose Deny to disable camera access for all websites.
- You can also select Ask if you want to grant permission each time a website requests access.
Disabling Camera in Other Browsers:
Browsers like Chrome and Firefox also offer robust and user-friendly security settings. You can disable camera access for specific websites or choose to block audio and video access for all websites within the browser settings.
Disabling the Hardware of the Camera (Terminal Utility Method):
Note: This method completely disables the camera hardware, meaning no application, whether built-in or third-party, will be able to access the camera until you reverse the process.
- Open the Terminal.
- Create a backup of the file by typing the following command:
Mkdir /System/Library/QuickTime/ .iSightBackup
Move the Quick Time component of the iSight camera to the backup folder by using the following commands:
Sudo mv /System/Library/QuickTime/QuickTimeUSBVDCDigitizer.component
Sudo mv /System/Library/QuickTime/ .SightBackup/
Reboot your MacBook.
To enable the camera again, put the file "QuickTimeUSBVDCDigitizer.component" back into the "/system/library/QuickTime" directory and reboot your MacBook.
Focusing Your Camera on Self-Timer: Tips and Tricks
You may want to see also

How to disable an independent camera
Disabling an independent camera is a good privacy practice to ensure the camera is not live or recording while your computer or laptop is not in use. There are several ways to do this, depending on the type of camera and device you are using.
Disabling an independent camera on a Windows device:
- In Windows 10, click the "Start" option and then choose the "Device Manager". In other Windows versions, use the search function to locate and access the device manager.
- Scroll through the options until you find the "Cameras" label. Click it to access the drop-down menu where the cameras attached to your computer are listed.
- Right-click on your camera's name and select "Disable" device.
- Confirm by clicking "Yes".
Disabling an independent camera on a non-Windows device:
Consult the device manual or the manufacturer's website for specific instructions.
Alternative methods for disabling an independent camera:
- Turn the camera around to face a wall.
- Unplug the camera to disconnect it from its power source.
- Cover the camera lens with tape or a piece of paper.
Please note that these methods may not work for all types of cameras and devices, so it is important to refer to official sources for the most accurate and up-to-date information.
Editing Midtones in Camera Raw: A Step-by-Step Guide
You may want to see also
Frequently asked questions
Right-click the Windows Start button, select "Device Manager", expand "Imaging devices", right-click your camera, select "Disable device", and confirm your choice.
Press the Start button, click "Settings", select "Bluetooth & devices" and then "Cameras", find your camera under "Connected cameras", and click "Disable" under the webcam preview.
Go to the Start menu, click "Control Panel", select "Hardware and Sound", choose "Device Manager", select "Imaging Devices", double-click your webcam, click the "Driver" tab, and select "Disable".
You can disable a Mac's camera by physically blocking it with tape or a lens cover.


