The Blackmagic Pocket Cinema Camera is a powerful tool for filmmakers, offering a range of features that enable users to achieve a cinematic look. With its compact size and affordable price, it has become a popular choice for online content creators, influencers, independent filmmakers, educators, and wedding videographers. One of its key advantages is its ability to deliver high-quality images in various lighting conditions, thanks to its high dynamic range and dual native ISO.
The camera offers different models, including the 4K, 6K G2, and 6K Pro, each with unique specifications and capabilities. The 4K model, for example, has a 4/3 image sensor and supports recording at up to 60 fps in 4K resolution. The 6K G2 and 6K Pro models offer even higher resolutions and additional features such as built-in ND filters and a Super 35 sensor.
The Blackmagic Pocket Cinema Camera also provides users with a large 5 LCD screen, making it easy to focus accurately, and includes DaVinci Resolve Studio for editing, colour correction, audio post-production, and VFX.
Additionally, the camera has a range of connection options, including HDMI, mini XLR, and USB-C, allowing for external drive recording, microphone input, and more.
One notable aspect of the Blackmagic Pocket Cinema Camera is its autofocus capabilities, or lack thereof in earlier models. While continuous autofocus was not initially available, advancements and gadgets, such as the Time of Flight (ToF) system, have been developed to provide fast and accurate autofocus functionality.
What You'll Learn
![]()
Use the 5 touchscreen display to adjust settings
The Blackmagic Pocket Cinema Camera features a large 5-inch touchscreen display that makes it easy to frame shots and focus accurately. The touchscreen is also used to adjust settings, with simple tap and swipe gestures allowing you to control all of the camera's advanced functions.
The heads-up display (HUD) on the touchscreen can be used to see and adjust settings such as the frame rate, iris, timecode, shutter angle, white balance, ISO, audio levels and more with a single tap. You can also access settings such as the digital slate, to quickly add metadata to any shot. The HUD can be shown or hidden by swiping up or down.
The 5-inch touchscreen monitor on the 6K models is also adjustable, with a tilt function that makes it easy to monitor your shot from any position. The 6K Pro model's touchscreen is also brighter, with a 1500 nit HDR screen making it ideal for use in bright sunlight.
The touchscreen also gives you access to the Blackmagic OS, which has the same controls and menus as other Blackmagic Design cameras, making it easy to move between cameras on set.
Understanding DVR Mode on Your Muddy Camera
You may want to see also
![]()
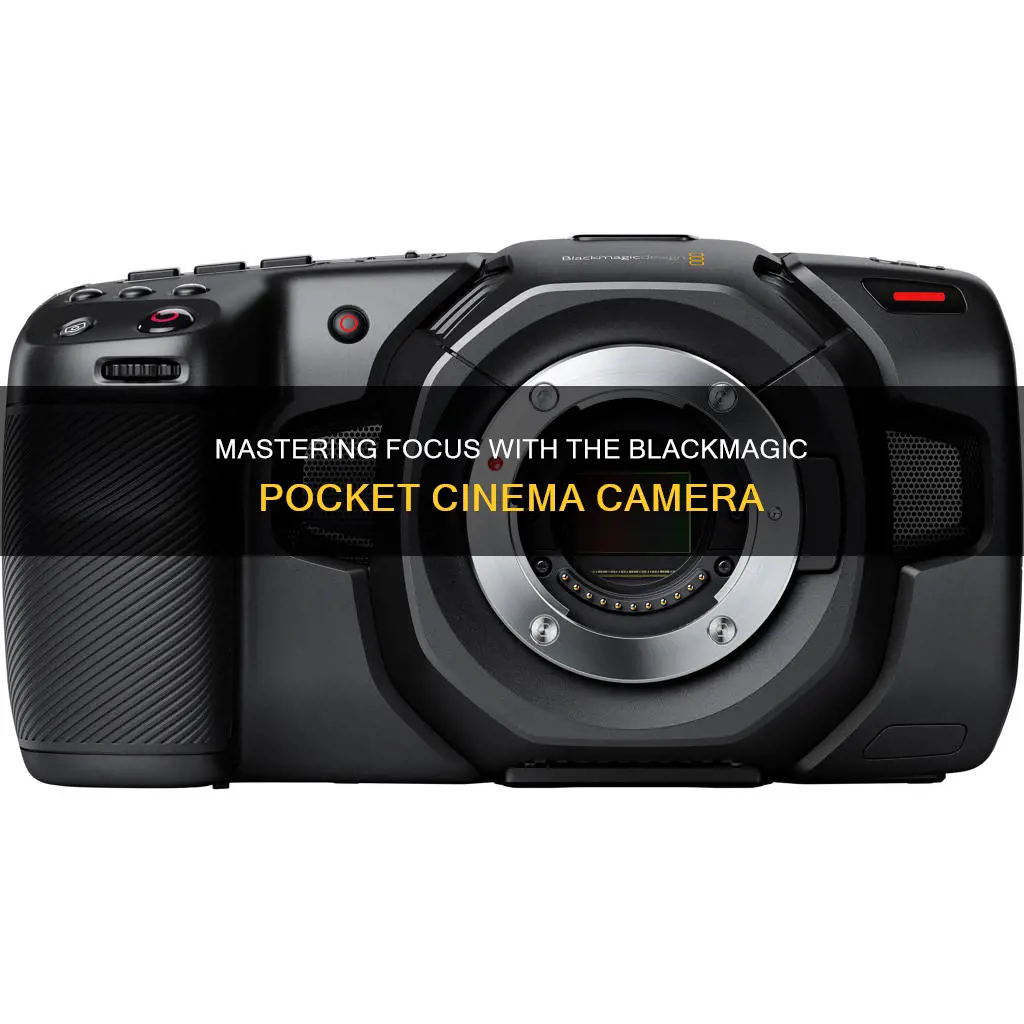
Set up the camera to record in 4K DCI for a wider image
To set up the Blackmagic Pocket Cinema Camera to record in 4K DCI for a wider image, follow these steps:
- Access the camera's menus and go to the Record section.
- Under "Record", select "4K DCI" as the recording format. 4K DCI offers a resolution of 4096 x 2160 and provides a wider image that can be cropped later if needed.
- Consider using the "Film" profile, which maximizes the dynamic range and gives you the best highlights and blacks.
- If desired, you can apply a LUT (Look-Up Table) to create a specific look for your footage, simplifying the post-production process.
- Ensure that your camera's media cards or external storage can handle the data rates required for 4K DCI recording. The Blackmagic Pocket Cinema Camera can use CFast 2.0 cards, SD/UHS-II cards, or external recording via USB-C.
- Compose your shot using the camera's 5" touchscreen display, taking advantage of features like focus assist and rule of thirds grid if needed.
- Once you're ready to record, use the dedicated record button on the camera to start and stop recording.
Calibrating Your Lith Battery: A Step-by-Step Guide
You may want to see also
![]()
Use the Film profile for the widest dynamic range
The Blackmagic Pocket Cinema Camera 4K is a powerful tool for filmmakers, offering a range of features that can help you achieve stunning visuals. One of the key settings to understand is the dynamic range setting, which determines how the camera interprets the range between the lightest and darkest areas of an image. The "Film" setting offers the widest dynamic range, giving you the best highlights and deepest blacks. This setting is essential for achieving a cinematic look, especially when paired with the RAW format.
When using the "Film" dynamic range setting, it's important to monitor your footage correctly. By activating a stored 3D LUT (Look-Up Table), you can get a better idea of how your footage will look after grading. A 3D LUT can be applied temporarily for monitoring purposes without affecting the recorded footage. This allows you to simulate standard contrast and get a more inspired image through the LCD screen.
Additionally, you can use the histogram feature to monitor your exposure more accurately. By accessing the monitor settings page, you can change the display from codec and resolution information to meters, providing you with a more detailed view of your image's dynamic range.
The "Film" setting, combined with the RAW format, gives you the flexibility to capture a wide range of tones and colors. This setting is ideal for situations where you want to capture the fullest tonal range, such as in high-contrast lighting conditions or when shooting in log format. Keep in mind that using the "Film" setting may require additional time in post-production to fully realize the benefits of the extended dynamic range.
In summary, the "Film" profile in the Blackmagic Pocket Cinema Camera 4K provides the widest dynamic range, giving you greater flexibility in capturing highlights and shadows. By utilizing tools like 3D LUTs and histograms, you can effectively monitor your footage and make the most of the extended dynamic range that the "Film" setting offers. With this setting, you'll be able to create visually stunning images with a true cinematic look.
Samsung S8 Camera Mode Button: What's It For?
You may want to see also
![]()
Set the camera to stop recording when frames are dropped
Cinematographers and directors using the Blackmagic Pocket Cinema Camera 4K should consider using the setting to stop recording when frames are dropped. This will ensure that you won’t end up with corrupted files, especially when you are using a new CF card or an external drive that hasn't been thoroughly tested in the field.
To do this, access the Record menu on your camera, where you will find a number of options for codecs and image quality. From the available options, select the setting to stop recording when frames are dropped. This will ensure that the camera automatically stops recording when it detects that frames are being dropped, preventing you from ending up with corrupted or unusable footage.
It is important to note that even with this setting enabled, there have been reports of the camera continuing to record despite dropping frames. In such cases, it is recommended to check your hardware, including the cable and cable connections, as well as the drive you are using. Ensure that you are using a recommended drive that is fast enough to keep up with the data rates. Additionally, consider updating your camera software to the latest version, as this may also help resolve the issue.
By following these steps and enabling the setting to stop recording when frames are dropped, you can help ensure the reliability of your camera and avoid ending up with corrupted files or unusable footage.
Where's the Power? 35mm Cameras and Their Battery Usage
You may want to see also
![]()
Turn on phantom power under the Audio settings when using XLR mics
When using XLR mics, it is important to turn on phantom power in the Audio settings of your Blackmagic Pocket Cinema Camera. This is because phantom power is required to charge the diaphragm and power the internal preamp of condenser microphones. Without it, the microphone will not work.
Phantom power is a positive voltage, typically ranging from 12 to 48 volts DC, that runs through pins 2 and 3 of an XLR cable. In the context of audio engineering, the term "phantom" is used because the power source is essentially invisible, running through the same cord as the audio signal.
The Blackmagic Pocket Cinema Camera 6K G2 and 6K Pro models are equipped with mini XLR audio inputs and support phantom power. To turn on phantom power, follow these steps:
- Access the Audio settings in your Blackmagic Pocket Cinema Camera.
- Locate the Phantom Power option, which is usually designated as +48V or P48.
- Ensure that the Phantom Power option is enabled or turned on.
- Connect your XLR microphone to the mini XLR input on the camera.
By turning on phantom power, you are providing the necessary voltage to power the microphone and its internal preamp. This is crucial for condenser microphones, which rely on an external power source to function properly.
It is important to note that dynamic microphones do not require phantom power. However, in certain cases, you may need to use phantom power with a dynamic microphone if it has a very low output and requires a preamp to boost the signal.
Auto-Focusing Your iPod Camera: Tips and Tricks
You may want to see also
Frequently asked questions
The Blackmagic Pocket Cinema Camera is a handheld digital film camera that offers a range of professional features, such as high dynamic range, great low-light performance, and Blackmagic RAW, enabling users to create feature film-quality images. It has a large 5" LCD screen, which makes it easy to focus accurately.
The Blackmagic Pocket Cinema Camera 4K does not have built-in continuous autofocus. However, there are third-party gadgets, such as the CDA-TEK's Pocket Bluetooth Controller, that can enable this feature.
The camera has a dedicated button for focus, and you can also use the touchscreen to adjust the focus. The camera also has focus assist and peaking indicators, which can help you achieve precise focus.