Adobe Camera Raw (ACR) is a powerful tool that allows users to edit RAW image files. RAW files are large in size and look flat but retain all the information from when an image was taken, including colours and tones. ACR is built into both Photoshop and Lightroom and allows users to adjust exposure, correct colours, fix lens distortion, and more.
The Contrast slider in ACR is used to adjust the contrast of the midtones. Higher values on the slider increase the midtone contrast, while lower values produce an image with less contrast.
What You'll Learn
![]()
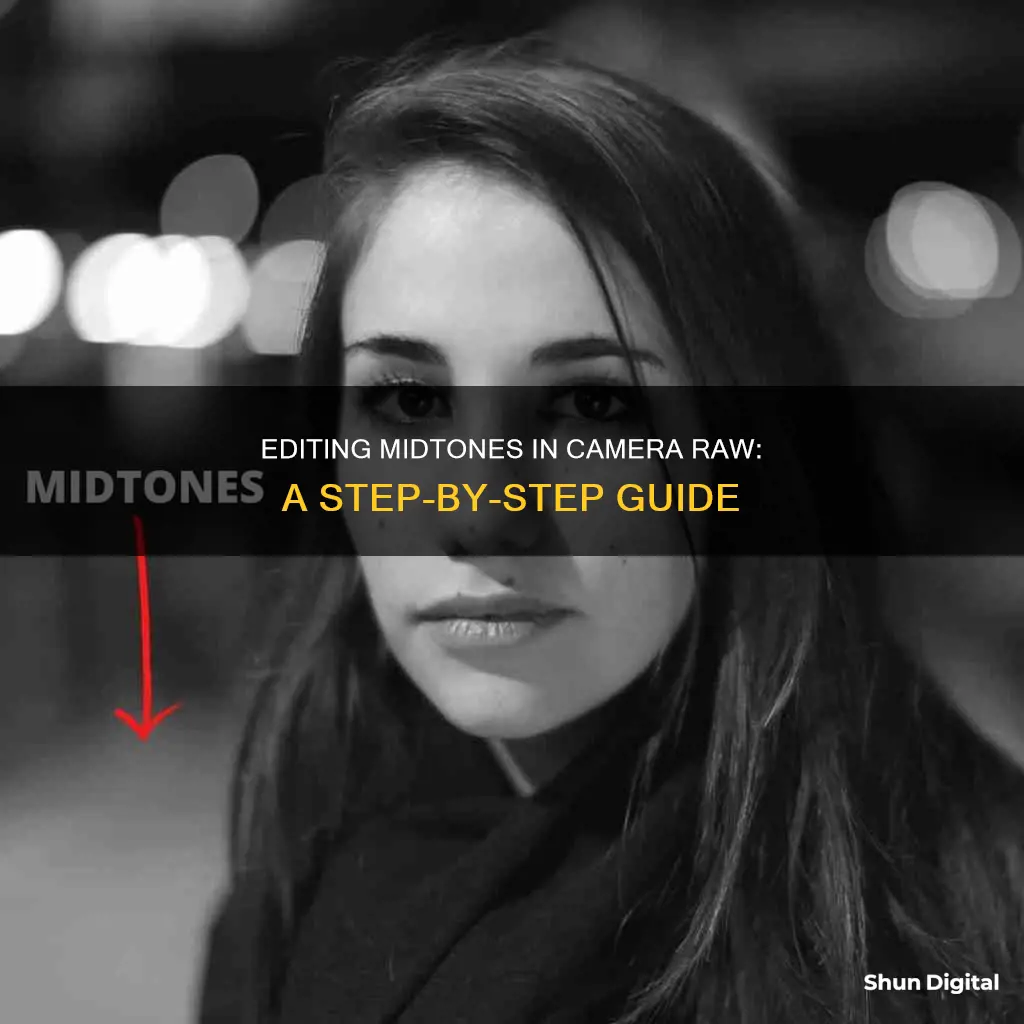
Adjusting the midtones
The midtones slider in Adobe Camera Raw (ACR) increases midtone contrast at higher values and produces an image with less contrast at lower values. Generally, you should adjust the midtones after setting the exposure, shadow, and brightness values.
You can also adjust the midtones in an image by using the Clarity and Texture sliders. Clarity targets midtones to add contrast, while leaving the shadows and highlights untouched. Texture, on the other hand, sharpens in one direction and smooths in the other. Unlike Sharpen, Texture doesn't target the edges of shapes, but instead enhances textures that are already present in the image. For example, you can use both Clarity and Texture to bring out the textures in buildings or other objects with interesting textures.
Another way to adjust the midtones is by using the Vibrance and Saturation sliders. Vibrance focuses on the midtones, while Saturation targets the whole image. If your photo lacks colour, these are a great place to start. However, colour grading will give you more targeted options.
Charging Your Spy Pen Camera: A Quick Guide
You may want to see also
![]()
Using the contrast slider
The contrast slider is one of the last adjustments you should make when editing a photo in Camera Raw. It affects all tones but has the most significant impact on the midtones. Instead of shifting the peaks on the histogram, the contrast slider widens them. This means that the contrast slider is best used when adjusting the other sliders doesn't offer enough of a contrast boost.
The histogram is a graph that shows all the pixels in an image. Ideally, the peaks on the histogram should not be cut off on either the right or left sides. However, if the peaks are cut off, this can often be remedied by using the tonal adjustment sliders. If the high points in your histogram are too close to one side, move the sliders in the opposite direction to correct it.
When adjusting the contrast, pay attention to both the image and the histogram to decide how far to move the slider. You can also use the shadow and highlight clipping previews to monitor areas in your photo that are too light or too dark as you make edits.
In addition to the contrast slider, there are other ways to adjust the contrast in your photographs. The tone curve is particularly effective and gives you greater control over contrast in specific areas of your photograph, targeting tonal ranges rather than making one change across the whole range.
Another way to adjust contrast is by using the Clarity and Texture sliders. Clarity targets midtones to add contrast while leaving shadows and highlights untouched. Texture, on the other hand, sharpens in one direction and smooths in the other, enhancing textures that are already present in a photograph.
Crafting Camera Batteries: A Step-by-Step Guide
You may want to see also
![]()
Recovering detail from highlights
The highlights slider will recover overexposed areas by adjusting parts of the image that appear very white and then attempts to recover the detail lost. In Adobe Lightroom and Photoshop, you can find the highlights slider under the ‘Image > Adjustments > Shadows/Highlights…’. In Lightroom, the slider is also found in the ‘Develop’ window under the ‘Basic’ section of the side panel.
When recovering detail from highlights, keep in mind that the highlights slider can make a photo look artificial if you go too far. You can check if there is any detail left in the highlights by pulling the exposure slider all the way to the left. If the overexposed areas remain white, then the details are lost and cannot be recovered.
To recover detail from highlights, simply slide the highlights slider until you have recovered the details.
If you are shooting in RAW, you can recover about 2 stops of highlights as a rule of thumb.
Freeing Stuck Batteries in Pentax Cameras
You may want to see also
![]()
Recovering detail from shadows
When editing an image, it is important to first fix anything that is "wrong" with the photograph. This includes correcting the image's exposure, which can be done by adjusting the highlights and shadows sliders. These adjustments can help to bring back lost detail in the image. The highlights slider will recover overexposed areas by adjusting parts of the image that appear very white, while the shadows slider will brighten and bring detail back to underexposed parts of the image.
It is important to note that adjustments to the highlights and shadows sliders can make a photo look artificial if overdone. Therefore, it is recommended to keep these adjustments subtle and to check if there is any detail left in the over or underexposed areas by pulling the exposure slider all the way to the left or right. If the areas remain white or black, respectively, then the details are lost and cannot be recovered.
In addition to adjusting the highlights and shadows, other basic edits can be made to enhance the image. This includes adjusting the white balance and tints, contrast, texture, clarity, vibrance, saturation, sharpness, and noise reduction. These adjustments can help to improve the overall look and feel of the image, bringing out the natural colours and details.
When editing images captured in RAW format, it is important to note that RAW files have a large file size and may require more post-processing. However, shooting in RAW provides the advantage of retaining all the information from when the image was taken, allowing for more flexibility during the editing process.
Camera Battery Draining Fast? Here's Why and How to Fix It
You may want to see also
![]()
Adjusting the saturation
Saturation is an important tool to enhance your photographs. It is one of the three sliders in the Basic panel in Adobe Camera Raw, along with Clarity and Vibrance. Saturation affects all colours in an image equally, from -100 (monochrome) to +100 (double the saturation).
Saturation is best used for removing colour from an image, rather than adding it. This is because saturation increases the colourfulness of every colour in the image. As a result, an image can end up looking too colourful, or "clowny".
If you want to add colour to a dull image, Vibrance is a better option. Vibrance only affects colours that are already dull, leaving vibrant colours alone. It also avoids increasing flesh tones, so it can be used on photos containing people.
You can also paint Saturation onto a specific part of an image using the Adjustment Brush.
Charging the Fredi Camera: A Step-by-Step Guide
You may want to see also
Frequently asked questions
The Contrast slider in the Camera Raw interface allows you to adjust the midtones in an image. Higher values on the slider will increase the midtone contrast, while lower values will produce an image with less contrast. It is generally recommended to adjust the contrast of the midtones after setting the exposure, shadow, and brightness values.
The Exposure slider in the Camera Raw interface allows you to adjust the brightness or darkness of an image. Moving the slider to the left will darken the image, while moving it to the right will brighten the image. The values are in increments equivalent to f-stops.
The White Balance tool in the Camera Raw interface allows you to adjust the white balance of an image. You can either choose an option from the drop-down menu or use the White Balance dropper tool. The dropper tool allows you to click on a part of the image that should be white, and Camera Raw will automatically adjust the colour temperature to make that component a true white.