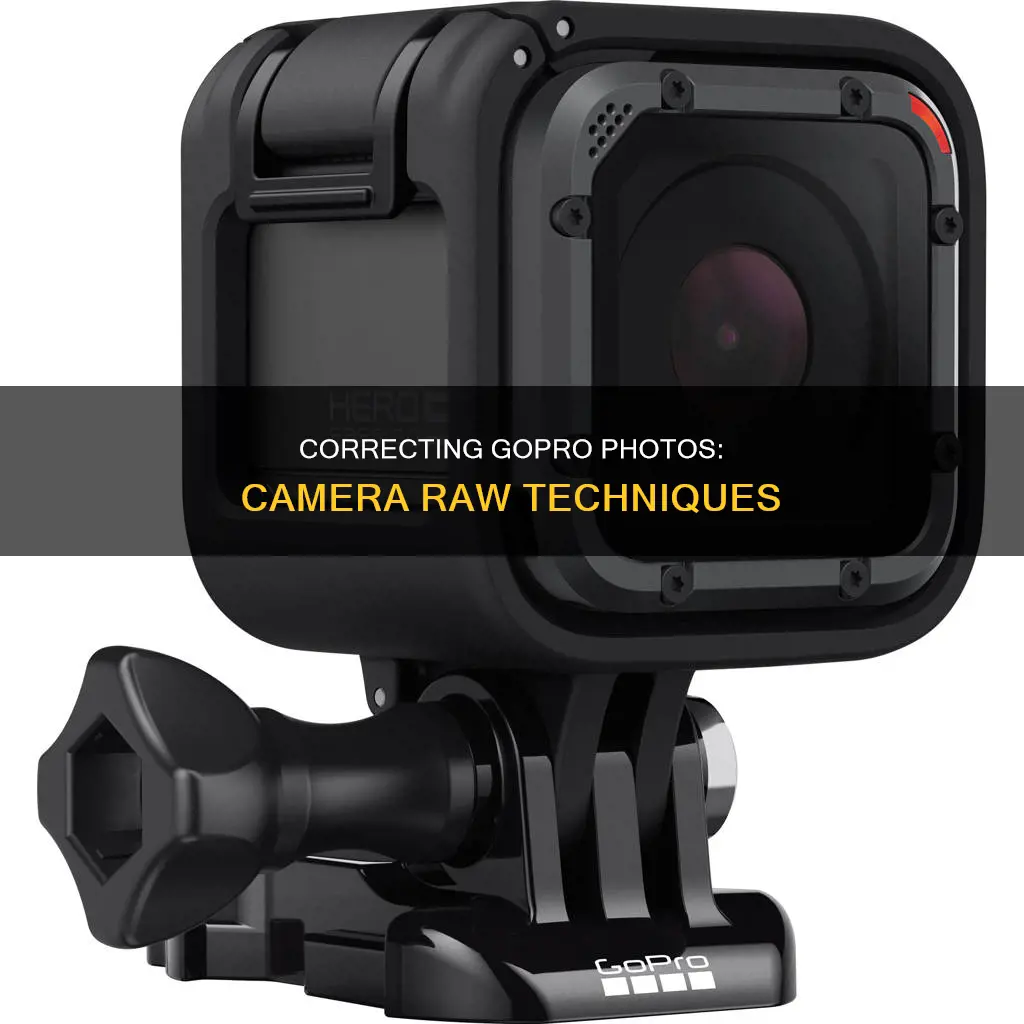
GoPro's RAW format is based on Adobe's DNG RAW format, but it's distinct enough that most RAW processors can't handle it. The files don't contain an embedded preview JPG, which many apps that work with RAW files rely on. While GoPro recommends using paid apps like Adobe Camera Raw, Adobe Photoshop Lightroom CC, and Adobe Photoshop Lightroom 6 to work with .gpr files, there is a free workaround: convert the .gpr files to .dng files using Adobe's free DNG Converter. This is because all RAW image processors and many broader image editing apps can work with DNG files.
| Characteristics | Values |
|---|---|
| File format | .gpr |
| File type | Raw image |
| File size | 5x larger than JPEG |
| Compatibility | Limited |
| Editing software | Adobe Camera Raw (ACR), Adobe Photoshop Lightroom, Adobe DNG Converter |
| Conversion format | .dng |
| Conversion process | Download and install Adobe DNG Converter, select files, choose destination, set file naming format, set preferences, convert |
| File size after conversion | Larger than .gpr files |
| File extension | Cannot be changed to .dng |
What You'll Learn

Convert .gpr files to .dng files
GoPro's RAW format is based on Adobe's DNG RAW format, but it is distinct enough that most RAW processors cannot handle it. GoPro uses The General Purpose Raw (GPR) which is a 12-bit raw image coding format based on the Adobe DNG standard.
GPR files don't contain an embedded preview JPG, and many photo editing software programs that edit RAW files rely on this embedded JPG preview. This means that the options for opening and editing GPR files are limited.
GoPro recommends using Adobe Camera Raw (ACR), version 9.7 or later, Adobe Photoshop Lightroom CC (2015.7 release or later), or Adobe Photoshop Lightroom 6 (version 6.7 or later). However, these are paid apps, and not everyone wants to or can afford to use them.
There is a free workaround: you can convert the files from .gpr to .dng files using Adobe's free DNG Converter. The advantage of this is that all RAW image processors, and even many broader image editing apps, can work with DNG files.
- Download and install Adobe DNG Converter. It is free and available for Windows and Mac.
- Select the files you want to convert. You can either select images within subfolders (useful for batch converting) or skip the source image if the destination image already exists.
- Choose where you want the converted files to be saved. If you are batch converting, you can choose to preserve the folder structure.
- Choose the file naming format. This is useful if you want to create archive versions or distinguish the converted files from the originals.
- Set your preferences. The defaults work well for most uses, but you can also set things like preview images, whether it uses lossy compression, and embedding the original RAW file (which will increase file size).
- Hit the Convert button. A popup will show the conversion progress. The conversion time will depend on your computer and drives, the preferences you have set, and the number of files.
Please note that the resulting .dng file sizes will typically be much larger than the original .gpr files, especially if you are embedding the original file into the DNG version.
Charging Spy Button Cameras: A Step-by-Step Guide
You may want to see also

Use Adobe Camera Raw (ACR)
Adobe Camera Raw (ACR) is a powerful tool for professional photographers that allows you to import and enhance raw images. ACR is included as a plugin with Adobe After Effects and Adobe Photoshop and adds functionality to Adobe Bridge. It is compatible with various camera models, including GoPro, and supports images up to 65,000 pixels long or wide and up to 512 megapixels.
When you open a GoPro RAW (.gpr) image file in ACR, you can adjust various settings such as white balance, tonal range, contrast, colour saturation, and sharpening. These adjustments are stored as metadata, and the original camera raw data is preserved.
Here's a step-by-step guide on how to use ACR to correct GoPro footage:
Step 1: Download and Install ACR
Firstly, ensure you have the latest version of ACR installed. GoPro recommends using version 9.7 or later. You can download and install ACR from the Adobe website.
Step 2: Open GoPro RAW (.gpr) Files in ACR
Once ACR is installed, you can open your GoPro RAW (.gpr) image files in the software. You can do this by dragging and dropping the files into the ACR interface or by using the File > Open menu.
Step 3: Make Basic Adjustments
The Basic tab in ACR allows you to make essential adjustments to your GoPro footage. This includes settings such as white balance, temperature, tint, exposure, highlights, and shadows. You can also use the Auto button to let ACR analyse your image and apply approximate tonal adjustments.
Step 4: Fine-Tune with Other Tabs
After making the basic adjustments, you can fine-tune your image using the other tabs in ACR. These tabs include Curve, Detail, Color Mixer, Color Grading, Optics, Effects, Calibration, and more. Each tab offers a range of sliders and tools to refine the look of your GoPro footage.
Step 5: Correct Lens Defects and Retouch
ACR also provides tools for correcting lens defects and retouching your images. Under the Optics tab, you can remove chromatic aberration, distortion, and vignetting. The Retouch tab offers tools for healing and cloning specific areas of your image.
Step 6: Save Your Work
Once you're happy with the corrections and adjustments, remember to save your work. You can save the image in various formats, including JPEG, PSD, TIFF, or DNG. Saving your work will apply the adjustments and corrections to a new copy of the image while preserving the original camera raw data.
Outdoor Camera Options: Battery-Powered Security Solutions
You may want to see also

Use Adobe Photoshop Lightroom
Adobe Photoshop Lightroom is a powerful tool for editing GoPro RAW image files. Here's a detailed guide on how to use it:
Step 1: Understanding RAW Files
Before diving into Lightroom, it's important to understand RAW files. These are like digital negatives, capturing all the data from your GoPro's sensor without any in-camera processing. This gives you more flexibility in editing but also results in larger file sizes compared to JPEGs. GoPro uses the General Purpose Raw (GPR) format, which is based on Adobe's DNG standard.
Step 2: Downloading and Installing Lightroom
To start editing your GoPro RAW files, you'll need to download and install Adobe Photoshop Lightroom. You can choose between the Classic version, which is a one-time purchase, or the Lightroom CC subscription service, which includes cloud storage and additional features. Both options provide powerful tools for editing your photos.
Step 3: Importing Your GoPro RAW Files
Once you have Lightroom set up, it's time to import your GoPro RAW files. Connect your GoPro camera or insert the SD card into your computer, and launch Lightroom. In the Library module, click on the "Import" button. Navigate to the folder containing your GoPro RAW files and select the images you want to import. You can choose to add them to your Lightroom catalog or create copies in a specific location on your computer.
Step 4: Editing Your GoPro RAW Files
Now comes the fun part—editing your photos! In the Develop module, you'll find a range of tools to enhance your images. You can adjust exposure, contrast, colours, and more. Since you're working with RAW files, you have a lot of flexibility to experiment and make adjustments without losing image quality. Play around with the sliders and settings to bring your GoPro photos to life.
Step 5: Saving and Exporting Your Work
After you've finished editing, it's time to save your work. Lightroom automatically saves your changes in its catalog, but you can also export your photos as JPEG or other file formats. Go to the "File" menu and choose "Export". Here, you can choose the file format, quality, and other settings for your exported images. You can also add metadata and choose a location to save your final photos.
Bonus Tip: Converting GPR to DNG
If you're using an older version of Lightroom that doesn't support GoPro's GPR format, you can convert your files to DNG using Adobe's free DNG Converter. This will allow you to open and edit your GoPro RAW files in almost any image editing software. Simply download and install the converter, select the GPR files you want to convert, choose your preferences, and hit "Convert".
With these steps, you'll be well on your way to correcting and editing your GoPro RAW photos like a pro using Adobe Photoshop Lightroom.
The Evolution of Rechargeable Camera Batteries
You may want to see also

Use Adobe Photoshop Lightroom Classic
Adobe Photoshop Lightroom Classic is a powerful tool for editing GoPro RAW (.gpr) image files. Here's a detailed guide on how to use it:
Step 1: Download and Install Adobe DNG Converter
GoPro's RAW format is based on Adobe's DNG RAW format, but it may not be compatible with all RAW processors due to the lack of an embedded preview JPG. To ensure compatibility, download and install the free Adobe DNG Converter. This converter is available for both Windows and Mac.
Step 2: Convert .gpr Files to .dng Format
Open the Adobe DNG Converter and follow these steps:
- Select the .gpr files you want to convert. You can choose specific files or select entire folders for batch conversion.
- Choose the destination folder where you want to save the converted files. You can preserve the original folder structure if desired.
- Specify the file naming format for the converted files.
- Set your preferences, such as preview images, compression settings, and whether to embed the original RAW file.
- Click the "Convert" button and wait for the process to complete.
Step 3: Open and Edit in Lightroom Classic
Once you have converted the .gpr files to .dng format, you can import them into Lightroom Classic for editing:
- Launch Lightroom Classic and create a new project or open an existing one.
- Go to the "Library" module and click on the "Import" button.
- Locate the folder containing your converted .dng files and select the images you want to import.
- Apply any necessary import settings, such as metadata, keywords, or file handling options.
- Click the "Import" button to add the selected images to your Lightroom catalog.
- Now you can use the various editing tools in Lightroom Classic to adjust exposure, colours, sharpness, and other aspects of your GoPro RAW images.
Step 4: Understanding RAW Processing
It's important to understand that when you open a RAW file in Lightroom Classic or any other software, the program uses a "camera profile" to interpret the raw sensor data. This interpretation is not inherently "correct" or incorrect; it simply provides a starting point for your edits. Different camera profiles will give you different looks, but you can always adjust the image to your liking using the editing tools available in Lightroom Classic.
Step 5: Applying Presets and Adjustments
If you want your GoPro RAW images to have a similar look to your Protune video settings, you can create a custom develop preset in Lightroom Classic. Adjust the tone curve, white balance, and other settings to match your Protune settings. Then, save these settings as a preset and apply them automatically during the import process. This will give you a consistent look across your GoPro photos and videos, providing a solid foundation for further editing.
Blackmagic Pocket Cinema Camera: Powering Your Creative Vision
You may want to see also

Use older versions of Lightroom
If you are using an older version of Lightroom, you may encounter some issues when trying to import and edit GoPro RAW (.gpr) image files. Here are some steps and suggestions to help you work with GoPro RAW files in older versions of Lightroom:
Check Lightroom Version Compatibility
Firstly, ensure that your version of Lightroom is compatible with GoPro RAW files. Older versions of Lightroom, such as Lightroom 5, may not support the .gpr file format. GoPro recommends using Lightroom 6.7 or later, or Lightroom CC 2015.7 or later. If you are using an older version, consider updating to a more recent version to ensure compatibility.
Convert .gpr Files to .dng Format
If you are unable or unwilling to update your Lightroom version, you can try converting the .gpr files to .dng (Digital Negative) format using the free Adobe DNG Converter. This is a workaround suggested by GoPro, as DNG files are compatible with a wider range of image editing applications. The conversion process is straightforward:
- Download and install the Adobe DNG Converter, which is available for both Windows and Mac.
- Select the .gpr files you want to convert. You can choose to select images within subfolders for batch conversion.
- Specify the location where you want the converted files to be saved. You can also choose to preserve the original folder structure.
- Set your preferences, such as file naming format, preview images, and whether to embed the original RAW file.
- Initiate the conversion process by clicking the "Convert" button.
Reset Lightroom Preferences
If you are experiencing issues with how Lightroom handles the import of .gpr files, try resetting your Lightroom preferences. This may resolve any unexpected behaviour during the import process.
Apply Develop Presets
When importing .gpr files, check that you have not applied any develop presets that might be affecting the appearance of your images. Ensure that your images are displayed with a flat colour profile and that no adjustments, such as saturation or white balance changes, have been automatically applied.
Use Alternative Software
If none of the above solutions work for your specific situation, you may need to consider using alternative software to edit your GoPro RAW files. There are free options available that can handle .gpr files, or you could use the JPEG versions of your images, which are also saved by the GoPro camera when shooting in RAW format.
Charging Your Fujifilm Camera Battery: How Long Does It Take?
You may want to see also
Frequently asked questions
A RAW file is like a digital negative, an unprocessed image. It gives you more data to edit your image afterwards.
GoPro uses The General Purpose Raw (GPR) which is a 12-bit raw image coding format that is based on Adobe DNG standard. GPR files don't contain an embedded preview JPG, and many photo editing software programs that edit RAW rely on this.
GoPro recommends using Adobe Camera Raw (ACR), Adobe Photoshop Lightroom CC, or Adobe Photoshop Lightroom 6.
Yes, the software recommended by GoPro is paid and not inexpensive. However, there is a free workaround: you can convert the .gpr files to .dng files first, which are compatible with almost all photo editing programs.
You can use the free Adobe DNG Converter. Simply download and install it, then select the files you want to convert, choose where you want the converted files to be saved, choose the file naming format, and set your preferences.


