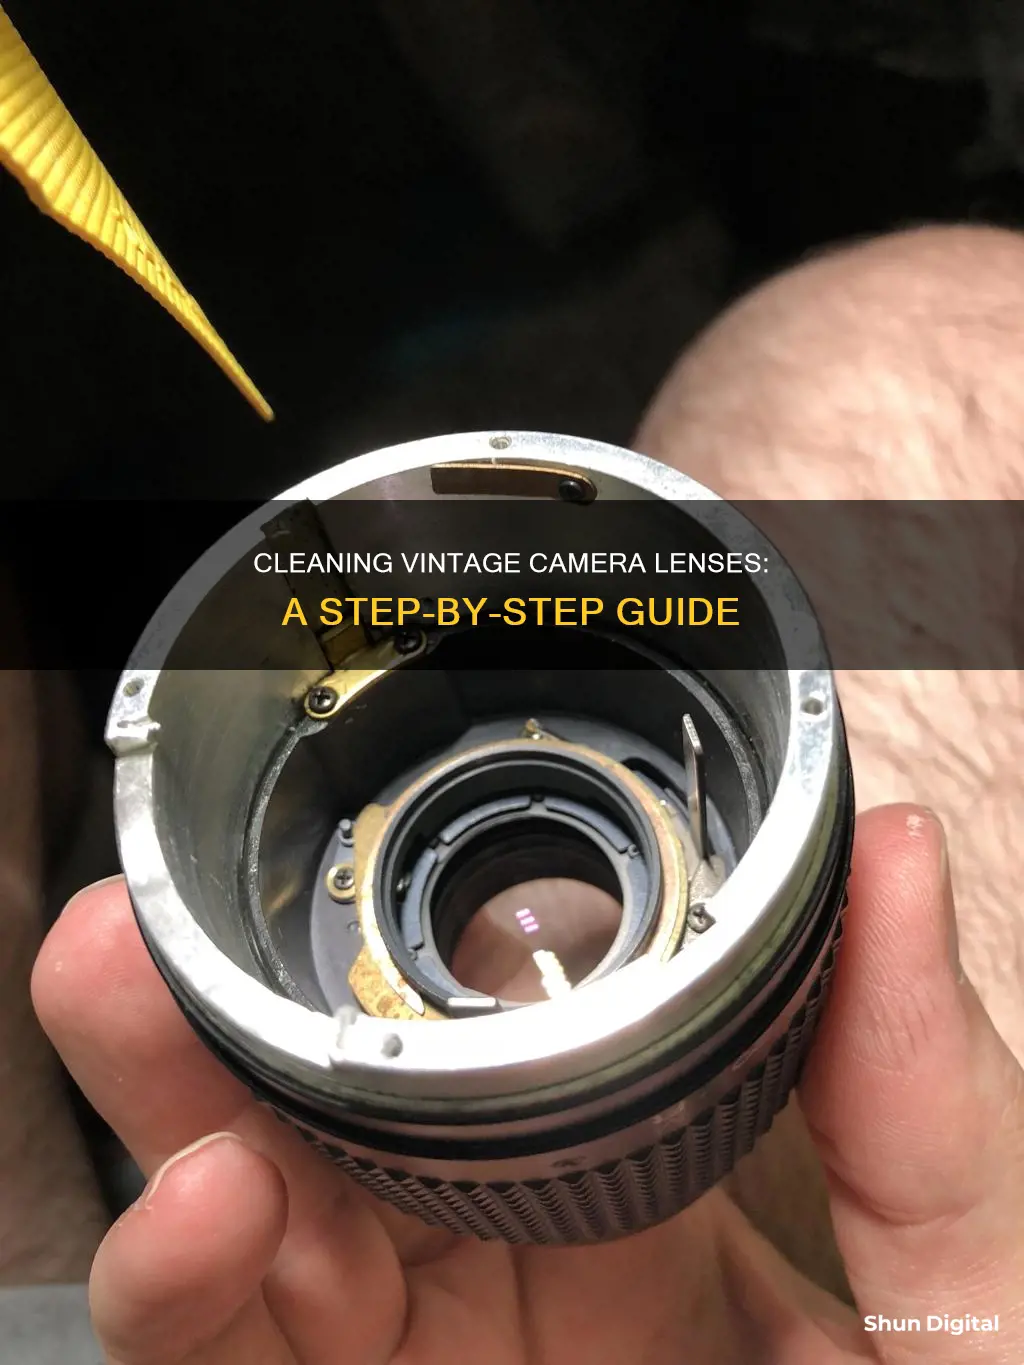
Vintage camera lenses are often coated with soft materials that are susceptible to scratching. To clean them without causing damage, it is important to use the right tools and techniques. The first step is to blow off any loose dust or dirt using a blower brush or compressed air. This is followed by a gentle wipe with a soft, absorbent cloth, such as a microfibre cloth, or lens-cleaning tissue, which can be dampened with lens-cleaning fluid or a mild solution of soap and water. It is important to avoid getting fluid near the edges of the lens, as it could seep under the retaining ring. The lens should then be dried with a fresh cloth or tissue, and any remaining dust particles blown away. For lenses with very soft coatings, it may be advisable to avoid any contact with the lens surface and instead clean a protective filter that has been placed in front of the lens.
What You'll Learn

Use a microfibre cloth to clean the lens and body
Microfibre cloths are an excellent choice for cleaning vintage camera lenses and bodies. They are positively charged, so they attract negatively charged dust particles like a magnet. This makes them more effective and safer than a regular cloth. Microfibre cloths can be used dry for dusting, and their fibres will trap dirt, dust, and microparticles.
To clean your vintage camera lens and body, start by blowing away any surface dust with a duster or air puffer. Then, use a microfibre cloth to gently wipe down the lens and body, removing any remaining dust and grime. Microfibre cloths can be used dry or dampened with water or lens cleaning fluid. If your lens has a soft coating, avoid using too much liquid, as this can leave streaks. Instead, lightly mist the cloth or lens with water or cleaning fluid. Always use a gentle touch when cleaning vintage lenses, as they can be prone to scratching.
If your lens is particularly dirty, you may want to use a two-step process. First, use a microfibre cloth with lens cleaning fluid to remove any grease or stubborn dirt. Then, use a dry microfibre cloth to finish, ensuring no residue or lint is left behind.
Microfibre cloths are easy to care for and can be washed and reused. Hand or machine wash the cloths in warm or hot water with a mild detergent. Avoid using bleach or fabric softener, as these can damage the fibres. Air dry or tumble dry on low heat.
Samsung Galaxy S10: The Power of Triple Camera Lens
You may want to see also

Use canned air to blow away dust
Using canned air is a great first step to cleaning your vintage camera lenses. It is important to blow away as much surface dust as possible before moving on to the next steps of cleaning your camera lens. This is because a cloth could push dust into places that will be harder to clean later.
When using canned air, take your time and be thorough. Make sure to get into all the nooks and crannies of the camera lens. You want to ensure that there is no dust left on the lens.
While canned air is a great option for blowing away dust, it is not perfect. Some people warn against using canned air on lenses as it can push particles into the lens. Additionally, canned air is not great for the environment. If possible, an air puffer or brush is preferable.
After using canned air to blow away the dust, you can move on to the next steps of cleaning your vintage camera lenses. This might include using lens cleaning fluid and a microfiber cloth. Remember to always handle your camera equipment with care.
T3 Lenses: Universal Fit or Camera-Specific?
You may want to see also

Use lens cleaning fluid
When it comes to cleaning vintage camera lenses, there are a few things to keep in mind. Firstly, it is important to use the right tools and techniques to avoid damaging the lenses. Here are some tips on how to use lens cleaning fluid to clean vintage camera lenses:
- Choose a suitable lens cleaning fluid: Avoid using household glass cleaners or chemicals like ammonia, bleach, or disinfectant. Instead, opt for a lens cleaning solution specifically designed for camera lenses.
- Prepare the lens: Before applying any cleaning fluid, use a blower or a soft-bristled brush to remove loose dust and dirt from the lens. This will help prevent scratches during the cleaning process.
- Apply the lens cleaning fluid: Add a drop or two of the lens cleaning fluid to a microfiber cloth or a lens cleaning tissue. Avoid using too much fluid, as it may damage the camera's optics if it flows inside.
- Clean the lens: Starting from the outer part of the lens, gently wipe it in a circular motion, working your way towards the centre. This will help remove fingerprints, oil, smudges, dirt, and dust.
- Dry the lens: After cleaning, use a clean, dry microfiber cloth or lens tissue to gently wipe away any remaining moisture on the lens. Ensure that the lens is completely dry before inspecting it for any remaining smudges or streaks.
- Repeat if necessary: If there are still smudges or streaks on the lens, you may need to repeat the cleaning process. However, it is important to avoid over-cleaning, as this can damage the lens coatings.
It is important to note that different types of lenses may require specific cleaning techniques. Vintage lenses, in particular, may have softer glass and more delicate coatings, so extra care should be taken when cleaning them. Always refer to the manufacturer's instructions or seek advice from a camera expert if you are unsure about the best cleaning method for your vintage camera lenses.
Understanding Camera Lenses: Long Focal Points Explained
You may want to see also

Use a soft brush to remove dust
When it comes to cleaning vintage camera lenses, it's important to be gentle and careful to avoid scratching the lens. Here are some detailed instructions on how to use a soft brush to remove dust:
Firstly, it is important to choose the right brush. A soft-bristled brush is ideal for this purpose, such as one made of camel hair. Ensure that you do not touch the brush bristles with your oily fingers, as this will defeat the purpose of cleaning the lens. The brush should be used to gently remove dust and dirt from the lens, so take care not to apply too much pressure.
Before using the brush, it is recommended to use a blower to remove as much dust and dirt as possible from the lens. This can be done with a bulb air blower or a can of compressed air. However, be cautious when using compressed air as it can sometimes contain propellant that may freeze the lens surface. Alternatively, you can use a soft toothbrush, but be sure to use one that is new and has not been used with any cleaning agents that may be harmful to the lens.
Once you have removed the loose dust with the blower or toothbrush, it's time to bring in the soft brush. Hold the brush gently and carefully sweep it across the lens, always brushing in the same direction. Work from the centre of the lens outwards to avoid pushing dust and dirt back into the centre. Take your time with this step and be thorough, making sure you cover the entire lens surface.
If you encounter stubborn dust particles or more significant dirt, you may need to apply a small amount of lens cleaning solution to the brush. Choose a cleaning solution that is suitable for vintage lenses and will not damage the lens coating. Apply a tiny amount of the solution to the brush and gently work it into the affected area of the lens. Then, use a lens tissue or microfiber cloth to gently wipe away the dirt, again working from the centre outwards.
Finally, inspect the lens to ensure all dust and dirt have been removed. If necessary, repeat the process until your vintage camera lens is sparkling clean! Remember to always handle your camera equipment with care and to store lenses in a clean, dust-free environment to minimise the need for frequent cleaning.
Olympus 4/3 Camera Lenses: Discontinuation and What's Next
You may want to see also

Clean the lens with a lens pen
Cleaning vintage camera lenses can be a delicate process, but using a lens pen is a safe and effective method. Here's a detailed guide on how to clean your vintage camera lenses with a lens pen:
Prepare Your Workstation:
Before you begin, ensure you have a clean and well-lit workspace. Gather all the necessary tools, including a lens pen, microfiber cloths, and a dust blower. Place your camera on a flat surface and detach any lenses for interchangeable lens cameras.
Remove Dust and Loose Particles:
Start by using a dust blower or a gentle brush to remove any loose dust or dirt particles from the lens. This step is crucial to prevent scratches during the cleaning process. Take your time and be thorough, as even tiny particles can cause damage.
Clean with the Lens Pen:
Now, it's time to use the lens pen. Hold the lens pen as you would a regular pen, and gently brush the lens in a circular motion. Start from the centre and work your way outwards. Be gentle and avoid applying too much pressure. The lens pen should effectively lift away dirt and grease without leaving scratches or residue.
Follow Up with Microfiber Cloth:
After using the lens pen, follow up with a clean microfiber cloth. Breathe onto the lens to slightly moisten it, then gently wipe the lens with the cloth in a circular motion. This step will remove any remaining dust or smudges and ensure a streak-free finish.
Repeat if Necessary:
If there are stubborn stains or marks, you may need to repeat the process. Remember to use a fresh section of the microfiber cloth each time to avoid transferring dirt back onto the lens.
Handle with Care:
When cleaning vintage camera lenses, always be cautious. Avoid using too much liquid, and never rub the lens with a dry cloth or tissue. Always work gently and patiently, taking your time to ensure a safe and effective clean.
Store Safely:
After cleaning, store your camera and lenses in a dry box or cabinet. This will help maintain their condition and reduce the need for frequent cleaning.
By following these steps, you can effectively clean your vintage camera lenses with a lens pen, keeping them in optimal condition for years to come.
Samy's Camera: Renting Lenses and Photography Equipment
You may want to see also
Frequently asked questions
The best way to clean vintage camera lenses is to first blow off any loose dust or dirt using a blower brush or canned air. Next, use a soft piece of cotton cloth or microfibre cloth to gently wipe away any remaining dust or dirt. If there are greasy smudges on the lens, dampen a clean cloth with lens cleaning fluid and gently wipe the surface, avoiding the edges. Finally, use a blower brush or canned air to remove any remaining dust particles.
It is recommended to use a soft, absorbent cloth such as a microfibre cloth or cotton cloth (e.g. old T-shirts) to clean vintage camera lenses. Avoid using paper towels, tissues, or any other abrasive materials as they may scratch the lens.
There are several lens cleaning fluids available in the market, such as Kodak, Tiffen, or Zeiss. Alternatively, you can use a mild solution of soap and water, or diluted Butylcelosolve or acetone for greasy smudges. Always make sure to use a clean cloth and avoid getting the fluid near the edges of the lens to prevent any damage.
Fungus can be removed from vintage camera lenses by using a 50/50 mix of hydrogen peroxide and ammonia. This solution will kill the fungus and prevent it from coming back. However, it is important to give the camera a thorough overall cleaning and replace the light seals to ensure all the spores are removed.


