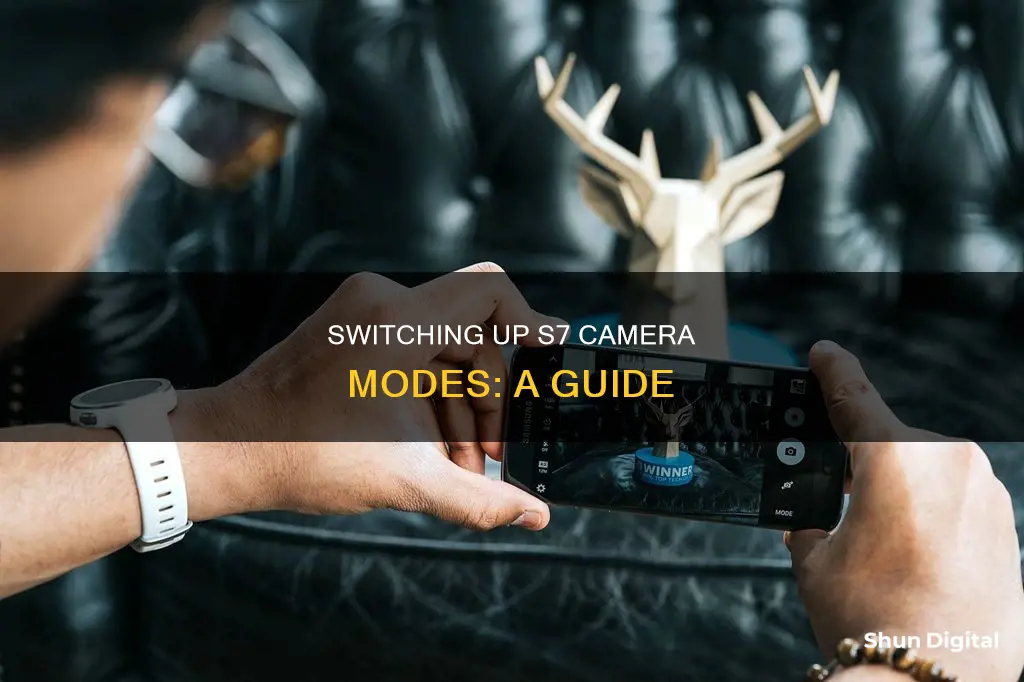
The Samsung Galaxy S7 offers a variety of camera modes to enhance your photography experience. The default mode for the rear camera is Auto, while the front-facing camera defaults to Selfie mode. While these modes are usually sufficient, you may want to explore other options like Pro mode, Selective Focus mode, Panorama mode, and wide-selfie mode. The S7 also offers special camera modes such as hyperlapse, virtual shot, live broadcast, and video collage.
To change camera modes, simply tap the Mode button on the camera preview screen and select your desired mode. It's important to note that your chosen mode won't be saved, and the default mode will be used the next time you launch the camera app. If you frequently use a specific mode, you can add a camera mode shortcut to your home screen for quick access.
| Characteristics | Values |
|---|---|
| Number of pre-installed camera modes | 15 (10 for rear camera, 5 for front camera) |
| Number of additional downloadable camera modes | 6 |
| Default camera mode for rear camera | Auto mode |
| Default camera mode for front-facing camera | Selfie mode |
| Camera mode selection persistence | Not saved after exiting camera app |
| Camera mode shortcut | Can be added to the home screen |
| Camera mode icons management | Can be re-arranged in the edit mode |
| Camera mode icons relocation | Can be done in the edit mode |
| Camera mode uninstallation | Possible only for the downloaded modes |
| Camera settings access | Through the Settings icon in the camera preview screen |
What You'll Learn

How to use Pro mode
To change your camera mode to Pro mode on the Samsung Galaxy S7, open the camera app and select the "Pro" option from the presets at the top of the viewfinder area. If you don't see these settings, you may be using an older model. In that case, slide over to the leftmost panel in the viewfinder and click "Pro".
Pro mode gives you more control over the photography experience by allowing you to adjust advanced settings like ISO, aperture, filters, focus mode, white balance, and exposure. You can also adjust the autofocus area, telling the camera whether to focus on the entire shot or just the centre.
ISO adjusts the light sensitivity of the image sensor. A lower setting makes it less sensitive to light, while a higher one will make it more sensitive. This controls how detailed or grainy the image is—in general, the lower the ISO, the better.
Aperture changes the size of the hole in the lens that lets in light. It is used in combination with ISO to achieve a shallow depth of field, as seen in portrait photography.
Filters are preset, like on Instagram, but are applied before you take the picture.
Focus Mode allows you to switch between autofocus and manual focus.
White Balance adjusts for the lighting in your environment. This is controlled with presets like "Daylight", "Cloudy", and "Fluorescent".
Exposure controls the brightness of your photo.
In addition to these settings, you can also adjust the view mode, flash, metering, autofocus area, and camera select (to switch between the front- and rear-facing cameras).
Most of these settings have an auto mode, so you only need to adjust the settings that are important to you. This makes Pro mode beginner-friendly, as you can leave the settings you don't want to change on auto and experiment with the rest.
Camera Battery Types: Understanding the Options for Your Device
You may want to see also

How to use Selective Focus mode
The Selective Focus mode on the Samsung Galaxy S7 allows you to make specific objects or areas stand out in your photo by applying a blur effect to the rest of the image. Here is a step-by-step guide on how to use this mode:
- From the front screen, open the Apps.
- Open the Camera app. By default, it uses the rear camera with the auto mode.
- Tap 'MODE' to view all available shooting modes, and then tap 'Selective focus' to enable this mode.
- Point the camera to the object and tap the screen to select a location on the screen where you would like your camera to focus.
- Tap the shutter button to take a photo. The camera will take multiple photos with one push of the shutter button, switching between near and far focus.
- Once the image has been taken, tap 'Preview' to view the photo.
- Select the picture to change the focus settings. You will have three options: 'Near focus', 'Far focus', and 'Pan focus'. 'Near focus' will focus on objects in the foreground, 'Far focus' will focus on objects in the background, and 'Pan focus' will make the entire picture in focus.
- When you are happy with the result, tap 'Save' or 'Save As' to save your photo.
It is important to note that Selective Focus mode works best when the object you want to focus on is placed between 10-50 cm from the phone, and the distance between the object and the background is at least three times the distance between the object and your phone. Additionally, avoid plain-coloured walls or backgrounds with no patterns, and ensure the environment is well-lit without any strong light behind the object.
GoPro 4 Charger Cord: What Size Do You Need?
You may want to see also

How to use Panorama mode
Panorama mode on the Samsung Galaxy S7 allows you to capture more of a scene by combining multiple images to create a panoramic photo. Here is a step-by-step guide on how to use Panorama mode:
- From the home screen, open the camera app.
- Depending on your device, you may need to tap the "Mode" button and then select "Panorama mode" from the list of options. Alternatively, you can swipe across the screen to select Panorama mode directly.
- Once Panorama mode is selected, you will see an alignment box on the screen to help you keep the scene aligned as you capture the photos.
- Press the capture button to start taking your panoramic photo.
- Slowly move the device in one direction. You can move it to the left, right, up, or down, depending on the scene you want to capture.
- Continue moving the device until you touch the stop button or reach the maximum range. The device will then automatically stitch the images together to form one complete panoramic photo.
- To view the captured Panorama, simply select the preview thumbnail on the screen.
You can also create a motion panorama on the Galaxy S7, which lets you capture a moving panoramic video. Here are the steps to create a motion panorama:
- From the home screen, open the camera app and select "Motion Panorama" mode.
- Tap the "Motion On" icon to activate the Motion Panorama feature.
- Press the capture button to start taking the photos.
- Slowly move the device in one direction. You can move it left, right, up, or down, capturing the scene as you go.
- When you are done, tap the "Stop" icon to stop taking photos.
- To view the captured motion panorama, select the preview thumbnail.
- You can tilt the device or swipe on the screen to rotate the captured motion panorama and see it from different angles.
- Finally, tap "Save Video" to save the motion panorama as a video file on your device.
Reducing Grain in Camera Raw: Tips for Sharper Photos
You may want to see also

How to use wide-selfie mode
The wide-selfie mode on the Samsung Galaxy S7 allows you to take wide-angle selfies to fit more people into your pictures. Here is a step-by-step guide on how to use it:
- On the preview screen, tap the icon to switch to the front-facing camera.
- Tap the "Mode" icon to change the camera mode.
- Select the "Wide Selfie" mode.
- To take a photo, tap the sensor on the back of your device, or tap the screen. Alternatively, you can enable gesture control in the settings to take a photo by showing your palm to the front camera.
- Slowly swivel the device left and then right, or vice versa, to capture a wide selfie. The device will automatically take additional photos as you move the camera.
- Keep the white frame inside the viewfinder window while taking the photo.
- Ensure that the subjects remain still during the photo capture.
- The resolution of the photo may be affected by lighting conditions, so try to have good lighting when using the wide-selfie mode.
- Once the processing is completed, the wide-angle selfie will be automatically saved to your device.
Unlocking Camera Raw: Converting for Better Image Editing
You may want to see also

How to access pre-installed camera modes
To access the pre-installed camera modes on your Samsung Galaxy S7, you must first launch the Camera app.
Once the Camera app is open, you will see the camera preview screen. On this screen, tap the "Mode" button. This will bring up a list of all the available camera modes.
The number of pre-installed camera modes may vary depending on your region or carrier, but in most regions, the rear camera will have Auto mode (the default setting) and Selective Focus mode. The front-facing camera will have Selfie mode as the default setting.
In addition to these pre-installed modes, you can also download and install additional camera modes from the Galaxy Apps store. However, note that the APK files for these additional modes are different from those for the Galaxy S6 or Note 5. Make sure to download the correct APK files through your Galaxy S7 Camera app.
Charging Night Owl Cameras: A Step-by-Step Guide
You may want to see also
Frequently asked questions
To change the camera mode on your S7, open the camera app and tap the 'Mode' button on the camera preview screen. From there, select the camera mode you want to use.
To add a camera mode shortcut to your home screen, go to the camera mode screen and tap 'More', then 'Edit'. Tap and hold the camera mode icon you want to add a shortcut for and drag it to the desired spot on your home screen.
To rearrange the icons on your camera mode screen, go to the camera mode screen and tap 'More', then 'Edit'. Tap and hold the camera mode icon you want to move and drag it to the desired spot.
To uninstall a camera mode, go to the camera mode screen and tap 'More', then 'Edit'. Tap the '-' icon next to the camera mode you want to uninstall. Alternatively, go to 'Settings', then 'Application Manager' and find the camera mode you want to uninstall in the list of apps. Tap 'Uninstall'.


