The OnePlus 5 has a dual-lens camera with three camera lenses, two on the back and one on the front. The rear camera has a 16-megapixel lens with an f/1.7 wide-angle aperture and a 20-megapixel telephoto lens with an f/2.6 aperture. The front-facing camera has 16 megapixels and an f/2.0 aperture. The camera app has a variety of modes, including video, portrait, slow motion, and time-lapse. In this article, we will discuss how to focus the OnePlus 5 camera to capture stunning photos and portraits.
| Characteristics | Values |
|---|---|
| Number of Cameras | 3 |
| Rear Camera Resolution | 16MP |
| Rear Camera Aperture | f/1.7 |
| Rear Camera Zoom | 2x |
| Rear Camera Focal Length | 24mm |
| Front Camera Resolution | 16MP |
| Front Camera Aperture | f/2.0 |
| Front Camera Zoom | N/A |
| Front Camera Focal Length | N/A |
| Video Recording | 4K at 30fps |
| Modes | HDR, RAW, Horizon Line, Pro Settings, Photo Editing, Beauty Mode |
What You'll Learn
![]()
Camera quick launch
The OnePlus 5 has a quick launch feature that allows you to access the camera without unlocking your phone. To turn on the camera quick launch, go to Settings, then Buttons, and select the option to press the power button twice to launch the camera. This will enable you to quickly access the camera at a moment's notice.
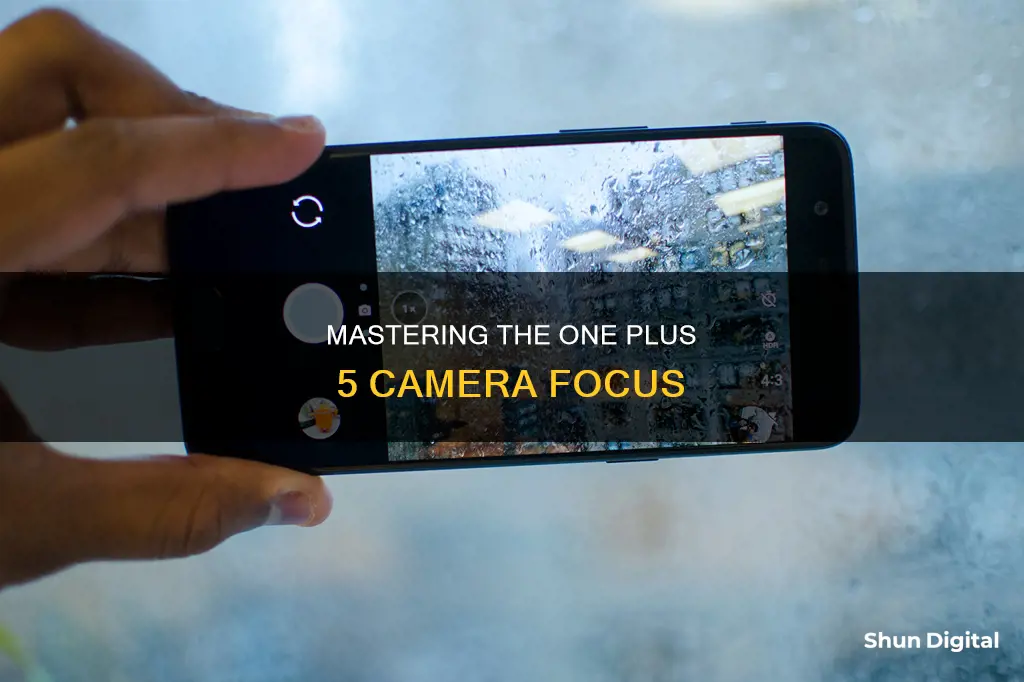
The camera icon is located in the permanent Android dock of icons at the bottom of the screen. The icon looks like a camera. When you open the camera app, you will see a clean and relatively simple interface. In the top left corner, there is a three-line menu icon that allows you to access alternative modes such as video, portrait, slow-motion video, and time-lapse mode. In the top right corner, there is a cog icon that allows you to customise the way the camera works.
OnePlus also offers a Pro Mode, which can be accessed by clicking the hamburger menu in the top left corner while in photo mode. Pro Mode gives you access to advanced settings such as ISO, white balance, shutter speed, depth of field, and exposure compensation. It also allows you to shoot in RAW format, capturing more information and giving you more power when manipulating the image in post-processing.
Unlocking Beauty Mode on Your LG Camera
You may want to see also
![]()
Using both lenses
The OnePlus 5 has a dual-lens camera, with two lenses on the back and one on the front. The dual-lens setup has two distinct features: a zoom mode and a bokeh blurred-background mode, or Portrait mode.
The zoom mode is a hybrid of optical and digital technology, giving a total zoom of 2x. This is achieved through a combination of the 1.6x optical zoom feature and 0.4x digital zoom with image stabilisation and enhancement. The zoom mode allows you to bring your subject closer without any significant loss in quality.
The Portrait mode uses the two lenses to add a blurred depth-of-field look to the picture. The camera uses the data from the second sensor to intelligently blur out the background details, keeping the subject in sharp focus. This mode is best used with a clear, defined foreground object, such as a person or a flower. It is also important to get close to your subject—stepping closer to your subject, preferably 2 to 4 feet away, will fill more of the frame with the subject and create a stronger effect.
Portrait mode works well for both people and objects, but it does not work with moving objects. It is also worth noting that the camera may not always blur out the intended parts of the image.
Trail Cameras: American-Made, Quality Assurance
You may want to see also
![]()
Using the main lens for macro shots
The OnePlus 5 has three camera lenses, with two on the back and one on the front. The main lens is a Sony IMX 398 16-megapixel, f/1.7 wide-angle lens. The main lens is still good for macro shots. The f/1.7 aperture of the 16MP main camera can often provide the blurred background "bokeh" look common in macro shots better than Portrait Mode can do synthetically. The autofocus system is also capable of focusing even when you get in tight to an object — you can get within 4 or 5 inches. The primary camera is also just downright sharper than the secondary lens, and that characteristic is even more on display when you're taking a macro photo that shows off the details of your subject.
To get the best macro shots, you'll want to ensure you take steady shots with a sharp focus. The closer you get to your subject, the more noticeable camera shake is. Usually, a high shutter speed would be enough to compensate for any camera shake. However, with macro photography, when you are so close to the action, the slightest movement can throw your image out of focus. You may also be shooting at very high apertures to capture maximum detail across the frame, meaning if you put your shutter speed up, you may have to compensate by putting up your ISO. Even with noise reduction in editing, high ISO can lead to degradation in image quality.
To stabilise your shot, your macro lens or camera body may have image stabilisation built-in. Image stabilisation (or vibration reduction) works effectively and will allow you to lower your shutter speed while still taking steady shots. However, it will never be as effective as using a tripod. For the steadiest shot, a tripod is always the best option.
When shooting macro, be aware of the kind of lighting you will be shooting in and pick wisely to achieve the results you are looking for. Macro photography requires a lot of light! You need narrow apertures to maintain sharpness across the focal plane. Outside, when shooting macro nature images, natural light can be very effective. But when working with nature, the photographer is always dependent on so many variables beyond their control – mainly the weather. Backlighting can look beautiful in macro photos – shoot nature macro at sunset to have sunlight filtering through the tree leaves, for example.
The Magic Behind Polaroid Cameras Charging
You may want to see also
![]()
Using the long lens for a tighter field of view
The OnePlus 5 has a dual-lens camera, with one lens being a 16-megapixel, f/1.7 wide-angle lens and the other being a 20-megapixel telephoto lens with an f/2.6 aperture. The telephoto lens is the long lens that you can use to get a tighter field of view.
The long lens is about a 40mm equivalent, which is close to the human eye in terms of its field of view. This makes it great for street scenes or shots where you want the focus to be on an individual part of the photo rather than the whole view. It is also ideal for photographing small and distant subjects, filling the frame with the subject. This is also handy for photographing wildlife that may be spooked by a photographer attempting to get close.
The long lens is also useful when you want to get a unique perspective on your shot. While the main lens takes the best overall photos, the second lens gives a unique look. The main lens is still the best option for indoor or low-light shots, as the secondary camera may not get the job done in these conditions.
The OnePlus 5 also has a zoom mode, which is a hybrid of optical and digital technology, giving a total zoom of 2x. Beyond this, you will be relying on digital zoom and the quality will suffer dramatically.
Mailing Rechargeable Camera Batteries: Safe Handling and Shipping
You may want to see also
![]()
Using Pro Mode
The Pro Mode on the OnePlus 5 gives you complete control over the camera, allowing you to adjust the focus, white balance, ISO, and exposure. It is an excellent feature for those who want more advanced options and are familiar with DSLR or mirrorless cameras.
To access Pro Mode, open the camera app and tap the three-line menu in the top left corner. From the list of alternative modes, tap on Pro Mode. The interface will change, and you will now see additional options at the bottom of the screen.
Adjusting Settings
The OnePlus 5's Pro Mode allows you to manually set various parameters to fine-tune your photos. You can adjust the following settings:
- Exposure: Control the amount of light entering the camera to achieve the desired brightness in your photos.
- Focal Point: Choose what element of the scene you want to be in sharp focus.
- Shutter Speed: Determine how long the camera's shutter stays open, affecting how motion is captured in your photos.
- White Balance: Adjust the colour temperature to ensure accurate colour representation in different lighting conditions.
- ISO: Control the camera's sensitivity to light, which can be useful in low-light conditions but may introduce noise or grain to your images.
Histogram and Horizon Line
When you enable Pro Mode, you will also see a histogram, which provides information about the image's brightness levels. The histogram shows black levels on the left and white levels on the right, helping you identify potential issues with exposure. Additionally, the horizon reference line appears in the centre of the viewfinder, assisting you in capturing straight and level photos.
Saving RAW Images and Custom Settings
Pro Mode also gives you the option to save photos in RAW format, which is ideal for advanced editing on professional software platforms. You can also save custom presets by tapping the "C" letter at the top of the screen. This allows you to quickly access your preferred settings and easily switch between them during your photoshoot.
Focus and Taking Photos
To focus the camera in Pro Mode, simply rotate the onscreen wheel to adjust the desired setting until you achieve the desired focus. You can then tap the shutter button to capture the image. Alternatively, you can take a photo by holding your finger on the fingerprint sensor on the backside of your OnePlus 5 device.
With these Pro Mode features, you can take your photography to the next level and have more creative control over your images. Experiment with the various settings and options to capture stunning photos that showcase your unique artistic vision.
The Making of Disposable Cameras: A Simple Guide
You may want to see also
Frequently asked questions
Turn on the camera quick launch shortcut. Go to Settings, then Buttons, and you'll see an option to press the power button twice to launch the camera.
The main lens is best for overall photos, especially indoors or in low light. The second lens is good for a tighter field of view and a unique perspective. It's about a 40mm equivalent, close to the human eye's field of view.
Portrait Mode works best with a clear, defined foreground object, like a person or a flower. Get close to your subject, and try a few different shots.
The main camera's f/1.7 aperture can often provide a blurred background or "bokeh" effect. This is often better than using Portrait Mode.
You can activate Pro Mode to manually set your exposure, focal point, shutter speed, white balance, and ISO. The camera can also save RAW files, which makes editing after the fact much easier.