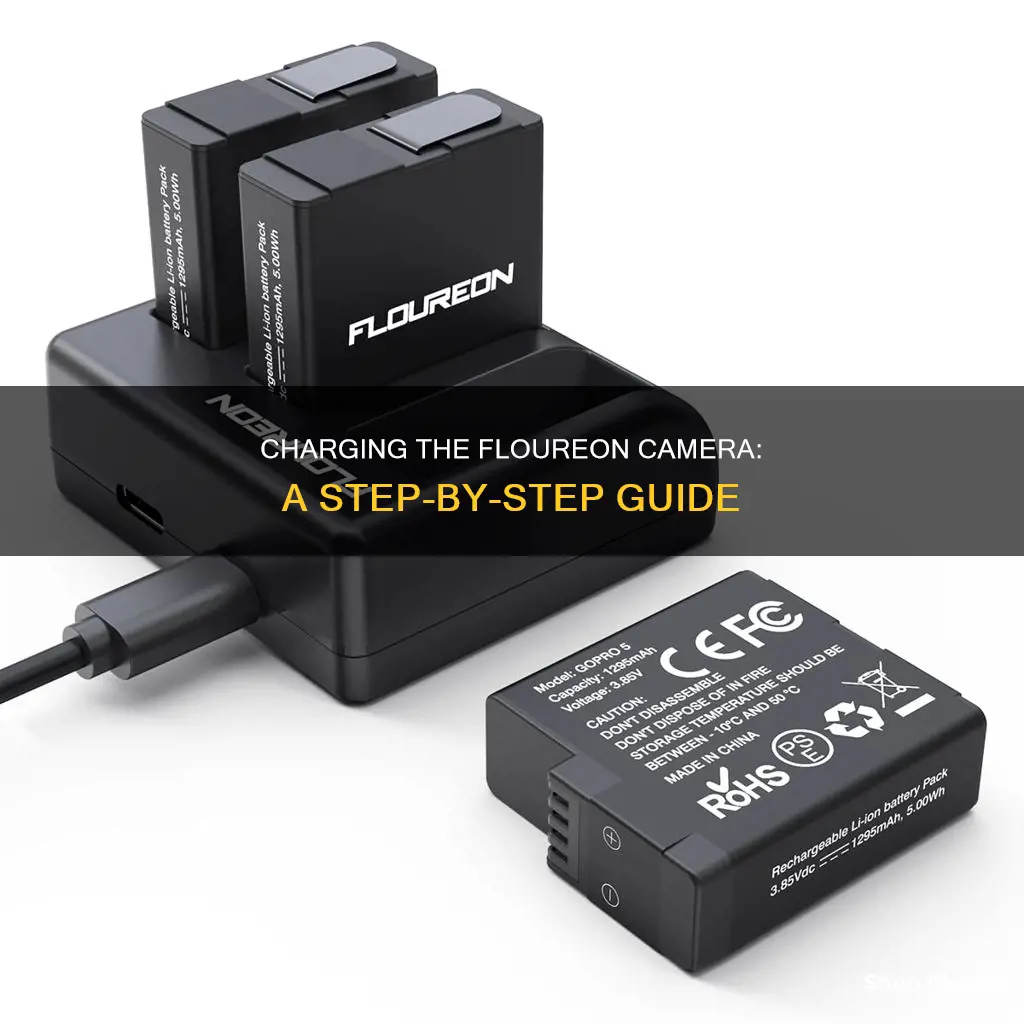
Floureon offers a range of high-quality battery products and security, surveillance, and alarm systems. If you're looking to charge a Floureon camera, it's important to first identify the type of camera and the specific model you have. This is because the charging process may vary depending on the camera's power source and connectivity options. For instance, some Floureon cameras are powered by rechargeable batteries, while others may have external power bricks or use Power over Ethernet (PoE). Once you've identified your camera model, you can refer to the user manual for specific charging instructions. Additionally, Floureon provides customer support through their email, support@floureon.com, where you can seek assistance with any charging or technical queries.
What You'll Learn
![]()
Check power cables and connectors
To ensure your Floureon camera is charging properly, it's important to check the power cables and connectors. Here are some detailed steps to guide you through the process:
- Unplug and Inspect: Start by unplugging the power cable from both the camera and the power source. Carefully inspect the cable for any visible signs of damage, such as frayed wiring or exposed components. If you notice any issues, the cable may need to be replaced.
- Check the Connections: Ensure that the power cable is firmly connected to the camera and the power source. Loose connections can cause charging issues, so make sure the cable is securely plugged in at both ends.
- Verify the Power Source: Check if the power outlet or power strip you're using is functioning properly. Try plugging in another device to confirm that it's working. If the outlet or power strip is faulty, your camera may not charge properly.
- Examine Cable Condition: Over time, power cables can become worn or damaged. Look for any bends, kinks, or signs of corrosion on the cable. Gently bend the cable to ensure there are no internal breaks. A damaged cable will need to be replaced.
- Test for Continuity: Use a multimeter to test the electrical connection of the power cable. Set the multimeter to continuity test mode and touch the leads together. You should hear a beep. Then, touch one lead to one prong on the AC side of the power cord and the other lead to the corresponding end of the console side. If the multimeter beeps continuously, the connection is adequate.
- Check for Shorts: Test the power cord for a potential short circuit. Touch each prong on the AC side of the power cord with the multimeter leads. If the multimeter beeps, the power cord is shorted and must be replaced immediately.
- Refer to the Manual: If you're still unsure, consult the user manual or guide that came with your Floureon camera. It should provide specific instructions or troubleshooting tips for charging the device and checking the power cables and connectors.
Remember to handle electrical components with care and ensure that any power sources are disconnected before inspecting or testing cables and connectors.
Charging Camera Batteries: Universal Charger Usage
You may want to see also
![]()
Check the fuse box
To check the fuse box, you must first locate it. A fuse box will either be located inside or outside your home. It contains a fuse for each of your home's circuits and provides protection for each electrical circuit by stopping the flow of current if an overload or fault occurs.
Before replacing a fuse, ensure that it is safe to do so. Turn off or unplug all devices that are plugged into the circuit. Check that no dangerous conditions exist before restoring power.
When replacing a fuse, use one with the proper rating for the circuit. For example, if the circuit is rated for 15 amps, use a 15-amp fuse. Do not use anything other than a fuse of the proper rating.
Never touch the metal parts of the fuse when removing or inserting a new one. If your fuse box has a master switch, cut the main power before replacing the fuse.
If the fuse blows again before you have plugged anything in or turned anything on, a serious wiring fault may exist. Consult a qualified electrician immediately.
Checking a Car Fuse Box
If you are checking a car fuse box, the process is slightly different. Cars typically have two fuse boxes: one in the engine compartment for the motor's electrical needs, and one in the cab of the vehicle for accessories and lights.
To check for a blown fuse, first locate the fuse that controls the device that isn't working. You may be able to find this information in a diagram inside the fuse box lid or owner's manual, or you can search for it online.
Once you have located the correct fuse, remove it using fuse pullers, ensuring that your car is completely switched off. Inspect the fuse for visual signs of discoloration or broken filaments.
You can also test a fuse with a multimeter. First, ensure that you have turned off the power and disconnected the power source to avoid the possibility of electric shock. Place the fuse on a non-conducting surface such as wood, laminate, or plastic. Touch the metal caps at each end of the fuse with the metal tips of the testing leads. There is no polarity, so you can use any lead for either fuse cap. Ensure a good connection by touching a clean metal surface on each cap.
Understanding a Digital Multimeter Reading
- Fuse is OK: If the multimeter reading changes to a low resistance value (similar to the result of touching the 2 leads together).
- Fuse is Blown: If the meter reading does not change and the display still shows the original 100% resistance state.
Charging Camera Batteries: USB Option for Photographers
You may want to see also
![]()
Check PoE switch
To check if your PoE switch is working, you can try the following methods:
- Check the model number of your switch. For example, WS-C2960X-48FPS-L usually indicates a PoE port on a Cisco switch.
- Check the bezel surrounding the port. On Cisco switches, PoE ports are usually surrounded by a white border.
- Hit the mode button on the front of the switch until PoE is lit. Any port supplying PoE will also be lit.
- Use the "show run" and "show power inline [interface-id]" privileged EXEC command to verify that the power inline never interface configuration command is not configured on the port.
- Check the power supply. PoE switches have a limited amount of power to go around for PoE devices, so you may need to use a power calculator to verify that your switch has enough power to supply PoE to all your devices.
- Check the output of the "show power inline" command. If you get an output that shows the available, used, and remaining power in watts, then your switch supports PoE.
- Check the output of the "show power" command on a chassis-style switch. This will give you detailed output about what your system can offer.
Charging the Kitmesh Camera: A Quick Guide
You may want to see also
![]()
Check video and data connectivity
To check the video and data connectivity on your Floureon camera, follow these steps:
- Check the power connectors and cables to ensure they are plugged in and undamaged.
- If your Floureon camera has an external power brick, ensure it is functional. If you have access to one, try using a test cord and power source to turn on your camera.
- If your camera is connected to the mains or a CCTV power supply with a fuse box, assess the fuse box.
- If your camera supports PoE (Power over Ethernet), check the PoE switch to ensure the camera is receiving power.
- If your camera is connected to a DVR box, inspect the cord and connectors on both ends. Ensure they are intact and properly plugged in.
- If you are using a wired camera, check the cable and connectors for any damage.
- Verify any additional network or video equipment that your camera is connected to, such as network switches, routers, DVR boxes, or video multiplexers. Ensure they are functioning correctly.
- Check your CCTV software. Advanced video surveillance software may disable access to some cameras or protect certain streams with a password. Ensure you can view the stream you are looking for.
By following these steps, you can ensure that your Floureon camera has proper video and data connectivity.
The Ultimate Guide to Charging Your Doorbell Camera
You may want to see also
![]()
Check for camera damage
To check for camera damage, there are a few things you can do. Firstly, if you have dropped your camera, check for any physical damage to the lens or the mount. If there is no visible damage, try taking some photos to see if the lens is still functioning properly. If the images are blurry or have dark spots, this could indicate damage. You can also try shooting at different apertures and distances to see if the autofocus is still working.
If your camera has gotten wet, the first thing you should do is turn it off and remove the memory card and batteries. If there is no water lining the seal where the lens connects to the camera, you can remove the lens and replace it with the cap. Be sure to clean the lens gently to avoid further damage. Once the camera is dry, you can try turning it on again to see if it is functioning properly. If it is not, you may need to take it to a camera repair shop.
Samy's Camera: Tax-Free Shopping Experience
You may want to see also
Frequently asked questions
The Floureon camera should be connected to a power source using a power cable. One side of the power cable should be connected to the DC-12V interface on the back of your camera, and the other side should be connected directly to a power source.
If your Floureon camera is not charging, check that the power connectors or cables are plugged in and in good condition. If your camera has an external power brick, ensure that it is functional. You can do this by using a test cord and power source to turn on your camera.
If your Floureon camera is not receiving a video signal, check that the power connectors or cables are plugged in and in good condition. If your camera has an external power brick, ensure that it is functional. You can do this by using a test cord and power source to turn on your camera.
Depending on the choice of your monitor, you can use either a VGA interface or an HDMI interface. The VGA connector is a three-row 15-pin DE-15 connector commonly found on many video cards, computer monitors, and high-definition television sets. The HDMI interface supports standard, enhanced, or high-definition video, plus multichannel digital audio on a single cable.
To test your Floureon camera, ensure that it is tightly secured and that the viewing angle is adjusted if needed. If your camera came with an Allen key, you can use this to fine-tune the camera angle. Leave the camera connected for at least 24 hours to see how the video images switch from colour to night-time monochrome hues.