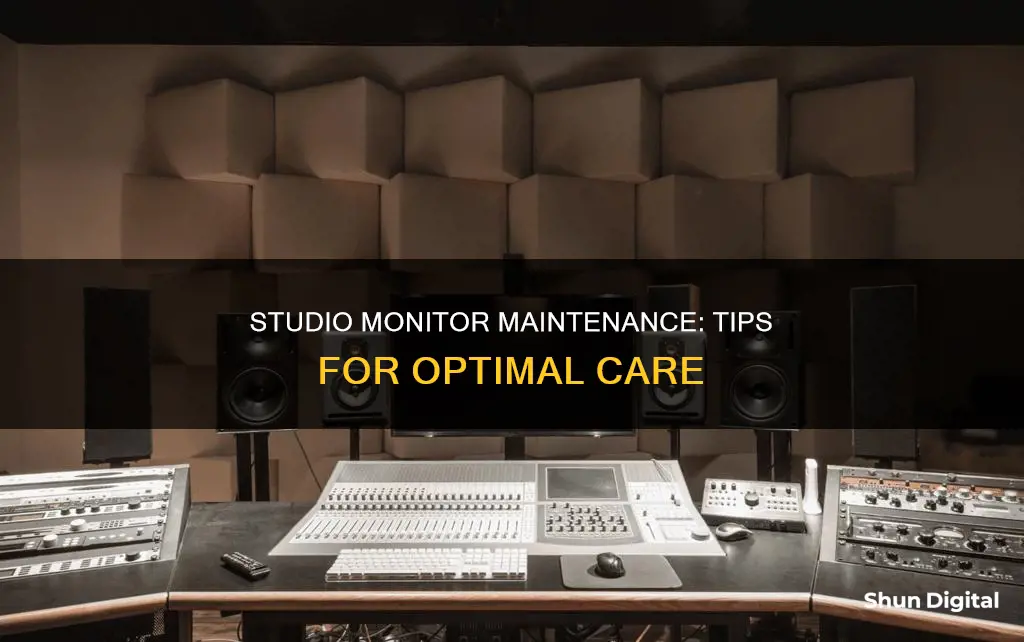
Studio monitors are an essential part of any audio engineer or music producer's setup. They are designed to provide an accurate reproduction of the original recording, allowing users to mix and master their audio to ensure the finished product sounds impressive, regardless of the listener's equipment. To get the most out of your studio monitors, it's important to care for and maintain them properly. This includes regular cleaning, optimal placement, and understanding the unique requirements of your recording space.
Characteristics of Studio Monitors Care
| Characteristics | Values |
|---|---|
| Cleaning | Use a dry or wet piece of cloth depending on the part of the monitor. Use a non-abrasive fabric to clean sensitive parts such as the woofer cones. |
| Placement | Monitors should be placed symmetrically, equidistant from walls to the left and right of the primary listening position. For near-field monitors, a typical setup would be with the speakers around 3 feet from the listener and 3 feet from each other. |
| Wattage | A higher wattage set of monitors provides a more detailed sound across a wider dynamic range, allowing for more control over the audio's sound without distortion. |
| Speaker Type | Studio monitors aim to provide an accurate reproduction of the original recording. Unlike standard speakers, they are not designed to improve the sound of the audio as it plays back. |
| Subwoofer | Subwoofers are important for anyone creating bass-heavy audio. However, if your room is small, a subwoofer may cause sonic inaccuracies. |
What You'll Learn

Protect from dust and humidity
Studio monitors are sensitive equipment and require protection from dust and humidity. Here are some tips to ensure your studio monitors are protected:
Cleaning Methods
- Cloth Method: Use a dry or damp cloth to wipe down the studio monitor, removing any dust or dirt buildup. Be gentle and avoid applying pressure, especially when cleaning sensitive parts like the woofer cone and rubber surround.
- Brush and Vacuum Cleaner Method: Use a brush to remove dust from the cone and simultaneously use a portable vacuum cleaner to suck in the dust. For smudges or stains, slightly dampen the brush and run it over the affected area before using the vacuum.
Protecting from Dust and Humidity
- Regular Cleaning: Maintain a consistent cleaning schedule to prevent dust and grime buildup. Use a soft, dry cloth for general dusting and a damp cloth for removing stains or fungus.
- Coconut Oil: For rubber surrounds that have not been cleaned in a while, apply a small amount of coconut oil to a clean cloth and gently rub it over the surface. This will help remove dust, grime, and any signs of fungus.
- Avoid Moisture: Do not use a wet cloth on woofer cones made of treated paper. Exposure to moisture can damage these cones.
- Storage: Store your studio monitors in a dry and dust-free environment. Ensure the room has proper ventilation and is not prone to extreme temperature changes or high humidity.
- Protective Covers: Invest in protective covers for your studio monitors when not in use. These covers will help keep dust and moisture at bay.
- Air Quality: Maintain good air quality in your studio by using air purifiers or dehumidifiers to reduce dust, pollen, and moisture in the air.
Gamer's Guide to Buying the Perfect Monitor
You may want to see also

Clean regularly
Studio monitors are sensitive equipment and require regular cleaning to keep them in their best condition. The cleaning method will depend on the type of dust or dirt that has accumulated on the monitor, and the part of the monitor that needs to be cleaned.
Cloth Method
The cloth method is recommended for those who clean their studio monitors regularly and is suitable for monitors with light dust accumulation. You can use a dry or damp cloth, depending on the part of the monitor. Always be careful when using a damp cloth, especially on sensitive components like the woofer cone and rubber surround. A non-abrasive fabric is ideal for cleaning these parts as it has the right texture to clean effectively without causing scratches or other damage.
When cleaning the woofer cone and rubber surround, it is important to use gentle motions and minimal pressure to avoid damaging the surface. The tweeter, an equally delicate part of the monitor, should not be touched with your hands or fingers during the cleaning process. Instead, simply blow off the dust with your mouth.
Brush and Vacuum Cleaner Method
This method is suitable for monitors with heavier dust accumulation. Hold the vacuum cleaner in one hand and a brush in the other, and run the vacuum cleaner over the monitor while using the brush to remove dust from the cone. If there are smudges, stains, or signs of fungus, slightly dampen the brush and run it over the affected area, then use the vacuum cleaner to draw in the dust. Do not use a wet brush on the monitor's dome or woofer cones made of treated paper to avoid damage.
Other Tips
- The cabinet, being the strongest component, can handle rigorous cleaning and can be cleaned with a damp cloth to remove hard stains. Remember to unplug all cables and switches before cleaning.
- The magnet and driver are well-protected internal parts that do not require regular cleaning and can be skipped during the cleaning process.
- Use coconut oil on a clean cloth to gently wipe off stains and fungus from the rubber surrounds.
- Speaker stands can help improve the sound of your monitors by reducing sound reflections from the desk or console.
Fixing LCD Monitor Flickering Issues: Troubleshooting Guide
You may want to see also

Avoid wall placement
Studio monitors are designed to be placed in a way that minimises the impact of the room's acoustics on the sound. This is because every room has a specific set of resonant frequencies that will create what are known as modes, caused by sound reflecting off different surfaces. The effects of these modes on the sound coming out of your speakers will depend on the position of both the listener and the monitors.
To avoid the impact of wall placement, it is important to understand the concept of the "sweet spot". This is the middle position between the two sides of a stereo system, where the speakers overlap, and it is where the stereo image will be at its best. To create the sweet spot, angle or "toe-in" each speaker so that the tweeters form an equilateral triangle with your head—that is, the speakers are the same distance from each other as they are from you.
The high-frequency driver should be at the same height as your ears as high-frequency content is much more directional than low-frequency content. Once you have created the sweet spot, sit down and make sure that your ears are level with the centre of the tweeter.
To avoid wall placement, it is recommended to place your speakers away from walls and corners. A distance of eight to twelve inches will be adequate to prevent sound waves from hitting the wall and reflecting back to you, causing phase cancellation and other potentially harmful acoustic interactions. If your speakers are rear-ported, keep a 5 cm gap for the movement of air.
The worst-case scenario is to place your speakers about one metre from the rear wall, as this will likely result in substantial notches between about 30 and 100 Hz. By moving your speakers close to the rear wall, you will encounter an increase in bass frequencies, typically measured at about a 6dB increase for each wall the bass reflects off.
If you are unable to avoid placing your speakers near a wall, there are a few things you can do to mitigate the impact. Firstly, you can use the EQ settings on your monitors, such as whole-space (flat EQ for placement away from any walls), half-space (slight bass reduction for placement near the front wall), and quarter-space (increased bass reduction for placement near front corners). Secondly, you can use acoustic treatment such as bass traps, acoustic panels, or absorption materials to reduce reflections and improve the sound quality.
Expanding Your Home Studio: Adding Monitor Speakers
You may want to see also

Use appropriate power wattage
Studio monitors are an essential part of any audio engineer or music producer's setup. They aim to provide an accurate reproduction of the original recording, allowing users to mix and master to ensure the finished product sounds as impressive as possible, regardless of the listening device.
The power wattage of your studio monitors is an important consideration. While it does impact the maximum volume, it also affects the level of detail in the sound across a dynamic range. Higher wattage means you will be able to hear more transient detail and make more precise adjustments to your mix. This is because a higher-wattage setup provides more headroom.
Music peaks, such as snare hits or kick drums, can demand up to ten times more power than average music program material. So, if you have a mix that demands an average of 20 watts, the peaks could require up to 200 watts. If your amp can only deliver 70 watts, you will be 130 watts short, resulting in greater distortion and possible clipping.
A higher-wattage setup will also give you more definition and dynamic range, not just overall volume. This is important to consider, especially if your audio has high bass levels, as low-wattage monitors tend to have more distortion in the high and low-end frequencies as they cannot cope with the output required.
As a general rule, 50 watts is a good starting point for a home studio setup. However, if you are working in a larger studio space, you will require greater wattage to ensure your monitors can deliver sufficient power.
Monitoring IO Usage: Linux Tips and Tricks
You may want to see also

Opt for active monitors
When it comes to studio monitors, there are two main categories: passive and active. While the recording industry has traditionally relied on passive monitors, active monitors have become increasingly popular and are now the go-to choice for many professionals. So, what are the benefits of opting for active monitors?
Firstly, active monitors are a more convenient option. They have built-in amplifiers, which means you don't need to worry about matching your speakers with a separate amplifier and crossover. This not only saves you from dealing with extra rack gear but also ensures that the amplifier is specifically matched to the speakers for optimal performance.
Secondly, active monitors often provide better performance. The internal amplifier in an active monitor is designed to work seamlessly with the speakers, resulting in a flatter and more accurate frequency response. This precision is crucial for audio engineers who need to make critical decisions based on the sound coming from their monitors.
Additionally, active monitors are typically easier to use. They eliminate the need for extra cables and technical knowledge associated with external amplifiers. This simplicity makes them a more accessible option, especially for beginners.
Furthermore, active monitors are more common in today's market. This means you'll have a wider range of options to choose from, allowing you to find a set that perfectly suits your needs and budget.
While it's possible to create a high-quality passive monitoring system, active monitors offer a combination of convenience and performance that is hard to beat. Unless you have specific requirements that necessitate a passive system, active monitors are likely the better choice for your studio setup.
Installing Pillow TFT LCD Color Monitors: A Step-by-Step Guide
You may want to see also
Frequently asked questions
Studio monitors are sensitive equipment and must be cleaned carefully. You can use a dry or damp cloth to wipe the monitor, but be careful when cleaning the woofer cone and rubber surround as these parts are very delicate. You can also use a brush and a vacuum cleaner to clean the monitor, especially if there is a lot of dust or signs of fungus.
Studio monitors should be positioned so that they form an equilateral triangle with your head when you are seated in the mixing position. This will result in the most accurate frequency response and clearest stereo image. If your room is big enough, keep your monitors at least 2.2m from walls to minimise the impact of bass bouncing off the walls.
Studio monitors should be protected from dust and humidity, and kept in a place with minimal moisture and extreme temperature changes.


