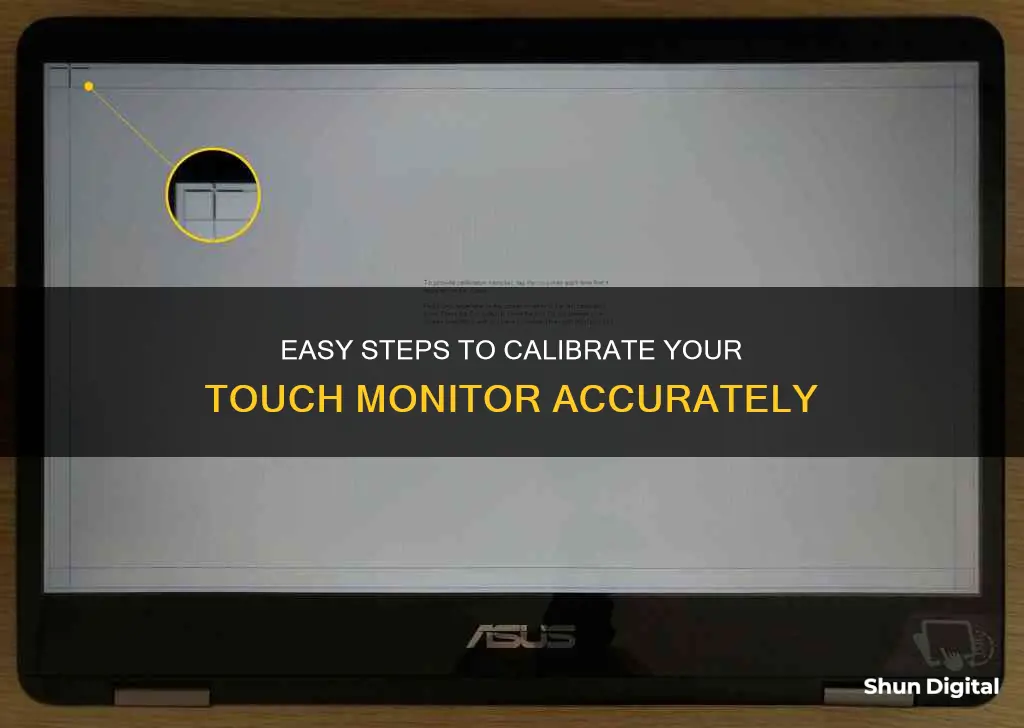
Touchscreen monitors can be a great asset, but they can also be a source of frustration when they're not working correctly. If your touchscreen is acting up, it might just need calibration. In this guide, we'll take you through the steps to calibrate your touchscreen monitor and get it working like new again. We'll cover common issues, troubleshooting tips, and step-by-step calibration processes for Windows and Dell systems. By the end, you should be able to accurately tap, swipe, and interact with your touchscreen device without any problems.
| Characteristics | Values |
|---|---|
| When to Calibrate | When the touchscreen is not working correctly, e.g. unresponsive, offset, or inaccurate |
| How to Calibrate | 1. Open Control Panel and select Tablet PC Settings. 2. Select Calibrate under the Display tab. 3. Tap the crosshair each time it appears on the screen. 4. Save the calibration data. |
| Troubleshooting | Ensure hardware connections are correct, e.g. USB ports and cables. Update Windows, USB driver, and "Human Interface Devices" driver. Remove dirt and dust from the screen. |
What You'll Learn

Restart the computer and monitor
Restarting your computer and monitor is the first step in calibrating your touchscreen. This simple action can resolve minor software glitches and improve the accuracy of your touchscreen.
To restart your computer and monitor, follow these steps:
- Power off your computer using the designated power button.
- Disconnect any power cables or AC adapter cables from the computer and the wall outlet.
- Wait for a few seconds before plugging the cables back into the power source and your computer.
- Turn on your computer by pressing the power button.
- Allow your computer to boot up completely.
After restarting, you can proceed with the next steps in the calibration process, which may include accessing the Control Panel or Settings, selecting "Tablet PC Settings," and performing the point calibration.
Restarting your computer and monitor is a straightforward task that can help improve the accuracy and responsiveness of your touchscreen device.
BenQ Monitor Color Calibration: Fine-Tuning Your Display
You may want to see also

Open Control Panel
To open the Control Panel on a Windows device, press the Windows key and R simultaneously. Type "control panel" and click OK.
From the Control Panel, you can access the "Tablet PC Settings" menu. This is where you can calibrate your touch screen monitor. If you are using Windows 7 or an older version, go to the Control Panel and select "Display". Right-click on the Touchscreen icon and choose "Calibrate" from the drop-down menu.
For Windows 8 and newer versions, click on "Tablet PC Settings", usually found in the Display section of the Control Panel's left pane. Then, click on "Calibrate the screen for pen or touch input" to run the built-in calibration utility.
If you are using a Mac device, go to "System Preferences" and then "Displays". Click on the "Color" tab and select "Capacitive Touch Screen Calibration". This will open the built-in Display Calibrator Assistant, which will guide you through the calibration process.
Las Cruces LCD Monitor Disposal Guide
You may want to see also

Select Tablet PC Settings
To calibrate your touch monitor, you'll need to access the "Tablet PC Settings." Here's a detailed guide on how to do that:
- Go to the Start menu or press the Windows logo key on your keyboard.
- Open the Control Panel.
- If you don't see "Tablet PC Settings" as an option, ensure that "View by" is selected as Large or Small Icons.
- Select "Tablet PC Settings."
- If you're using an external display, ensure that your touchscreen USB cable is attached and any necessary drivers are installed.
- Under the "'Display' tab, select "Calibrate."
Calibration Process:
- Choose "Pen" or "Touch" input. If you have a stylus, select "Pen input."
- Follow the on-screen instructions and tap the crosshair each time it appears on the screen.
- After completing the calibration process, select "Save" to save the calibrated data.
By following these steps, you should be able to successfully calibrate your touch monitor and improve its accuracy and responsiveness.
Kia Sportage: Blind Spot Monitoring Feature Explained
You may want to see also

Select Calibrate
Calibration is the process of fine-tuning your touch monitor to enhance your user experience. By calibrating the sensors, your monitor can accurately interpret and respond to your controls, resulting in a more seamless and responsive interaction.
To select "Calibrate" on your touch monitor, follow these steps:
- Open the Control Panel.
- Select "Tablet PC Settings".
- Under the "Display" tab, select "Calibrate".
- Choose "Pen or Touch input". If you have a stylus, select "Pen input".
At this point, you will be ready to perform the point calibration that appears on the screen.
Please note that the exact steps may vary slightly depending on your operating system and device model.
Jeep Blind Spot Monitoring: Fuse or Feature?
You may want to see also

Choose Pen or Touch input
When calibrating a touchscreen, you will be faced with the choice of selecting either 'Pen' or 'Touch' input. This is because the calibration process is different for devices that use a stylus or similar input device, compared to those that rely on touch input from a finger.
If you have a device like a Surface that came with a stylus, select 'Pen' input. If you are using a touchscreen device that uses touch input, select 'Touch' input.
It is important to make the correct selection here, as the calibration process will be different for each. Touchscreen calibration usually involves tapping a series of crosshairs displayed on the screen, whereas pen calibration may involve different steps.
If you are unsure which to choose, refer to the user manual for your device or contact the manufacturer for guidance. Making the wrong selection could result in an improperly configured touchscreen that may be unusable.
Once you have selected the correct input type, follow the on-screen instructions to complete the calibration process. This usually involves tapping a series of crosshairs or targets on the screen and saving the calibrated data.
Monitoring Employee Emails: Ethical or Not?
You may want to see also


