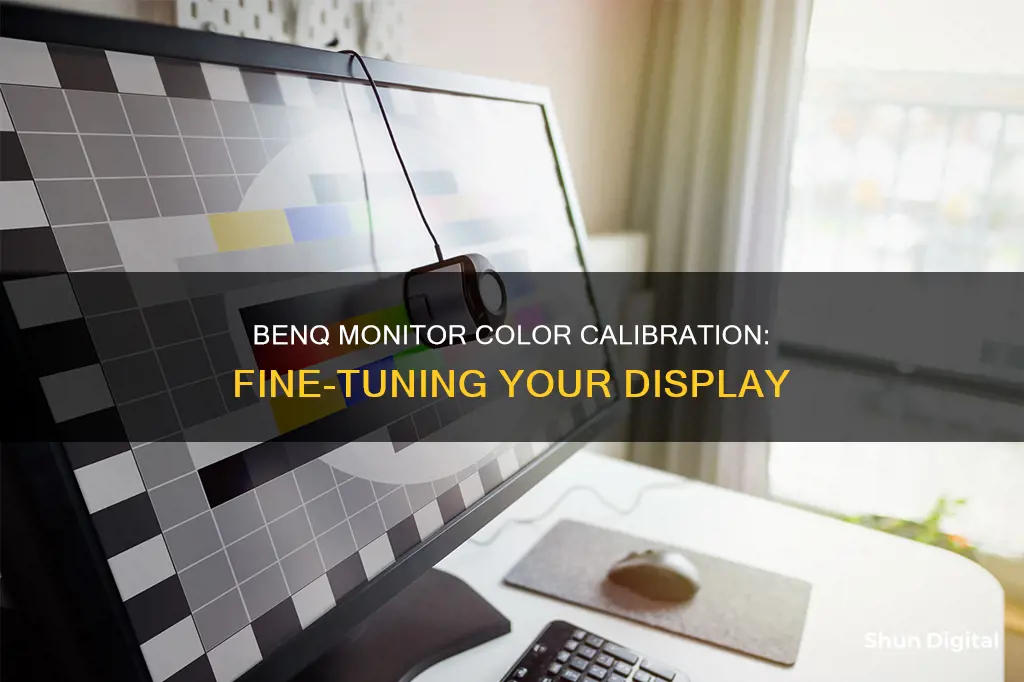
Calibrating your BenQ monitor can be a challenging task, but it is essential to get the most accurate colours for your display. This is especially important for photographers, who need to ensure that the colours they see on their screens are correctly represented in their final prints. While BenQ monitors are pre-calibrated, you may want to calibrate your monitor to achieve the best possible colour accuracy. This process will involve using BenQ's Palette Master Element software and a calibrator such as the X-Rite i1 Display Pro or Calibrite Display Plus HL. Before beginning the calibration process, it is important to warm up your monitor for at least 30 minutes, ensure that any previous colour calibration systems have been uninstalled, and disable any screen savers, power management settings, or night modes. Once your monitor is ready, you can begin the calibration process by connecting your calibrator to the monitor and configuring the display settings, such as the white point, RGB primaries, luminance, and black point.
| Characteristics | Values |
|---|---|
| Warm-up time | 5 minutes to 60 minutes |
| Connection type | USB cable |
| Calibration software | Palette Master Element (PME) |
| Display settings | Whitepoint: 6500K (D65); RGB Primaries: Panel Native; Luminance: 80-120 cd/m2; Blackpoint: Lowest possible point |
| Measurement settings | ICC Profile name; System Level; Profile Version; Profile Type; Patch Set Size |
What You'll Learn

Warm up your monitor for at least 30 minutes before calibration
Warming up your monitor is an essential step before calibration. This is because the monitor's brightness is not stable when it is first turned on, and while this change may not be obvious to the human eye, it can be detected by measurement devices such as calibrators. If the measurement is taken at one brightness level and validation at another, the result will be inaccurate. Therefore, it is recommended to warm up your monitor for at least 30 minutes before calibration.
The length of the warm-up period can vary depending on the type of monitor and the ambient temperature. For example, some displays may require a warm-up period of up to 2 hours for the backlight to reach 100% brightness. Additionally, in colder temperatures, it is advised to extend the warm-up time to around 60 minutes.
During the warm-up period, you can browse the internet or perform other tasks. However, it is important to ensure that the screen saver and energy-saving mode are turned off, as these can interfere with the calibration process.
Once your monitor has warmed up, you can proceed with the calibration, following the steps outlined in the user manual or online guides.
Connecting Pansonic SB Subwoofer to Studio Monitors: A Step-by-Step Guide
You may want to see also

Connect a USB cable to the monitor
To connect a USB cable to your BenQ monitor, you will need to use a USB-C or USB-B connection.
USB-C Connection
If your computer supports USB-C, you can use a USB-C to USB-C cable to connect it to the monitor. This option also supports video transmission.
USB-B Connection
If you are using an HDMI or DisplayPort cable for video transmission, you will need to use the included USB-A to USB-B cable. Connect the USB-A end to your computer and the USB-B end to the monitor.
Once the USB connection is established, the monitor's built-in USB hub will be activated, allowing you to connect and use USB devices such as keyboards or mice through the monitor's USB-A ports.
It is also important to note that when using a USB-C cable, it is recommended to use the BenQ-certified cable that comes with the product. If you prefer to use your own USB-C cable, ensure that it has the following features:
- Power delivery and video/audio/data transfer functionality
- USB-C male to USB-C male
- Support for DisplayPort 1.2/1.4 display (DP alternative mode)
- Support for 4K resolution (3840x2160)
- USB-IF certified
- Support for power delivery (purchase a cable that supports 60W or 100W according to the power supply wattage of the monitor)
Additionally, it is recommended to connect the BenQ monitor and the input source device directly using a USB-C cable, rather than through a third-party adapter, USB docking, or converter.
Monitors: Better Performance for Xbox Players?
You may want to see also

Avoid VGA or HDMI cables
When calibrating your BenQ PhotoVue monitor, it is important to avoid using VGA or HDMI cables to connect to the monitor. This is because the display or signal cable plays a crucial role in achieving accurate calibration results, and both VGA and HDMI cables come with limitations in this regard.
VGA cables should be avoided as they use an analog signal that is voltage-dependent. This means that the calibration results will vary depending on the location, which is undesirable for consistent colour accuracy. Furthermore, VGA cables can only display video resolutions up to 1080p and require a separate audio cable, making the setup more cumbersome.
HDMI cables, on the other hand, were designed with TV broadcasting in mind. As a result, some of the colour signals are clipped to save bandwidth. Specifically, in an 8-bit RGB colour signal, the default signal transmitted by HDMI is 16-235 instead of the full 0-255 range. While there is a full-range RGB signal option for HDMI, it is dependent on the graphics card manufacturer's implementation. Therefore, unless you are certain that your graphics card can output a full-range RGB signal, it is advisable to avoid using HDMI for calibration.
Instead of VGA or HDMI, it is recommended to use a USB cable to connect to your BenQ PhotoVue monitor during the calibration process. This USB connection is necessary for writing data from the computer to the monitor and enabling the SD card reader and extra USB ports on the monitor.
Removing Monitors from Head Rests: An Easy DIY Guide
You may want to see also

Use the latest version of BenQ Palette Master Element software
To ensure the best calibration results, it is important to use the latest version of the BenQ Palette Master Element software. This is because the OS of your laptop or PC is updated frequently, and some of these updates will affect the calibration results. BenQ conducts internal lab tests with every OS update to ensure the calibration is correct with the Palette Master Element software. Therefore, using the latest version of the software ensures that all necessary bugs are fixed.
To download the latest version of the software, visit the BenQ support site.
The Palette Master Element software is BenQ's proprietary software for hardware calibration. It has a minimalist user interface, allowing users to finish their hardware calibration with just a few clicks. The software is compatible with both Mac and Windows operating systems.
The Palette Master Element software offers two modes: Basic Mode and Advanced Mode. Basic Mode is for beginners and allows users to achieve colour accuracy with a simple user interface. It provides a correct default profile, white point, and luminance for monitor calibration. Advanced Mode is for pro users and offers more refined adjustments, including customised RGB primaries, white point, luminance, gamma, and black point settings.
In addition to using the latest version of the software, it is also important to ensure that your monitor has properly warmed up before starting the calibration process. For BenQ monitors, 5 minutes of switched-on time is sufficient.
Positioning Studio Monitors: Achieving Optimal Sound
You may want to see also

Turn off screen savers and energy-saving modes
When calibrating your BenQ monitor, it is important to turn off screen savers and energy-saving modes. This is because the calibration process can take around 15 to 30 minutes, and if the screen saver or energy-saving mode kicks in during this time, it can interfere with the calibration. The calibrator will measure the wrong colours and deliver inaccurate results, and you may end up with a screen that looks terrible or shows no colours at all.
Screen savers were originally designed to prevent image burn-in on CRT monitors, but with modern LCD and LED-backlit monitors, they are less necessary. In terms of reducing energy consumption, screen savers are not effective. In fact, they can actually increase energy consumption by displaying colourful and animated graphics that require additional processing power.
Energy-saving modes, on the other hand, are designed to reduce power consumption when the monitor is idle or not in use. While they can be useful in certain situations, they can also interfere with the calibration process. By turning off both the screen saver and energy-saving mode, you can ensure that the calibration runs smoothly without any interruptions.
Additionally, it is recommended to warm up your monitor for at least 30 minutes before calibration, as the brightness can be unstable when the monitor is first turned on. This can affect the accuracy of the measurement devices used during calibration.
Detaching the Monitor: Asus Zenbook's Easy Separation
You may want to see also
Frequently asked questions
It is recommended to warm up your monitor for at least 30 minutes before calibration. However, newer LCD technology only needs about 5 minutes.
You should use the supplied BenQ USB cable to connect your monitor to your computer.
BenQ Palette Master Element (PME) is a free software provided by BenQ for monitor calibration. It is recommended to use this software as it is designed specifically for BenQ monitors.
The display settings depend on your specific use case. However, some standard settings include a white point of 6500K (D65), RGB primaries set to Panel Native, and a luminance between 80 to 120.
It is recommended to calibrate your BenQ monitor every month or so. Additionally, you should calibrate whenever the working environment changes or before starting a big project.


