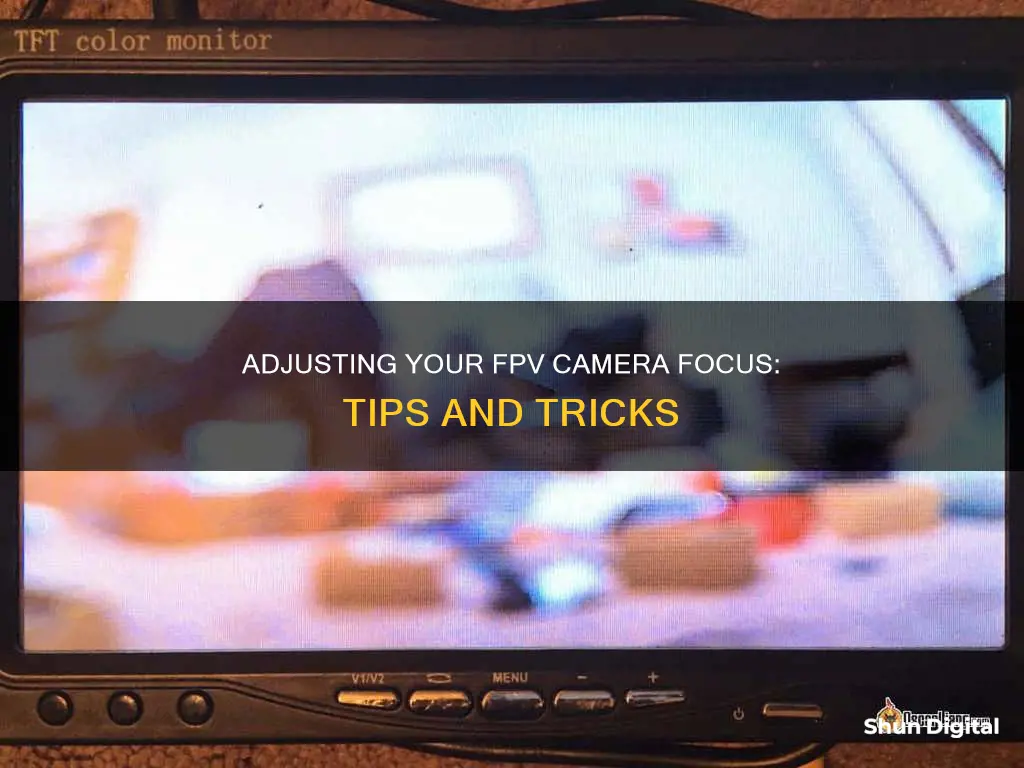
Adjusting the focus on your FPV camera can be the difference between a clear image and a blurry mess. The process of adjusting the focus will vary depending on the type of camera and goggles you have, but there are some general tips that can help you get the best image possible. Firstly, it is important to lower the sharpness setting slightly before focusing the lens. Then, you can adjust the focus by screwing the lens in or out until you find the sweet spot. You may need to use tools like needle-nose pliers to turn the lock ring, especially if it is tight. Once you have found the perfect focus, you can secure the lens by tightening the lock ring. It is also recommended to adjust the focus to infinity and fix the lens ring with hot glue or thread lock to prevent vibrations from affecting the focus. Additionally, if you wear glasses, you may need to use a stronger prescription or a diopter to see the image clearly.
What You'll Learn

Loosen the lens
To loosen the lens, hold the camera facing away from you. Then, by turning the lens clockwise, both the lens and lock nut should come loose at the same time. If this doesn't work, try loosening just the lock nut first by turning it clockwise. For standard-size cameras, you can use your fingers to turn the lock nut. For smaller lenses on Micro cameras, you might find it easier to use a pair of tweezers.
Once the lens is loose, you can start to adjust the focus. First, lower the sharpness setting on your camera slightly (by 15% to 25%). Then, connect your camera to a monitor or to a VTX and display the image through a pair of FPV goggles. It's best to do this outdoors in good lighting.
With a focus test pattern, you want to stop when the blurry centre becomes as small as possible. Once you've found the perfect focus, hold the lens with one hand and do not move it. It can be helpful to mark the camera case and lens where they meet to help with alignment during tightening.
Understanding Camera's CDS Mode: How It Works
You may want to see also

Adjust the focus
Adjusting the focus on your FPV camera is a simple process, but it will make a big difference to your flying experience.
Firstly, you need to loosen the lens. Hold the camera facing away from you and turn the lens clockwise to loosen it—you may need to loosen the lock nut first. For standard-size cameras, you can do this with your fingers, but for smaller Micro cameras, tweezers may be easier.
Now you need to find something to focus on. You can use any object with fine detail, such as branches, fences, or tiles, but it's easier to use a focus test pattern (a camera focus chart). Place the object or chart about 3 metres away from the camera.
Next, connect your camera to a monitor or a VTX and display the image through a pair of FPV goggles. It's best to do this outdoors in good lighting.
Now, slowly tighten the lens back up. The image will become clearer and clearer, and then it will start to become blurry again. Stop when the image is perfectly focused.
Hold the lens with one hand, making sure not to move it. With the other hand, turn the lock ring towards the camera until it touches the base. Now, hold the lock ring in place and unscrew the lens back up a little (40-50 degrees or about 1/8 of a turn). Release the lock ring and turn both the lens and lock ring inward so that the lock ring is snug against the base and the camera is back in focus.
If the image is still blurry, your lock nut may be broken. This is the piece that holds the lens in place and keeps it in focus. If the lock nut is intact, your lens may be faulty, or dust and water may have become trapped inside. Try a different lens or clean the existing one.
Fighting Camera Tickets: Your Rights in New Orleans
You may want to see also

Tighten the lock ring
To tighten the lock ring, follow these steps:
Firstly, make sure the lock nut is not broken. This is the component that holds the lens in place and keeps it in focus. If it is broken, the camera will become out of focus as the lens loosens.
Next, pre-loosen the lock ring on the camera and ensure the lens turns freely by hand. It is advisable to wind the lock ring up the lens thread a couple of turns to prevent it from binding up when adjusting the lens with your goggles on.
Once you have achieved the perfect focus for the lens, carefully position the quad so that you can tighten the lock ring. When doing this, it is recommended to undo the lens a further 1/8th to 1/4 turn before winding the lock ring in against the camera case. After the lock ring is wound against the camera case, tighten both the lens and lock ring together by the same amount that you initially wound it out. This will allow you to achieve a tighter fit and prevent the lens from loosening during flight or crashes.
Finally, put your goggles back on and verify that the camera displays a crisp image. If the image is still blurry, redo the previous step and adjust the amount that you wound the lens out before tightening to achieve the optimal focus.
Polaroid Cameras: Still in Production, Still in Demand
You may want to see also

Test the camera
Now that you've adjusted the focus of your FPV camera, it's time to test it out and ensure that it's working correctly. Here's a step-by-step guide to testing your FPV camera:
Choose a Suitable Location:
Find an open area with good lighting, either indoors or outdoors. You'll need a space of at least 2-3 meters wide to set up your testing equipment.
Prepare the Testing Equipment:
You'll need a Siemens star focus chart, also known as a Seimens star. This is a pattern of alternating dark and light radiating spokes that converge to a fine point in the centre, highlighting any imperfections in the image. Print out the Siemens star on a piece of A4 paper, or use a computer screen if a printer is not available.
Set Up the Focus Chart:
Place the Siemens star focus chart on a wall approximately 2-3 meters away from you. This distance is important to ensure accurate testing.
Connect the Camera:
Connect your FPV camera to a monitor or a pair of FPV goggles. If using goggles, power them up and place them on your forehead for now.
Adjust the Camera Lens:
With the goggles on, locate the edges of the camera lens. Be careful not to touch the lens with your fingers, as this can leave fingerprints and affect image quality. Start twisting the lens in both directions while looking at the focus chart. You will notice the blurry section in the centre of the chart getting bigger and smaller. Adjust the lens until the blurry spot in the centre is as small as possible.
Finalise the Focus:
Once you've found the optimal focus, remove your goggles and carefully adjust the camera lens to tighten it in place. Put the goggles back on and double-check that the image is still crisp and clear. If adjustments are needed, repeat the process until you achieve the perfect focus.
Test in Different Lighting Conditions:
To ensure your FPV camera performs well in various lighting environments, test it in both bright and low-light conditions. Place the focus chart in a well-lit area and repeat the focus adjustment process. Then, move to a darker location and repeat the test to ensure the camera can handle low-light situations.
Check for Vibration and Movement:
FPV cameras are often affected by vibrations during flight. Test your camera setup by gently shaking the quadcopter or drone to simulate flight vibrations. Ensure that the camera image remains stable and clear despite the vibrations.
By following these steps, you can be confident that your FPV camera is properly focused and ready for your flying adventures. Remember to perform regular checks and adjustments as needed to maintain optimal image quality. Happy flying!
Charging Camera Batteries: Alternative Methods to Try
You may want to see also

Repeat if necessary
If you are still getting a blurry image from your FPV camera, you may need to repeat the steps outlined above.
First, check that the lock nut is not broken. If it is, you will need to replace it as this is what holds the lens in place.
If the lock nut is not broken, try loosening the lens a little more before tightening the lock nut. It may take a few attempts to get the lens and lock nut tightened correctly, so keep repeating the steps until you get it just right.
If you are still experiencing issues with the focus, your camera may be faulty. Try a different lens to see if the problem persists. Sometimes, dust and water can get trapped inside the lens, so give it a good clean before trying again.
Editing Essentials: Camera Raw Techniques
You may want to see also


