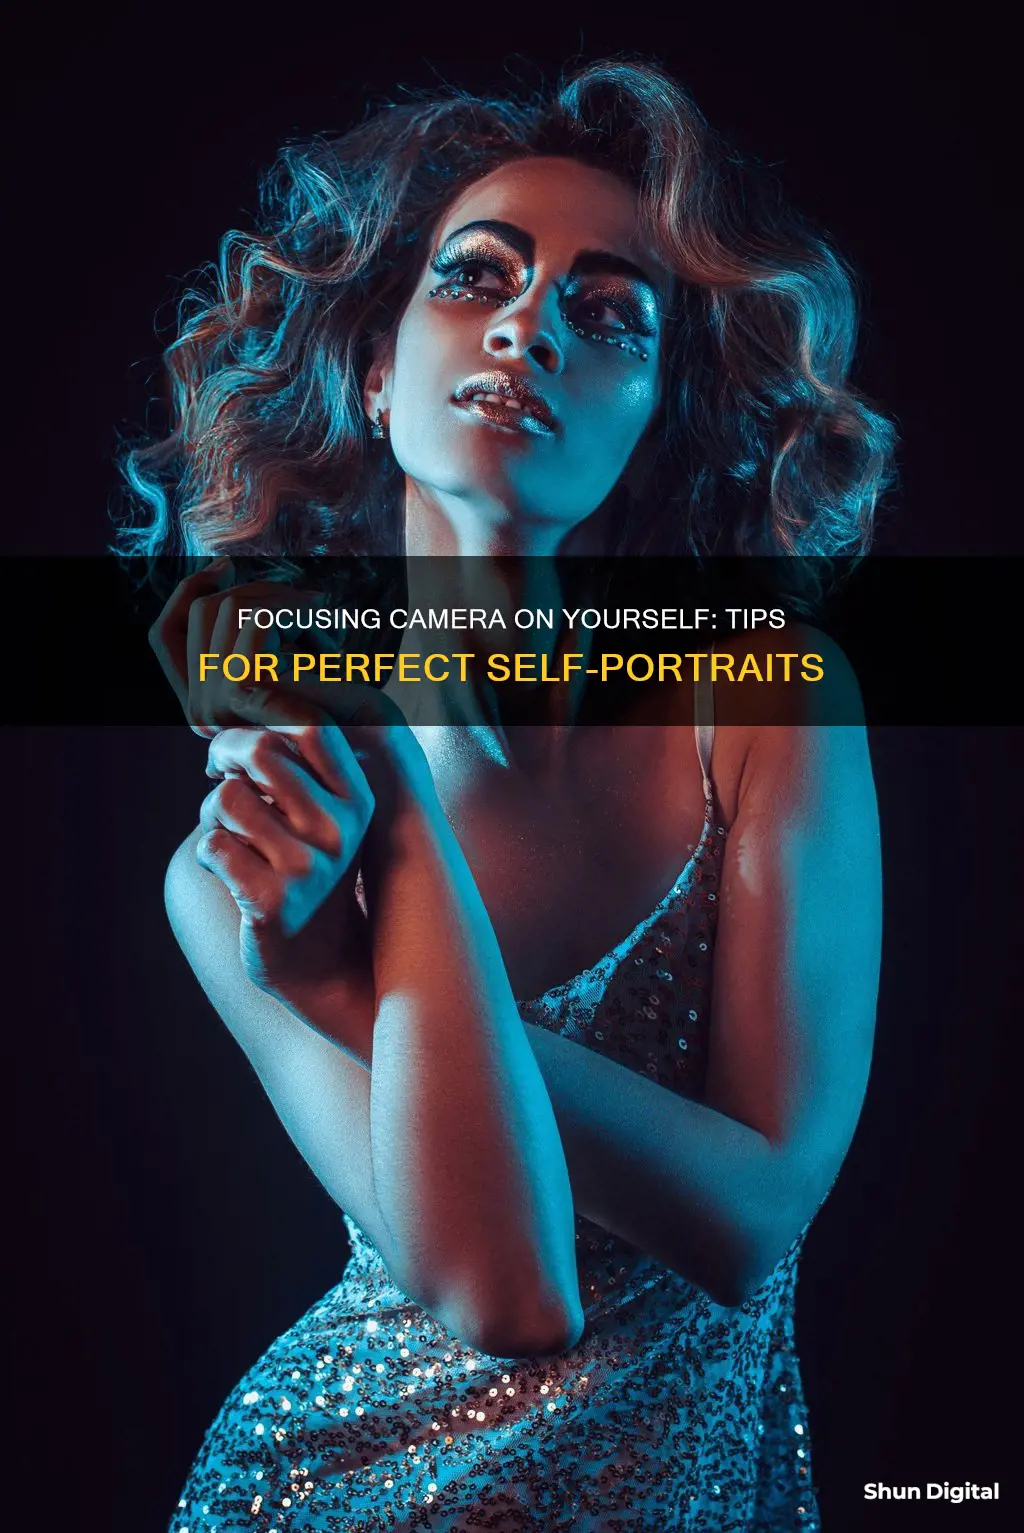
Focusing a camera on yourself can be a challenging task, especially when you're just starting out in the world of photography. The concept of focus is essential to understand as it ensures that your subject shines and your composition comes together.
One of the most common issues with self-portraits is that the camera fails to focus on the person, resulting in blurry images. This can be frustrating, but there are several methods and techniques to help you nail the focus and take sharper photos.
One method is to use a stand-in object, such as a lamp or a pillow, and focus on that. Then, when you pose in the exact same spot, the camera will be focused on you. Another technique is to use a remote shutter release, which allows you to control the camera settings and take the photo without touching the camera. This helps to avoid blurry images caused by camera shake.
Additionally, lighting plays a crucial role in achieving sharp focus. Ensure that there is enough light available for your camera to auto-focus accurately. In low-light conditions, consider using a speed light or a constant light source to illuminate your face and aid the camera's auto-focus function.
By combining these techniques and experimenting with different settings, you can improve your self-portrait photography and ensure that the camera is focused on yourself, every time.
| Characteristics | Values |
|---|---|
| Lighting | Ensure there is enough light for the camera to auto-focus |
| Low-key/darker images | Use speed lights with an auto-focus assist beam, constant light, or bump up shutter speed or aperture |
| Camera type | Some newer models have an auto-focus (AF) face detection feature |
| Manual focus | Use a tripod, mark a spot, and set the distance on the focus ring |
| Aperture | A smaller aperture makes accurate focusing less critical |
| Reference focus point | Place an object where you will be posing and focus on it |
| Remote control | Check if your camera brand has a remote control mobile app |
What You'll Learn

Use a flashlight to help your camera focus
Using a flashlight is a great way to help your camera focus, especially if you're shooting in low-light conditions. Here's how to do it:
Firstly, make sure your camera has a ""closest-subject" focus mode. Most modern cameras have this feature, which allows the camera to focus on the closest object in its line of sight. Next, set up your camera on a tripod and position yourself where you want to be in the frame. You can also mark your spot with a stand-in object, like a lamp or a pillow, and then replace it with yourself when you're ready to shoot.
Now, turn off any bright overhead lights or sources of natural light that might interfere with your setup. You want the room to be as dark as possible so that your flashlight is the primary source of illumination. Once you're in position, use your flashlight to shine a light on the part of your face you want to be in focus. This could be your eyes, your nose, or your entire face—it's up to you!
The key here is to illuminate the specific area you want to be in focus while keeping the rest of the room dark. This way, your camera's auto-focus will lock onto the illuminated object (your face) and ensure that it's sharp and clear in the final image. If you're having trouble getting enough light on your face, try using a stronger light source or moving it closer to your face.
Finally, take your shot! The flashlight technique is a creative and effective way to ensure your self-portraits are well-lit and in focus, even in low-light conditions. It's a simple trick that can make a big difference in the sharpness and overall quality of your photos.
Remember, photography is all about experimentation and finding what works best for you. So, don't be afraid to play around with different lighting setups, camera settings, and poses to achieve the perfect self-portrait. Happy shooting!
How AF-S Lenses Report Focus Distance to Camera
You may want to see also

Set a reference focus point
Setting a reference focus point is crucial for achieving the desired composition and ensuring the subject is in sharp focus. Here are some detailed instructions and considerations for setting a reference focus point:
Understanding Focus Points
Focus points are the areas in the camera's view that it can choose to focus on. Modern cameras offer a wide range of focus points, from a dozen to over sixty. These focus points are represented as dots or squares in the viewfinder or on the LCD screen. By selecting a specific focus point, you can tell the camera exactly where to focus within the frame. This is especially important when you want to focus on a specific object or person within a busy scene.
Selecting the Right Focus Point
When composing your shot, it is essential to choose the focus point that corresponds to the main subject of your photo. For example, if you are photographing a person, you should place the focus point on the eye closest to the camera. This ensures that the viewer's attention is drawn to the person's face, creating a more engaging and captivating image.
In some cases, you may want to focus on a foreground object while keeping the background blurred. In this case, you would place the focus point on the object in the foreground. Alternatively, if you want to achieve a deep depth of field with everything in focus, you might choose to place the focus point on an object in the middle ground.
Using Single-Point AF
Single-point AF mode allows you to select a single focus point and is ideal for achieving precise focus. By choosing this mode, you are telling the camera to focus only on the selected point, disregarding the other areas of the frame. This is particularly useful when you want to utilise techniques such as the rule of thirds, as you can place your subject off-centre while still achieving sharp focus.
Activating the Focus Point
The process of activating and selecting a focus point varies depending on your camera model. In most cases, you will need to press a specific button to wake up the focus points and then use a dial or wheel to select the desired point. Refer to your camera's manual to understand the specific steps for your model.
Refining Your Technique
To master the art of setting reference focus points, practice is key. Experiment with different compositions and subjects, and don't be afraid to try out different focus points to see the impact on your images. Over time, you will develop an instinct for choosing the right focus point to enhance your photographic storytelling.
Additionally, consider joining photography communities, either online or in-person meetups, to learn from other photographers' experiences and gain insights into their focusing techniques. This can help you refine your skills and become more confident in your ability to set reference focus points effectively.
Sports Camera Power: What Batteries Do They Use?
You may want to see also

Use a remote control
Using a remote control is a great way to focus a camera on yourself and take self-portraits. It allows you to trigger the shutter from a distance and avoid any camera shake, resulting in sharper photos. Here are some tips on how to use a remote control to focus your camera on yourself:
Choose the Right Remote Control
There are two types of remote releases: remote releases and cable releases. Remote releases offer more flexibility as they allow you to trigger the camera from a distance. Cable releases connect directly to your camera via a cable and are often more affordable. When choosing a remote control, ensure it is compatible with your camera. Some popular options include the Aodelan WTR-2 and the YouPro YP-870.
Set Up Your Camera and Remote
Attach the remote receiver to your camera's hot shoe and connect it via a cable. If using a wireless remote, pair it with your camera according to the manufacturer's instructions. Place your camera on a tripod to ensure stability.
Focus and Compose Your Shot
Use your camera's autofocus or manual focus to ensure the desired area is in focus. You can also use the remote's focus lock feature if available. Compose your shot by adjusting your camera's settings, such as aperture, shutter speed, and ISO.
Trigger the Shutter with the Remote
Once you are happy with your composition and focus, use the remote control to trigger the shutter. This will allow you to capture the photo without touching the camera, eliminating any camera shake. If needed, you can combine the remote with a self-timer to give yourself time to get into the frame.
Experiment with Different Techniques
Remote controls are useful for more than just self-portraits. You can use them for long-exposure photography, time-lapse, wildlife photography, and more. Experiment with different techniques and explore the features offered by your remote control to enhance your photography skills.
Using a remote control to focus your camera on yourself can be a fun and convenient way to take self-portraits and explore various photography techniques. It eliminates the need to rush into the frame and allows you to focus on your composition and posing. With practice, you'll be able to capture stunning self-portraits and expand your creative possibilities.
Camera Tickets: Ohio's Law and Your Rights
You may want to see also

Use manual focus
Manual focus gives you more precise control over your shots and can help you achieve effects that aren't possible in autofocus mode. It is particularly useful in the following scenarios:
Low-Light Conditions
Autofocus struggles in low-light scenarios, especially if you’re shooting without any form of illumination. Your lens will hunt and never lock on to anything, so manual focusing is a must. Use the Live View technique to preview the shot via the LCD, zoom in, and be certain you’ve nailed the focus before proceeding.
Low-Contrast Scenes
Autofocus relies on contrast between the dark and light tones in an image. In low-contrast situations, autofocus may fail you. The lack of contrast can lead to continuous hunting by the autofocus system, which is not only annoying but also ineffective. Switch to manual focus and take control of the focusing ring to achieve the sharpness you desire.
Choosing Your Subject of Focus
Manual focusing allows you to pick the exact subject you want to focus on. It is handy when there are many layers throughout your scene. Sometimes, in these situations, the autofocus system will snap to elements that you don’t want in focus. When this happens, switch to manual focus and adjust it yourself.
Macro Photography
Manual focus is important for macro photography because it allows for a much greater range of experimentation. Mastering manual focusing is a must for macro photography because it allows for a much greater range of experimentation. Focus stacking is a method to ensure that every element is in focus to its fullest. It is a process similar to HDR, where you take many images and stitch them together through post-production. You use manual focus to target each different aspect.
Wide-Angle Photography
When shooting with a wide-angle lens, your subjects are often large objects shown on a small scale, such as trees, buildings, and other inanimate objects. In such situations, because these objects occupy a small area of the frame, it can be hard to control your lens’s autofocus; it might lock focus on an unwanted area of the image. Switch to manual focus to pick your point of focus and leave the lens focusing on the same spot, no matter how the scene changes.
Panorama Photography
When shooting panoramas – which are created by stitching a set of photos together in post-production – consistency throughout the shots is key. Manual focus can help you achieve this by allowing you to pick your point of focus and leaving the lens focusing on the same spot as you rotate your camera.
Hyperfocal Distance Photography
Achieving complete clarity throughout the frame is highly desirable for certain shots. Your first step is to choose a narrow aperture, like f/11, which helps keep more of the scene in focus. Without a perfectly placed point of focus, even a narrow aperture won’t keep the entire scene sharp. That’s where the hyperfocal distance comes into play. It’s the specific point of focus that’ll maximize the depth of field in your shot. Once you’ve figured out where the hyperfocal distance lies, manually focus on that exact spot. Autofocus often won’t cut it here, as it lacks the precision required for this technique.
Street Photography
Manual focus can be beneficial for street photography as it allows you to lock your focus and aperture, so you can shoot continuously without changing either setting. You could spend a whole day without any need to focus your camera by setting the focus ring on 3 meters and the aperture on F11. Then everything between 1.8 and 7 meters would be in focus.
Landscape Photography
For good landscape photos, you normally want everything from the mountains in the distance to the grass in front of you to be in focus. Autofocus isn’t great for this because it will normally just focus on a subject in the foreground. When you’re shooting landscapes and want everything to be in focus, one simple tip is to focus one-third of the way into the scene on something in the midground with your aperture set to f/16 or so.
When There's a Lot of Distractions
Autofocus normally focuses on the simplest, most obvious foreground subjects. If there’s something distracting or opaque in the foreground, like some tree branches or a window, it will probably focus on that instead of the real subject. Swap to manual focus and focus on the subject yourself.
Any Other Time You Want Control or Consistency
Autofocus is just another tool at your disposal. Any time you want control or consistency, there’s a good chance it will do more harm than good. You probably should use manual focus when you’re doing anything like HDR images, macro images, panoramas, or anything else where you’re combining more than one image.
Understanding Camera Raw: A Stand-Alone Powerhouse?
You may want to see also

Make sure there's enough light
When taking self-portraits, it's important to ensure there is enough light for your camera to focus on yourself. This is especially important if you are using an older camera model without an auto-focus (AF) face detection feature. Here are some tips to ensure you have adequate lighting for sharp and well-focused self-portraits:
Utilise Natural Lighting:
If you are shooting during the day, take advantage of natural light by positioning yourself near a window or in a well-lit room. Natural light will help your camera focus better and create more flattering images.
Adjust Lighting for Low-Light Conditions:
When shooting in low-light environments, your camera's auto-focus may struggle. To assist with focusing, you can use speed lights with an auto-focus assist beam. These lights will emit a beam of red light, helping your camera lock onto your face. If you don't have speed lights, you can use alternative light sources like your phone's torch or an LED ring light to add extra light to the scene.
Modify Shutter Speed and Aperture:
By increasing your shutter speed or using a higher aperture (F-stop), you can make the scene appear darker while avoiding focusing problems. A smaller aperture will also give you a wider depth of field, making accurate focusing less critical.
Use a Flashlight:
Most modern cameras have a "closest-subject" focus mode. In a darkened room, shine a flashlight on the area you want to focus on, such as your eyes. The camera will then focus solely on the illuminated object. Remember to use a flash when taking the photo due to the low-light conditions.
Soft Lighting from the Front:
When setting up your webcam or video recording, ensure you have a good light source. Avoid low-light conditions or excessive backlighting from windows, as this may wash out your image or leave you looking like a silhouette. Instead, opt for soft, indirect lighting from the front. A ring light is an affordable and effective solution, or you can use a lamp with a lampshade placed in front of you and behind the webcam.
Best Batteries for Your XSH Camera Doorbell
You may want to see also


