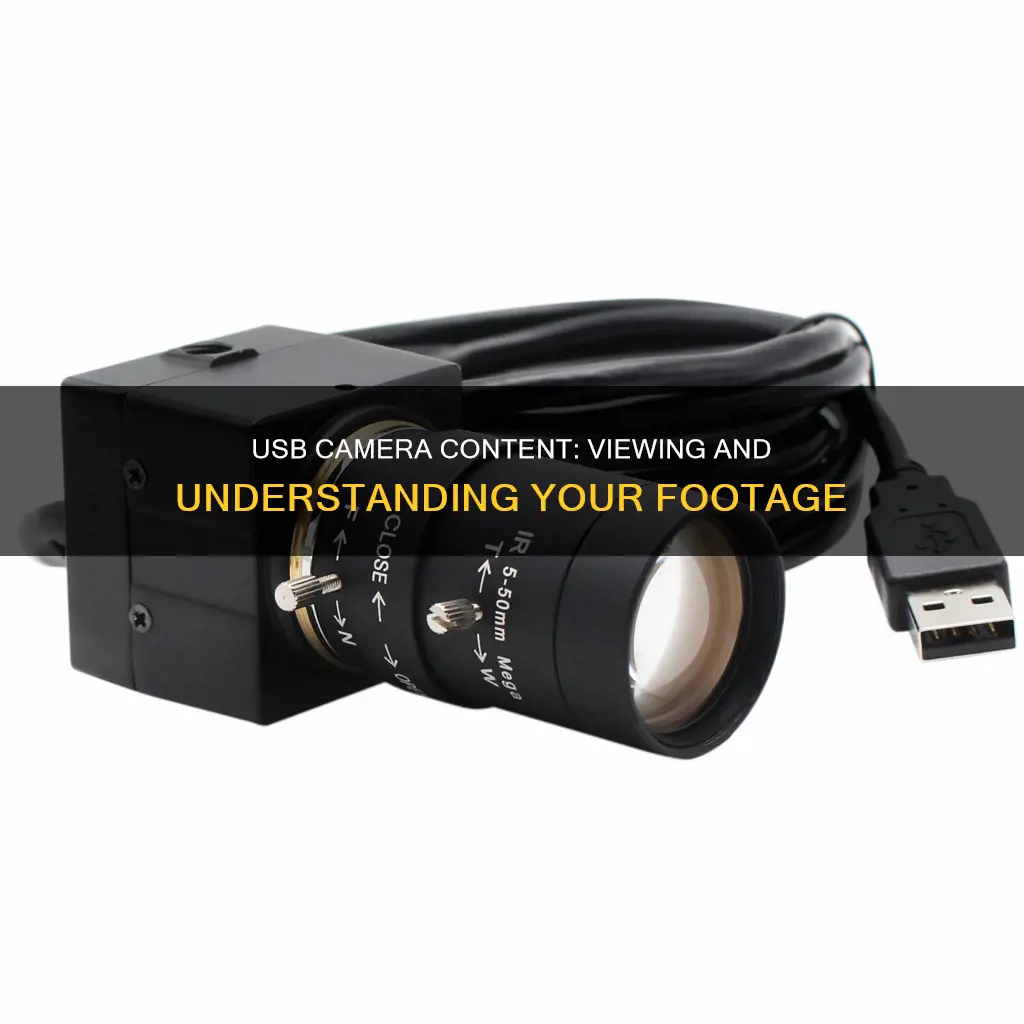
If you want to see what your USB camera sees, you'll first need to connect it to your computer. Most webcams connect with a USB cord, which you can plug into one of your computer's USB ports. Once you've done this, you can open your webcam software or app and, if your camera is working, you should be able to see its feed. If you're having trouble, you may need to install your camera's drivers or update them. You can usually find these on a disk that came with your camera or online.
What You'll Learn

How to test if your USB camera is working
There are several ways to test if your USB camera is working.
Using a Webcam Checker Website
- Go to a webcam checker website such as WebcamMicTest, WebcamTests, or OnlineMicTest.
- Click the "Check my Webcam" or "Start Webcam Test" button.
- Allow access to your camera when prompted.
- You should now see yourself or whatever the webcam is pointed at. If you do, your camera is working!
Using a Web Conference App
Most web conference apps like Skype and Zoom let you see video from your webcam in Settings. To test your webcam on Skype or Zoom:
- Open the app and click on "Settings".
- Click on "Audio & Video" (Skype) or "Video" (Zoom).
- You should now see your video. If you don't, try selecting a different camera from the drop-down menu.
Using a Built-in Camera Application
If you're using a Windows computer, click on the Start button and type "Camera." Click on the Camera app, which will display video from your webcam.
If you're using a Mac, find Photobooth in your dock or by searching for it in Finder. When you open Photobooth, you should automatically see your webcam feed.
Streaming Sites to Watch 5 Broken Cameras Documentary
You may want to see also

How to access your USB camera on Windows
To access your USB camera on a Windows 10 or 11 device, you will first need to connect it to your computer's USB port. Once the camera is physically connected, you can open the Camera app.
To open the Camera app, select the Start button, then select All apps, and then select Camera in the list of apps. If you have multiple cameras, you can switch between them by selecting Change Camera at the top right once the Camera app is opened.
If you are having trouble locating your USB camera, you can use the Universal Serial Bus Viewer (USBView) or usbview.exe to browse all USB controllers and connected USB devices on your computer. This application works on all versions of Windows.
If you are connecting a new camera, you may also need to install the drivers and software that come with it. This will typically require you to insert the installation disc that came with the camera, or you can install the drivers and software from the manufacturer's website.
Apple Watch Series 3: GPS and Camera Features Explored
You may want to see also

How to access your USB camera on Mac
To access your USB camera on a Mac, you will need to connect your camera to your Mac using the appropriate cable or wirelessly, depending on the camera.
First, check your camera's user guide to determine if you need to use the menu system to set a USB mode for compatibility with your operating system. Make any necessary adjustments and turn off the camera before plugging it into your Mac.
Next, plug the USB cable into your camera, and then plug the other end into one of the USB ports on your Mac. Ensure that the USB cable is properly connected and avoid tension on the cable while it is connecting.
Once your camera is physically connected, allow 10-15 seconds for your Mac to recognize the camera. Then, open an app that captures video, such as Photo Booth, FaceTime, or QuickTime Player.
For Photo Booth and FaceTime, simply click on "Camera" or "Video" in the menu bar, respectively, and then choose your external camera from the list of options.
For QuickTime Player, choose "File" > "New Movie Recording", hold the pointer over the window, click the down arrow, and then select your camera.
For third-party apps, you may need to refer to the developer's instructions or explore the app's menus and settings to determine how to select your external camera.
Viewing Roku's Camera Feed on Your TV
You may want to see also

How to switch to your USB camera on Windows
To switch to your USB camera on Windows, follow these steps:
Firstly, ensure your USB camera is properly connected to your computer. Most USB cameras will be recognised by your Windows device and will begin installing the necessary drivers automatically. You should see a notification when your device is ready to use.
If you want to use your USB camera with video calling apps, such as Google Meet or Zoom, you can change the default camera in the app's settings. In Google Meet, for example, click on the three-dot icon, then 'Settings', and select your USB camera under the 'Camera' section in the 'Video' tab.
If you want to change the default camera for your whole system, you can do so in your Windows settings. Press the Windows key and 'R' to open the Run dialog box. Type 'devmgmt.msc' and press enter to bring up the 'Device Manager'. In the list of installed devices, find the 'Camera' section and select your USB camera. You can then right-click on your internal webcam and select 'Disable device'. Now, your Windows device will automatically use your USB camera when needed.
You can also change your default camera by going to the Control Panel. Press Windows key and 'R' to open the Run dialog, then enter 'control' and press enter. Set the 'View by' option to 'Large icons' or 'Small icons' and select 'Devices and Printers'. Find your USB camera, right-click on it, and select 'Set as Default Device'.
Smartwatch Compatibility with Dexcom: Bluetooth Camera Edition
You may want to see also

Troubleshooting a USB camera that isn't working
Check the Device Connection:
Start by checking the physical connection between your USB camera and your computer. Ensure that the USB cable is securely plugged into both the camera and the computer. Try jiggling the cable or unplugging and plugging it back in, as this can sometimes fix the problem.
Try a Different USB Port:
The issue could be with the USB port on your computer. Try plugging your camera into a different USB port to see if that resolves the problem. If you have access to another computer, try using your camera with it to confirm whether the issue is with the camera or the computer.
Check Your Antivirus Settings:
Sometimes, antivirus software can interfere with the functioning of your camera. Check the settings of your antivirus program to see if it is blocking access to your camera or preventing it from launching. If so, adjust the settings to allow camera access.
Update Your Webcam Drivers:
An outdated or missing webcam driver can cause your camera to malfunction. Update your webcam driver by searching for the "model of your webcam" + "drivers" on Google. Download and install the appropriate driver for your camera.
Restart Your Computer:
A simple restart can sometimes fix unexpected issues with your hardware. If you haven't restarted your computer since the camera stopped working, give it a try.
Check for a Camera Switch or Button:
Some laptops and portable devices have a physical switch or button that turns the camera on or off. Ensure that the camera is turned on by checking for a switch or button, usually located on the keyboard, side of the laptop, or built into the camera itself.
Give Apps Permission to Access the Camera:
Certain apps may require permission to access your camera. Go to your device settings and ensure that camera access is enabled for the apps you want to use. If you recently updated your operating system, you may need to grant permission again.
Check Your Hardware Devices:
Open the Device Manager on your computer and check if your camera is listed under "Cameras", "Imaging Devices", or "Sound, Video and Game Controllers". If it is not listed, select the "Action" menu and then "Scan for hardware changes" to see if any updates are available.
Roll Back or Uninstall Your Camera Driver:
If your camera stopped working after a recent update, try rolling back the camera driver. In the Device Manager, right-click on your camera, select "Properties", then select the "Driver" tab and choose "Roll Back Driver". If this option is not available, you can try uninstalling the camera driver and scanning for hardware changes.
Consult the Manufacturer:
If none of the above solutions work, refer to the user manual or the manufacturer's website for further guidance. Many manufacturers provide troubleshooting applications or additional support to help resolve issues with their products.
LG Smart TVs: Built-In Cameras or Not?
You may want to see also
Frequently asked questions
To test your USB camera, go to an online webcam testing website and follow the instructions. Alternatively, on Windows, type "Camera" into the search box to bring up your camera feed.
First, open the Device Manager by searching for it in the Windows Start menu or Control Panel. Then, expand the "Cameras" category, right-click on your camera, and choose "Properties".
If your USB camera came with a software disk, insert the disk before plugging in the camera. If there is no disk, plug in the camera and Windows will likely recognise it as new hardware. If not, you can search for drivers online or on your computer.
Select the Start button, then select "All apps", and then select "Camera" in the list of apps. If you have multiple cameras, you can switch between them by selecting "Change Camera" in the top right corner of the Camera app.


