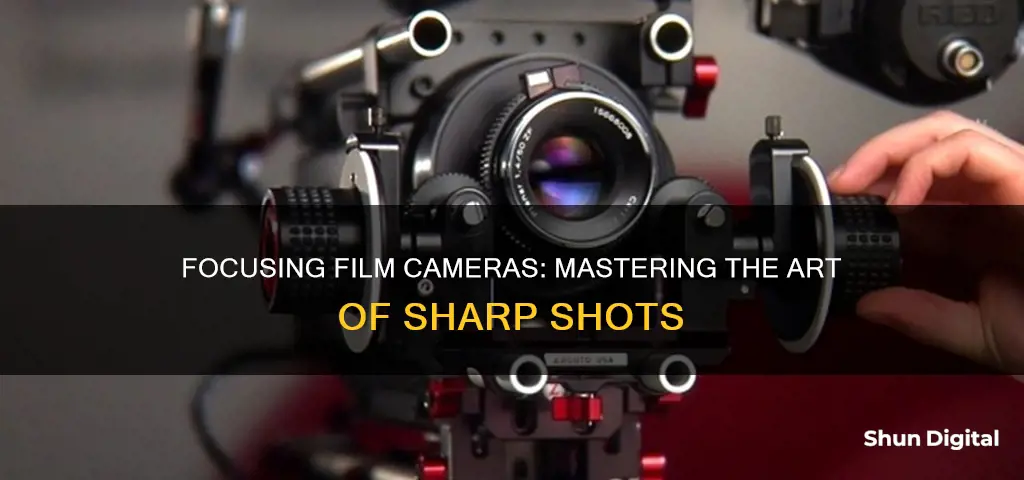
Focusing a film camera can be a tricky task, especially for beginners. There are various types of film cameras, such as manual-focus film cameras, which may or may not have a focusing screen, and auto-focus cameras. Focusing screens can be of different types, such as split-image, microprism, or etched lines. The type of focusing screen and the lens used can impact the ease and accuracy of focusing. Some lenses have a gauge that can be used for zone focusing, which is a technique where the distance is estimated and dialled into the lens. Rangefinder cameras, another type of film camera, have a different mechanism for focusing, which involves aligning a ghost image with the main image. Additionally, the lighting conditions and the speed of the film also play a role in achieving accurate focus.
| Characteristics | Values |
|---|---|
| Focusing screen | Split prism, microprism |
| Lenses | Wide-angle, telephoto, macro |
| Shutter speed | 1/125s, 1/250s, 1/500s |
| Aperture | 𝒇1.4, 𝒇2, 𝒇2.8, 𝒇4, 𝒇5.6, 𝒇8, 𝒇16, 𝒇22 |
| Film sensitivity | ISO 25, 50, 100, 200, 400, 800, 1600, 3200 |
What You'll Learn

Utilise a focusing screen
Focusing screens are a common feature in manual-focus film cameras. They are a flat, translucent material, usually made of ground glass or a Fresnel lens, and they allow the photographer to preview the framed image in the camera's viewfinder. The screen will often have etched markings for different purposes, such as a grid to help photographers keep the horizon straight when shooting landscapes.
If you're using a manual-focus film camera, a focusing screen can be a great tool to help you nail your focus. Two of the most common types of focusing screens are the split prism and the microprism focusing screen. The microprism ring breaks up the image unless the lens setting is in focus, while the split screen shows part of the image split into two pieces. When using a split screen, you'll know your image is in focus when both pieces are aligned. It's important to note that these types of focusing screens have considerable light loss, making low-light focusing challenging.
Some cameras, like the Minolta X-700, combine both the split prism and microprism methods into one. Other cameras may only have one or the other. If you're considering purchasing a manual-focus film camera, it's worth checking which type of focusing screen it uses.
Professional cameras often offer a choice of interchangeable screens, allowing photographers to choose the best option for their specific needs. For instance, a plain screen is ideal for low-light situations, while a screen with a grid is better suited for architectural images and wide-angle lenses.
Finding the Chevy Camaro's Battery: Location and Access
You may want to see also

Understand the role of a split prism
A split-image spot, sometimes called a split-image rangefinder or split-prism, is an optical focusing aid incorporated into a reflex camera's ground glass screen. The split-prism method of focusing was used in old SLR cameras before autofocusing became a standard feature.
The split-image device is often combined with a microprism. The microprism ring blurs the image unless the lens setting is in focus, while the split-image spot shows the image split into two pieces. When the two pieces are aligned, the setting is in focus.
The split-prism method works by bouncing the image from the mirror to the prism, which then shows what the lens sees to the photographer who peers through the viewfinder. The photographer must turn the focusing ring until the image in the centre lines up perfectly, indicating that the scene and subject in the centre are in focus.
The drawbacks of the split-prism method include considerable light loss, making low-light focusing almost impossible. Other issues include a darker viewfinder, alignment issues, and visual distraction caused by the focusing screen breaking up the image.
Troubleshooting Camera Battery Exhaustion Issues
You may want to see also

Learn how to use a rangefinder
Focusing a film camera can be done manually or automatically. Many film cameras have mechanisms built into them to help with focusing, such as a focusing screen. One of the most common mechanisms is a rangefinder. Here's how to use one:
A rangefinder is a device that uses laser technology to provide precise measurements. They are commonly used in golf to measure the distance to a target, such as a flagstick or hazard. Here are some steps to help you learn how to use a rangefinder effectively:
Understand the Basics
A rangefinder emits a laser beam towards the target. This beam bounces off the target and returns to the rangefinder, where the time it took to travel is measured. Using the speed of light as a constant, the device calculates the precise distance to the target.
Choose the Right Mode
Modern rangefinders offer multiple modes for different scenarios. The normal mode is ideal for measuring the distance to a single, unobstructed target. Scan mode allows you to measure multiple distances simultaneously by continuously scanning the area. Flag-seeking mode, or pin-seeker, is designed to lock onto the nearest target, ignoring background objects. Slope mode calculates the angle-compensated distance, taking into account elevation changes.
Aim and Stabilize
Direct the rangefinder towards the largest visible section of your target. Avoid any obstacles in the foreground, such as branches or leaves, as they may cause the device to lock onto the wrong object. Maintain stability by holding the rangefinder with one hand while resting your elbow on your chest. Alternatively, use a golf cart or a playing partner's shoulder as a makeshift tripod.
Utilize Advanced Features
Many rangefinders have a flag-lock feature that vibrates when it successfully acquires the target. Combine the rangefinder with a GPS app to gather additional information, such as shot tracking and course layout. Practice using your device to improve your proficiency and seamlessly incorporate it into your routine.
Choose the Right Rangefinder for You
Consider factors such as accuracy, range, optics, display quality, durability, water resistance, and battery life when selecting a rangefinder. Evaluate your needs for additional features like slope adjustment, GPS integration, and compatibility with smartphone apps. Compare different models and brands to find one that suits your requirements and budget.
Maximizing Comcast Business Cameras: Full-Screen View
You may want to see also

Adjust the diopter
Adjusting the diopter is a simple process that ensures the photographer can see what the camera sees with clarity. The diopter is a small dial or wheel located next to the viewfinder on most cameras. It is marked with a '+' and '-' sign, indicating the direction of adjustment.
The diopter is an optical tool that adjusts the viewfinder to the photographer's eyes, allowing them to use the camera without glasses or other corrective lenses. It is especially useful for photographers with less than perfect vision, such as those with nearsightedness or farsightedness.
To adjust the diopter, follow these steps:
- Stabilise the camera on a tabletop or a tripod to ensure it remains steady during the adjustment process.
- Point the camera at something well-lit and with plenty of contrast, such as a signboard.
- Press the shutter button halfway to allow the camera to autofocus on the subject.
- Look through the viewfinder and check if the image and the symbology (data projected onto the viewfinder, such as aperture and shutter speed) are clear, sharp, and in focus.
- If the image and symbology are blurry, adjust the diopter dial slightly until everything appears sharp.
- To double-check, point the camera at a different subject and try to autofocus again. Ensure that the image and symbology remain tack sharp.
It is important to note that the diopter adjustment does not affect the actual image focus but helps the photographer see through the viewfinder more clearly. This adjustment is crucial for photographers with unique vision requirements, enabling them to compose their shots with precision.
Mastering Blender's Camera Fly Mode for Animation
You may want to see also

Use a laser range-finder
Laser range-finders are an excellent tool for focusing a film camera. They work by measuring the distance from the camera to the subject, which can then be used to adjust the focus accordingly. This can be especially useful in low-light or low-contrast situations where traditional focusing methods may struggle.
- Understand the basics: Laser range-finders work by emitting a laser beam towards the subject and measuring the time it takes for the beam to bounce back. This information is then used to calculate the distance to the subject.
- Choose the right range-finder for your needs: There are various types of laser range-finders available, including handheld devices, smartphone apps, and built-in camera features. Consider factors such as accuracy, range, and ease of use when selecting a range-finder.
- Calibrate your range-finder: To ensure accurate results, calibrate your laser range-finder according to the manufacturer's instructions. This typically involves setting a reference distance and adjusting the device until it accurately measures that distance.
- Consider the limitations: Laser range-finders have limitations, such as minimum and maximum distance requirements, and may not work well with reflective or transparent surfaces. Be aware of these limitations and adjust your techniques accordingly.
- Use it as a tool, not a crutch: While laser range-finders can be incredibly helpful, they should not replace your understanding of basic focusing techniques. Continue to practise manual focusing and use the range-finder as a supplementary tool.
- Combine it with other focusing techniques: Laser range-finders can be used in conjunction with other focusing techniques, such as zone focusing or hyperfocal distance, to improve your overall accuracy. Experiment with different techniques to find what works best for you.
- Maintain and care for your equipment: Laser range-finders, especially those built into cameras, may require occasional maintenance or calibration to ensure accurate results. Consult the manufacturer's instructions or a qualified technician for guidance on proper care and maintenance.
Understanding Camera Mode Dials: Unleashing Creative Photography
You may want to see also


