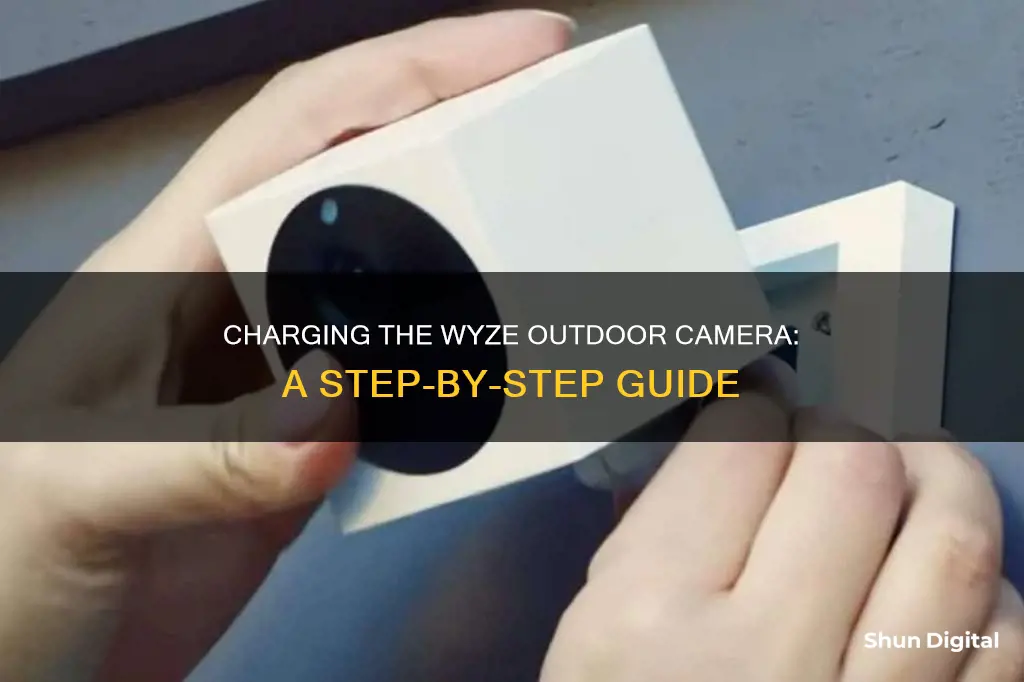
The Wyze Cam Outdoor takes up to four hours to fully charge. You'll know it's fully charged when the light on the camera switches from flashing red to solid red. If the camera is not recording videos while charging, it will charge faster. To set up the camera, you must first fully charge it. Then, in the Wyze app, tap Home, then tap the + plus sign on the top right, and so on.
| Characteristics | Values |
|---|---|
| Charging Time | Up to 4 hours |
| Charging Indicator | Light will switch from flashing red to solid red when fully charged |
What You'll Learn

Charging time: 0-4 hours
The Wyze Cam Outdoor takes up to 4 hours to charge fully. The light on the camera will switch from flashing red to solid red when it is fully charged. If the camera is not recording videos while charging, it will charge faster.
To charge your Wyze Cam Outdoor, first, open the charging cover on the back of the camera. Then, flip the power switch to the "On" position. At this point, the status light will be solid yellow. Next, separate the camera from its base by lifting it away.
After this, you can plug the camera into a power source. It is important to fully charge your Wyze Cam Outdoor before setting it up for the first time. Once it is fully charged, you can set up your camera by following the steps outlined in the Wyze app.
The Wyze Cam Outdoor is easy to set up and use, and with a full charge, you can ensure that your camera is always ready to capture the moments that matter.
Charging Your Canon Powershot SX40: A Quick Guide
You may want to see also

Charging light indicators
When charging your Wyze Cam Outdoor for the first time, the light will flash red. Once fully charged, the light will switch from flashing red to a solid red light. This process can take up to four hours. If the camera is not recording videos while charging, it will charge faster.
The Wyze Cam Outdoor also has a status light that indicates the power state of the camera. When the camera is fully charged and powered on, the status light will be solid yellow. During the pairing process, the status light will flash yellow and blue. Once the pairing process is complete, the status light will turn solid blue.
In addition to the charging and status lights, the Wyze Cam Outdoor may also display a flashing red light if the battery is low and needs to be recharged. It is recommended to fully charge the camera before each use to ensure optimal performance.
The Wyze Cam Outdoor is designed to be easy to use and setup, with intuitive charging and status light indicators to help users understand the power state of the device. By following the instructions provided and paying attention to the charging and status lights, users can ensure their Wyze Cam Outdoor is always ready for use.
Charging the Kitmesh Camera: A Quick Guide
You may want to see also

Initial setup process
To initially set up your Wyze Cam Outdoor, you must first fully charge the camera. Charging the camera for the first time can take up to 4 hours. Once fully charged, the light on the camera will change from flashing red to solid red.
After charging the camera, you can begin the setup process. Start by opening the Wyze app on your device. Tap 'Home' on the app, then tap the plus sign (+) on the top right of the screen. From the 'Add' menu, tap 'Device'. Next, tap 'Cameras' and then 'Wyze Cam Outdoor'. You will then be able to begin the setup.
If you do not have a Wyze Base Station on your account, or your Wyze Base Station already has four paired cameras, you will be directed to set up a Wyze Base Station. On the back of your camera, open the charging cover and turn the power switch on. The status light will be solid yellow.
Lift the camera away from its base or separate the magnetic base from the body. In the Wyze app, tap 'Begin Setup'. If you have multiple Wyze Base Stations or if yours is already full, you will be asked to select the one you want to pair the camera with.
Press the 'SYNC' button on the bottom of the Wyze Cam Outdoor. The camera will then begin pairing with the Wyze Base Station. The status light will flash yellow and blue during this process and will turn solid blue once the pairing is complete.
Finally, name your Wyze Cam Outdoor when prompted on the next screen. You may also be prompted for a free trial of Cam Plus. Tap 'Continue', and then 'Skip' on the following screen to create or edit a device group or share the device later.
Charging the Noorio Camera: A Quick Guide
You may want to see also

Syncing with the Wyze app
To sync your Wyze Cam Outdoor with the Wyze app, start by fully charging your camera. This can take up to 4 hours. You'll know it's fully charged when the light on the camera switches from flashing red to solid red.
Once your camera is charged, open the Wyze app and tap "Home". Then, tap the + (plus) sign on the top right. On the Add menu, tap "Device".
Next, tap "Cameras" and select "Wyze Cam Outdoor". Then, tap "Begin setup". If you don't have a Wyze Base Station on your account, or your Wyze Base Station already has 4 paired cameras, the app will direct you to set up a Wyze Base Station.
If you already have a Wyze Base Station, make sure it's set up before proceeding. On the back of your camera, open the charging cover and flip the power switch to "On". The status light will be solid yellow. Lift the camera away from its base, or separate the magnetic base from the body.
In the Wyze app, tap "Begin Setup" and select the Wyze Base Station you want to pair with the camera if you have more than one. Then, press the SYNC button on the bottom of the Wyze Cam Outdoor. The camera will say "Pairing is in progress. Please wait."
The status light will flash yellow and blue during pairing. Once pairing is complete, the status light will turn solid blue. When prompted on the next screen, name your Wyze Cam Outdoor, and you're all set!
Rechargeable Camera Batteries: Charged or Not When Bought?
You may want to see also

Mounting the camera
Mounting the Wyze Cam Outdoor is not necessary, but it can provide some benefits. When mounted, the camera is more secure, protected from the elements and direct sunlight, and it gives you a better vantage point over large areas.
Ceiling Mount Instructions
- Position the Wyze Cam Outdoor on the ceiling where you want to mount it.
- Drill a 3mm hole in that spot, and insert the included Drywall Anchor.
- Screw the base of the camera into the Drywall Anchor using the hole labeled "Ceiling Mount".
- Attach the top of the camera to the magnetic base, ensuring that the SYNC button is facing down.
Wall Mount Instructions
- Position the Wyze Cam Outdoor on the wall where you want to mount it.
- Drill a 3mm hole in that spot, and insert the included Drywall Anchor.
- Screw the base of the camera into the Drywall Anchor using the hole labeled "Wall Mount".
- Attach the bottom of the camera to the magnetic base, ensuring that the SYNC button is facing down.
To get the most out of your Wyze Cam Outdoor, keep these tips in mind:
- Always mount the camera right-side pointing up, with the SYNC button pointed down. Person detection may not work as accurately if the sensor is upside down.
- Avoid direct sunlight. While the camera is designed to withstand the elements, direct sunlight can wash out the image and potentially shorten the life of the camera's image sensor.
- Avoid general traffic. While false positives should be infrequent, angling the camera away from heavy-traffic areas will help conserve battery life.
- Avoid waving branches. Although the PIR sensor helps to prevent false positives, the camera may still record passive movement, such as waving branches or a clothesline, as movement.
- Do not place the camera behind glass, looking out of a window, or inside a third-party case. The PIR sensor uses temperature changes to detect motion, and motion detection will not work if the camera is obstructed.
Camera Charger Problems: De-A11 Edition
You may want to see also
Frequently asked questions
It takes up to 4 hours to fully charge the camera. If the camera is not recording videos while charging, it will charge faster.
When the camera is fully charged, the light will switch from flashing red to solid red.
Before setting up your Wyze Cam Outdoor for the first time, fully charge the camera. Once fully charged, open the charging cover at the back of the camera and flip the power switch to "On". The status light will be solid yellow.


