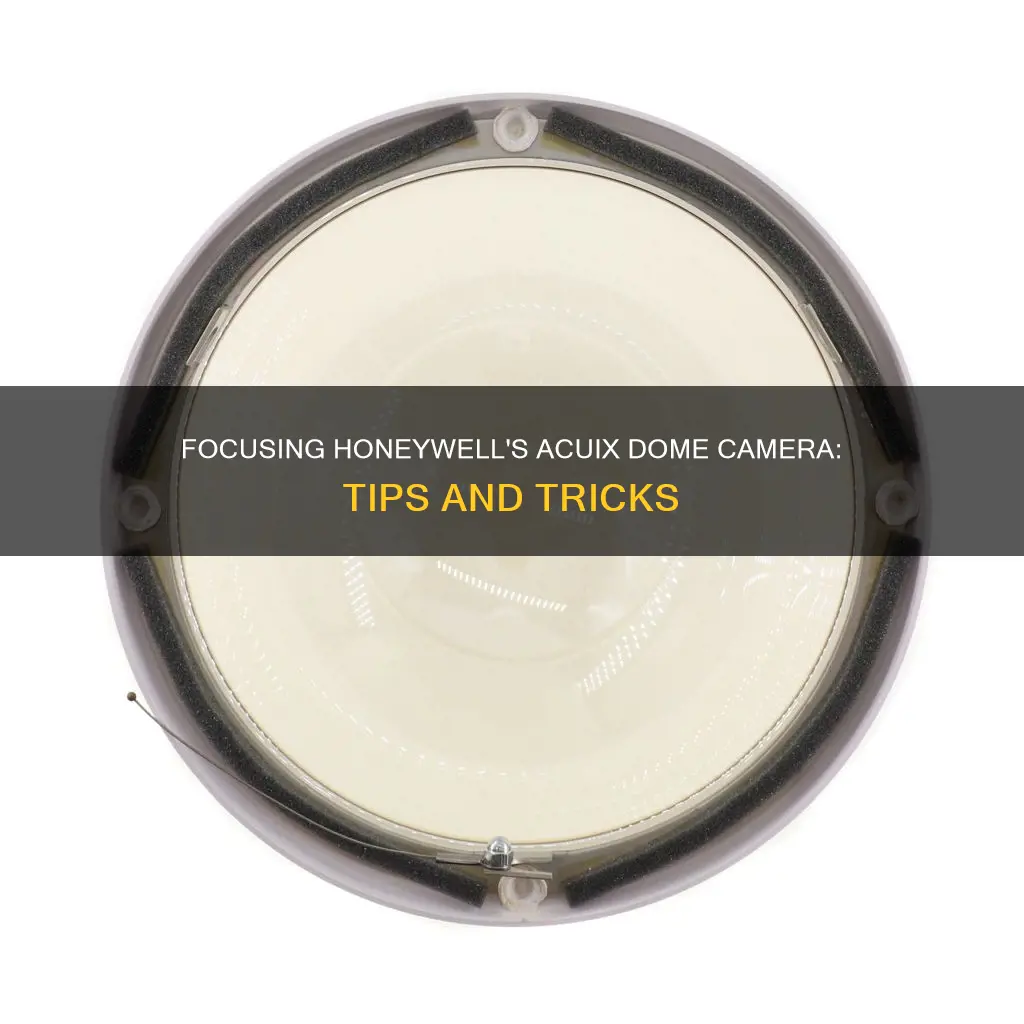
The Honeywell ACUIX is a high-speed dome camera that offers the latest in digital video surveillance. It provides dual streaming of MJPEG and MPEG-4 images in 4CIF, 2CIF, and CIF resolutions with rates of up to 30 frames per second for NTSC systems and 25 frames per second for PAL systems. The ACUIX camera has multiple housing options and high-resolution, autofocus cameras for a variety of applications. The colour camera comes with an 18X zoom lens and 460-540 TVL of resolution, while the Wide Dynamic Range (WDR) and True Day/Night (TDN) models offer 18X, 26X, or 35X zoom lenses with improved image quality in unstable mounting situations.
To focus the Honeywell ACUIX dome camera, you can adjust the focus through the on-screen display (OSD) menu. Here are the steps to access the focus settings:
1. Press the Menu button on the camera or remote control to open the OSD menu.
2. Navigate to the Camera or Camera Options section in the OSD menu.
3. Look for the Focus or Auto Focus setting.
4. Adjust the focus setting as needed. You may have options like auto focus, manual focus, or a focus slider to adjust the focus manually.
5. Press the Save or Exit button to apply the changes and exit the OSD menu.
By following these steps, you should be able to access and adjust the focus settings on your Honeywell ACUIX dome camera.
| Characteristics | Values |
|---|---|
| Camera Model Dependent Features | EIS, TDN and WDR |
| Housing Options | Both indoor and outdoor applications |
| On-Screen Display (OSD) Menus | Set various display, control, diagnostic and camera parameters |
| Protocols | IntelliBus, Diamond, VCL protocols, MAXPRO mode, Pelco P, Pelco P_AD, Pelco D and Pelco D_AD |
| Zoom | 18X, 26X, 35X |
| Resolution | 470 TVL (460 TVL PAL) |
| Digital Zoom | 12X |
| Video Resolution | CIF, 2CIF, 4CIF |
| Frames Per Second | 30 fps |
| Camera Sabotage Detection | Yes |
| Firmware Updates | Remote |
| Surge Protection | Built-in |
| Lightning Protection | Built-in |
What You'll Learn
![]()
How to set up the Honeywell ACUIX dome camera
The Honeywell ACUIX is a high-speed dome camera that offers advanced digital video surveillance. The setup process involves several steps, from installing the housing and mounts to configuring the camera settings and network options. Here is a comprehensive guide on how to set up the Honeywell ACUIX dome camera:
Install the Housing and Mounts:
- Choose the appropriate housing for your needs, such as indoor or outdoor pendant, in-ceiling, or rugged housing.
- Prepare the required cables and power supply according to the specifications in the manual.
- Install the selected housing by following the instructions for the specific type of housing (e.g., wall mount, ceiling mount, pendant housing).
- Connect the field wiring, including power, network, and alarm cables, to the housing interface board.
Install the Scan Assembly:
- Set the dome address, protocol, baud rate, and parity using the DIP switches on the scan assembly main board. Refer to the manual for the correct switch positions.
- Install the scan assembly into the housing. This procedure is similar for all housing styles.
- Attach the bubble to the housing, ensuring the safety cable is connected, and align the hooks on the bubble with the mounting posts.
Configure the Dome Settings:
- Install the Honeywell IP Utility software on your workstation, ensuring it meets the minimum system requirements.
- Connect the workstation to the same network as the camera.
- Launch the Honeywell IP Utility and log in as an administrator or guest.
- Discover the camera device on the network, and configure its network settings, including IP address, subnet mask, and default gateway.
- Access the ACUIX IP web client application and log in using the credentials provided.
- Familiarize yourself with the various tabs in the web client application, such as Live View, Device Information, PTZ Dome Setup, and Compression Settings.
- Configure the on-screen display (OSD) menu settings, including language, display options, zoom magnification, and time and date.
Configure Dome Control and Camera Settings:
- Adjust the pan and tilt speed, auto pivot, tilt reverse, tilt limit, and other dome control settings as per your requirements.
- Set the zoom, exposure, night shot, white balance, and other camera settings based on the camera model you are using (HDXA, HDXJ, HDXF, or HDXG).
Configure Advanced Features:
- Set up presets, tours, privacy zones, sectors, and alarms to customize the camera's behavior and monitoring capabilities.
- Adjust video compression settings, tamper detection settings, and deinterlacing filter settings to optimize video quality and security.
System Administration and Maintenance:
- Manage passwords and PINs for accessing the Honeywell IP Utility and web client application.
- Upgrade the dome firmware when new versions are released to ensure optimal performance and security.
- Reset the dome or restore factory default settings if needed, but be aware of the differences between these options.
- Regularly maintain the camera by cleaning the lens, checking cable connections, and ensuring proper ventilation.
Charging Camera Batteries: Empire Adapter Instructions
You may want to see also
![]()
How to adjust the focus on the Honeywell ACUIX dome camera
To adjust the focus on the Honeywell ACUIX dome camera, follow these steps:
Access the On-Screen Display (OSD) Menu:
- Use the controller to navigate to the OSD menu.
- The OSD menu allows you to adjust various camera settings, including focus.
Navigate to the Focus Settings:
- Within the OSD menu, look for the "Control Options" or "Camera Options" section.
- From here, you should see a setting called "Auto Focus" or "Auto Focus Mode."
Adjust the Focus:
- Select the "Auto Focus" option and choose between automatic and manual focus modes.
- If you choose automatic focus, the camera will adjust the focus automatically.
- If you choose manual focus, you will need to adjust the focus manually using the camera controls.
Fine-Tune the Focus (Optional):
- Depending on your camera model, you may have additional focus settings to fine-tune the focus.
- These settings may include "Minimum Focus Distance," "Digital Zoom," or "Exposure."
- Adjust these settings as needed to ensure the camera is focused correctly.
Save and Exit:
- Once you have adjusted the focus to your desired setting, save the changes and exit the OSD menu.
- Your Honeywell ACUIX dome camera should now be properly focused.
Please note that the exact steps may vary slightly depending on your specific Honeywell ACUIX dome camera model and controller. Always refer to the user manual or seek technical support from Honeywell for detailed instructions specific to your device.
Understanding Shutter Mode: Camera's Secret to Capturing Motion
You may want to see also
![]()
How to reset the Honeywell ACUIX dome camera
To reset the Honeywell ACUIX dome camera, follow these steps:
Resetting the Dome:
Resetting the dome is the same as turning the power off and then back on again. It restarts the dome, but all of the dome setup information is preserved.
- Access the "System Administration and Equipment Handling" menu.
- Select the option to "Reset the Scan and Dome."
Resetting the Camera Lens:
- Enter preset 98 on your controller.
- Select "Scan and Dome Reset."
- Choose "Camera Lens Reset."
Restoring Default Settings:
The Honeywell ACUIX dome camera can be restored to factory default settings in two ways: using the on-screen display (OSD) menu or using the reset button (SW1) on the housing interface board. The factory reset methods differ in that the OSD menu preserves user-defined presets, tours, sectors, and alarms, while the reset button deletes all data.
Reset via OSD Menu:
- Access the "System Administration and Equipment Handling" menu.
- Select "Restoring Default Settings."
- Choose "Restoring Defaults Using the OSD."
Reset via Reset Button:
- Locate the reset button (SW1) on the housing interface board.
- Press and hold the reset button to restore the camera to factory default settings.
Cropping Like a Pro: Camera Raw Secrets
You may want to see also
![]()
How to update the firmware on the Honeywell ACUIX dome camera
To update the firmware on the Honeywell ACUIX dome camera, follow these steps:
Download the firmware to your workstation:
- Contact the Honeywell customer service center for your region to obtain the necessary login credentials (Dealer ID, user name, and password) for accessing the Honeywell Download Center website.
- Go to www.honeywellvideo.com.
- Click on "Customer Resources," then click on "Download Center."
- Log in using your Dealer ID, user name, and password.
- If you agree with the software license agreement, click the checkbox.
- Under "Video Systems Products," click on "Cameras."
- Under "Honeywell IP Firmware," click on the version of the firmware you want to download.
- Save the compressed (filename.zip) folder to your hard drive.
- Open the downloaded folder, double-click the setup file, and follow the on-screen instructions.
- Log in to the Honeywell IP Utility application:
- On your desktop, double-click the Honeywell IP Utility icon.
- In the "User Name" box, select "Administrator."
- In the "Password" box, enter the default password ("1234"), and then click to proceed.
- In the "Discovery" panel, click on the device you want to connect to, and then click the "Connect" button.
- In the "System" tab, under "Firmware Upgrade," click "Upgrade Firmware."
- Follow the on-screen instructions to complete the firmware upgrade process.
It is important to refer to the Honeywell ACUIX Installation and Configuration Manual for detailed instructions and illustrations specific to your camera model. The manual will provide additional information on topics such as system requirements, safety precautions, and step-by-step guidance for the firmware upgrade process.
Charging the Lumix LX5: A Step-by-Step Guide
You may want to see also
![]()
How to set up the presets on the Honeywell ACUIX dome camera
To set up the presets on the Honeywell ACUIX dome camera, follow these steps:
- Position the dome using the PTZ controls.
- Click the PTZ Dome Setup tab.
- In the PTZ Settings panel, under Preset Details, click Program.
- Enter a preset number and click Goto.
- Adjust the camera settings as desired, including zoom, focus, exposure, white balance, etc.
- Click Save to store the preset.
- Repeat the above steps for each preset you want to create.
- To view a list of all programmed presets, click the PTZ Dome Setup tab and then click List in the Preset Details box.
- To run a preset tour, click the PTZ Dome Setup tab, select the desired preset tour, and click Run.
- To configure advanced presets, go to the PTZ Settings panel and define PTZ coordinates or other advanced settings.
- To configure flashback, use special presets 72-79 to return to previously saved positions.
Understanding Raw Image Files in Photography
You may want to see also
Frequently asked questions
To focus the Honeywell Acuix dome camera, you need to access the on-screen display (OSD) menu. From the OSD menu, you can change the autofocus mode to manual and set the focus distance.
To access the OSD menu, press the "90 Preset" button on the controller. This will open the OSD Main Menu. From here, you can navigate to the "Camera Options" menu to adjust camera settings, including focus.
In the OSD Main Menu, press "5" to select "Camera Options". Then, press "1" to select "Zoom and Focus". In this menu, you can switch the autofocus mode to manual and set the focus distance.