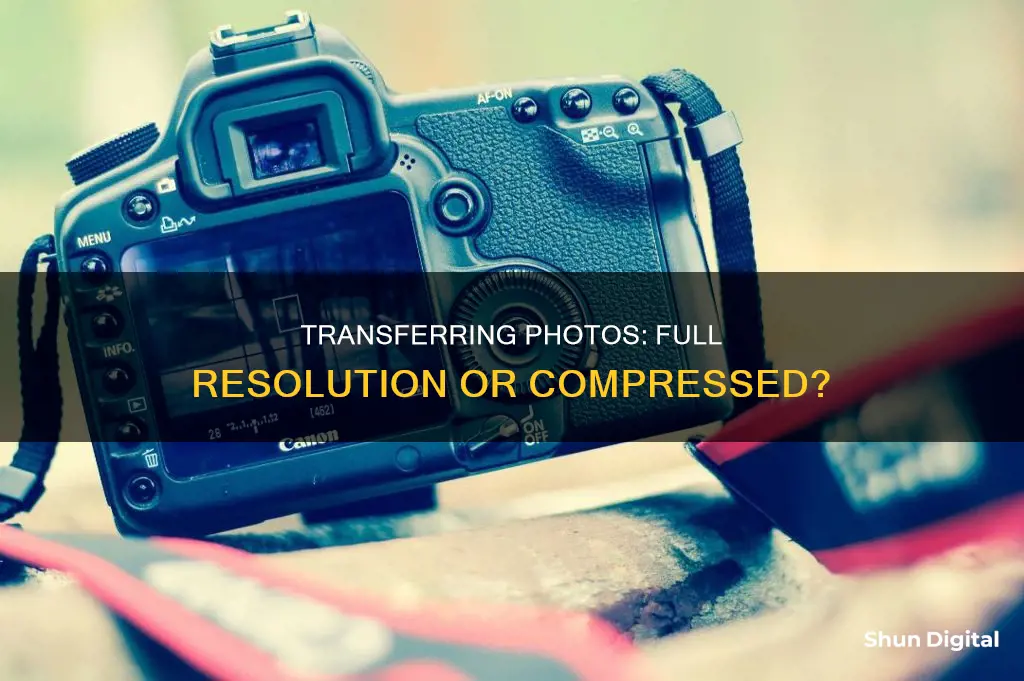
Cameras are a great way to capture memories and moments in time. But what happens when you want to view those pictures on a bigger screen or free up some space on your camera? Transferring photos from your camera to your computer is a simple process that can be done in a few different ways. You can use a USB cable to connect your camera directly to your computer, insert the camera's SD card into your computer, or use a photo app to import and organise your photos. Each method will allow you to select specific photos or transfer them all at once, depending on your preference.
| Characteristics | Values |
|---|---|
| Transferring photos from a camera to a computer | Use a USB cable to connect your camera to your computer. Drag and drop the images you want into a new folder. Insert the camera's SD card and drag the image files from the card to your desktop. |
| Platforms for video calling or virtual conferences | Zoom, Skype, Google Meets |
| Camera resolution | The amount of detail the camera renders in its images. Measured using the number of megapixels on the camera’s sensor. |
What You'll Learn

Using a USB Cable (Windows)
Step 1: Turn on your computer
This method will work on Windows 11, 10, 8, or earlier.
Step 2: Connect the camera to your computer
Use the USB cable that came with your camera to connect it to an open USB port on your computer. If you don't have this cable, you must purchase a replacement that fits your camera model. If you can't find the port on your camera, check for any panels that can be flipped open.
Step 3: Turn on your camera
Your computer should recognize it immediately. You may have to switch the camera into Review mode in order for it to fully connect to your computer. This process will be different depending on your specific camera.
Step 4: Click the "AutoPlay" box
This will be in the bottom-right corner.
Step 5: Select "Open folder to view files"
This will open the File Explorer. You may need to scroll down to find this option. Alternatively, you can open this folder manually. Right-click the Start menu and click File Explorer. Click your camera device listed on the left panel, and then click SD card.
Step 6: Click DCIM
You may see the photos immediately after clicking your device. In most cases, photos will be in a folder labelled DCIM (Digital Camera Images).
Step 7: Select the photos you want to transfer
You can transfer individual photos, or press CTRL + A to select all the photos in the folder. To select multiple photos, hold CTRL and click each photo.
Step 8: Drag the pictures to a new location
You can drag the photos into the Pictures folder, or you can create a new folder. The amount of time it takes to transfer will depend on the amount of files and your computer.
Step 9: Eject the camera
Click the arrow in the bottom-right corner of the taskbar. Click the device icon, and then click Eject. You can now safely unplug the camera from the computer.
Troubleshooting
If your computer does not recognise your camera, try connecting the camera to a different USB terminal. Change the USB cable connecting the camera to the computer. The computer should recognise the camera once the USB cable is changed and reconnected to the computer. Use a cable that has a Micro-B plug for the camera.
Dismissing Bus Lane Camera Tickets in NYC: What You Need to Know
You may want to see also

Using an SD Card (Windows)
To transfer photos from your camera to your Windows computer using an SD card, follow these steps:
Removing the SD Card from Your Camera:
- Open the panel that contains the internal storage.
- Press the SD card to unlock it from your camera.
Inserting the SD Card into Your Computer:
- If your computer has a built-in SD card reader, insert the SD card into the card reader slot.
- If your computer doesn't have a card reader, you can purchase an external SD card reader that connects via USB.
Transferring Photos to Your Computer:
- Open the File Explorer on your computer. You can do this by right-clicking the Start menu and selecting File Explorer.
- In the File Explorer, locate and click on your SD card. It should be listed in the left panel. If you don't see it, click the arrow on the left of "This PC" to expand the options.
- Double-click the DCIM folder to access your photos.
- Select the pictures you want to transfer. You can select multiple photos by holding the Ctrl key and clicking on each photo. Alternatively, press Ctrl + A to select all the photos in the folder.
- Drag and drop the selected pictures to your desired location on your computer, such as the Pictures folder or a new folder.
- If you want to delete the photos from your SD card after transferring them, wait for the transfer to finish. Then, return to the SD card folder, select all the photos, right-click, and choose "Delete."
- Eject the SD card from your computer before removing it. You can do this by clicking the arrow in the bottom-right corner of the taskbar, clicking the flash drive icon, and then clicking "Eject."
By following these steps, you can easily transfer photos from your camera's SD card to your Windows computer without the need for additional software.
Understanding Camera Raw Histogram: A Beginner's Guide
You may want to see also

Using a USB Cable (Mac)
To transfer photos from a camera to a Mac computer using a USB cable, follow these steps:
- Turn on your computer: Ensure your macOS is Ventura, Monterey, or earlier.
- Connect the camera: Use the USB cable that came with your camera to connect it to a USB port on your computer. If you can't find the port on your camera, check for any panels that can be flipped open. If your Mac doesn't have a USB-A port, you'll need to purchase an adapter.
- Open the Photos app: Look for the multi-colored flower icon and click on it.
- Turn on your camera: Your Mac should recognize the camera immediately. You may need to switch the camera to "Review" mode for it to fully connect. This process may vary depending on your specific camera model.
- Select the photos you want to transfer: Click on each photo you want to transfer, or drag your cursor to select multiple photos at once.
- Click "Import Selected": You can import selected photos or choose "Import All New Photos" if you want to transfer everything. Imported photos will be saved to "All Photos." If you wish to change the save location, click the drop-down menu next to "Import to" and select a new destination.
- Eject your camera: Open Finder, locate the camera in the left sidebar, and click the up-arrow icon to eject it safely. Now you can disconnect the camera from your Mac.
Using a USB cable is a straightforward way to transfer photos from your camera to your Mac. Remember to switch your camera to the correct mode for importing photos, and always eject the camera safely before disconnecting it.
Charging Your PowerShot S110: A Step-by-Step Guide
You may want to see also

Using an SD Card (Mac)
To transfer photos from an SD card to a Mac, you will need to ensure that your SD card is not locked, as this will prevent your Mac from being able to modify the card. Then, follow these steps:
- Insert the SD card into your computer's SD card slot, or connect a card reader to your computer and insert the card into the card reader.
- Open the Photos app on your Mac.
- In the sidebar on the left-hand side of the screen, locate the "Import" section and click on your SD card. If it doesn't show up, click "File" in the toolbar, select "Import" from the drop-down menu, and find your SD card in the Finder pop-up window.
- All the photos from your SD card will appear in the centre of the Photos window. Click "Import All New Items" or "Import Selected" in the upper right-hand corner of the screen. If you want to delete the photos from your SD card after importing, check the box next to the "Delete After Import" option.
- Your imported photos will appear in the Imports and Library albums in the sidebar.
Understanding Camera's Selective Focus: Creative Photography Technique
You may want to see also

Change Webcam Resolution in Skype
Skype is one of the best virtual meeting platforms worldwide and is credited with pioneering video calling. Although Skype does not have a feature to change the aspect ratio of your video calls, you can change the resolution of the platform's webcam calls.
Skype Webcam Settings
- Click on "Tools" from the toolbar.
- Go to "Options" and "Video Settings".
- Find the drop-down menu in "Webcam Settings".
- You will get multiple options to change your webcam resolution depending on which camera you are using. You can choose the one that suits you best, preferably the highest resolution.
Using Third-Party Software
If you are still not satisfied with the quality, you can try using third-party software such as Evaer WebCam Resolution Tool or FineCam to change the resolution. FineCam supports four different resolutions and can also be used to adjust webcam colours, brightness, orientation, and background.
Meta's Camera: Surveillance or Innovation?
You may want to see also
Frequently asked questions
You can transfer photos from your camera to your computer by connecting your camera to your computer using a USB cable or by inserting your camera's memory card into your computer's card reader slot. Once your camera is connected, turn it on and open up Windows Explorer or Finder to locate your device. From there, you can select and transfer your desired photos to a designated folder on your computer.
Yes, you will need to turn on your camera for the computer to recognize and mount it as a new drive.
Photos on your camera are typically stored in a folder called "DCIM" (Digital Camera Images). This folder can be found on your camera's internal storage or memory card.
Yes, once you have confirmed that the photos have been successfully transferred to your computer and you no longer need them on your camera, you can safely delete them to free up space.


